Installation
4-1Installation Manual: PSS 3056 Series
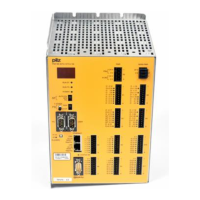
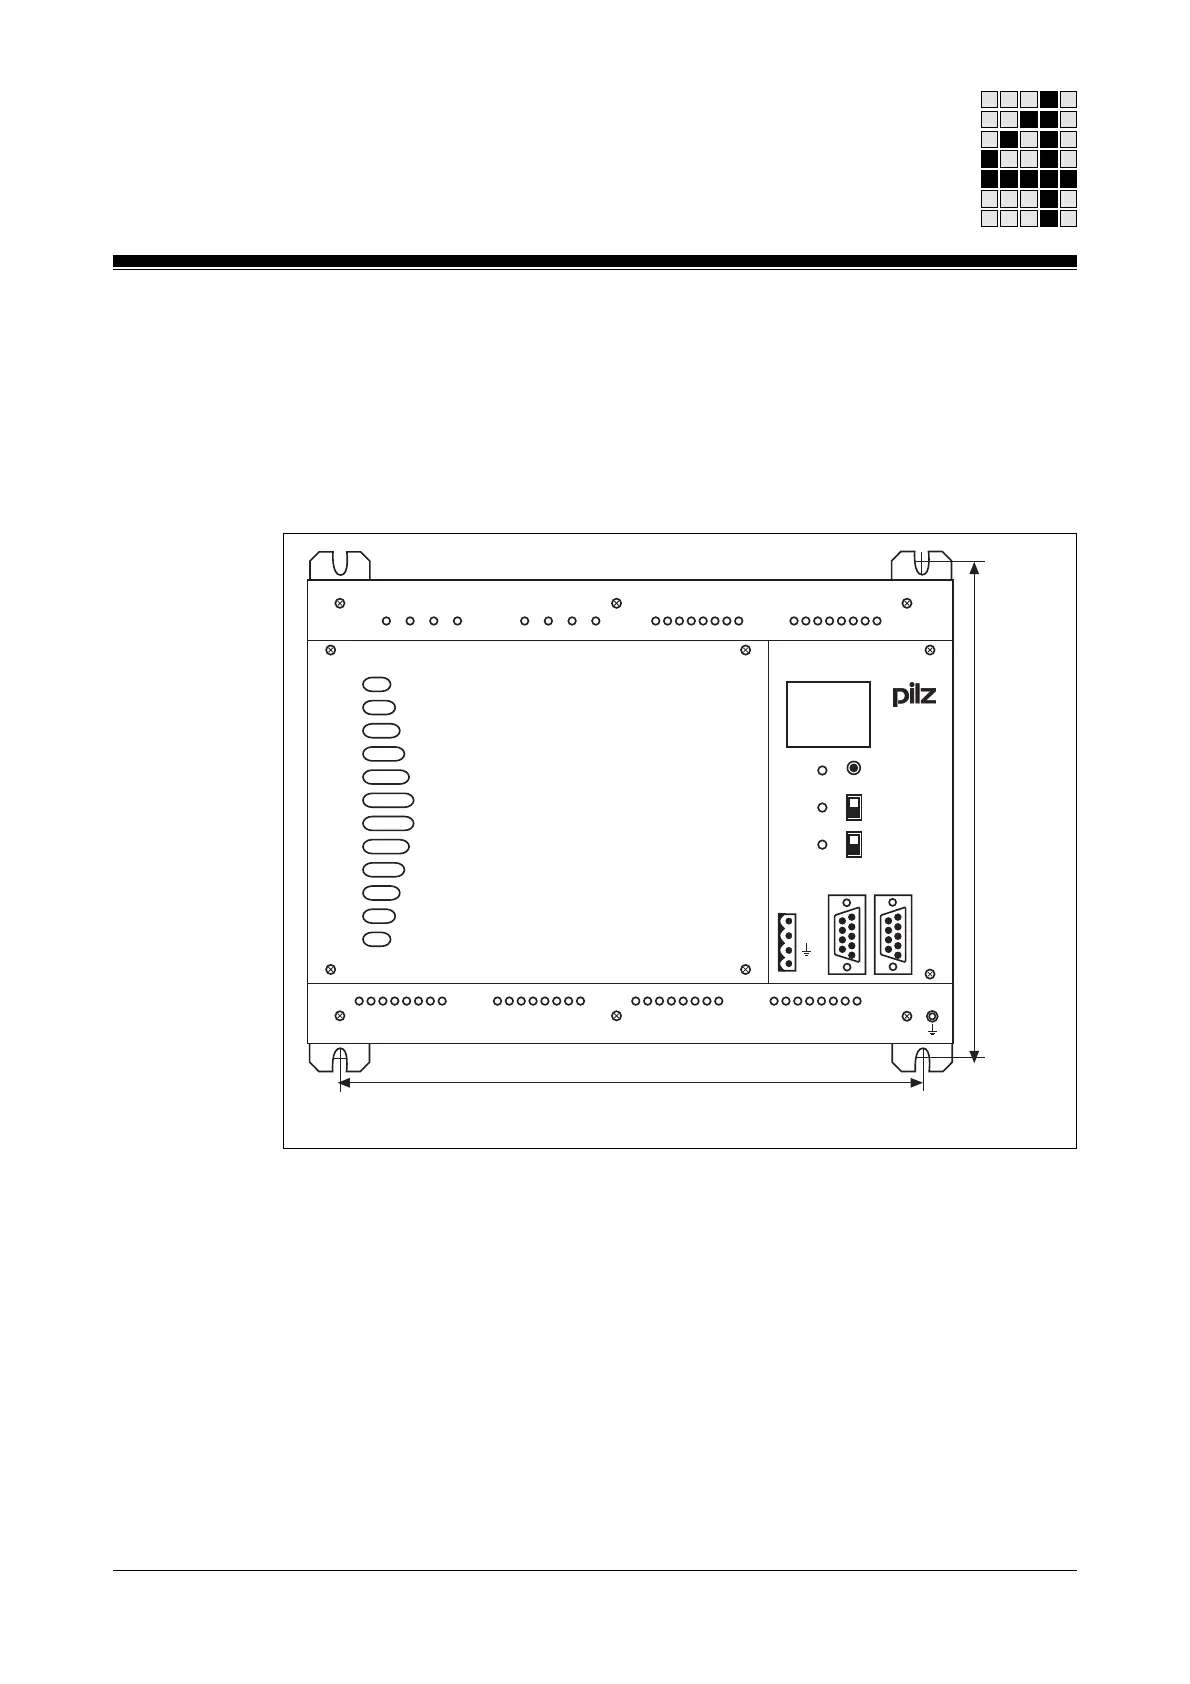
Installing the system
Drill 4 x M5 or M6 holes in the mounting plate of the control cabinet as
shown in Fig. 4-1 (tolerance: +/-0.3 mm/0.012"). Screw the PSS to the
mounting plate using washers.
Dimensions in mm ("):
H x W x D: 223 x 277 x 155 (8.78" x 10.91" x 6.10")
Fig. 4-1: Installing the PSS system, dimensions stated in mm (")
RUN FS
PG
RUN ST
POWER
FS RUN
STOP
ST AUTO PG
SPS
F-Stack
24 V
0 V
PG
RS 232
I31
I29
I30
I28
I27
I26
I25
I24
I23
I21
I22
I20
I19
I18
I17
I16
I15
I13
I14
I12
I11
I10
I9
I8
I7
I5
I6
I4
I3
I2
I1
I0
0 V
0 V
0 V
0 V
O0
O2
O1
O3
O4
O5
O6
O7
O8
O10
O9
O11
O12
O13
O14
O15
O16+
O17+
O16-
O17-
O18+
O18-
O19+
O19-
O20+
O21+
O20-
O21-
O22+
O22-
O23+
O23-
24 V
24 V
0 V
0 V
24 V
0 V
24 V
0 V
213,4
(8.402")
242,8 (9.559")
Artisan Scientific - Quality Instrumentation ... Guaranteed | (888) 88-SOURCE | www.artisan-scientific.com

 Loading...