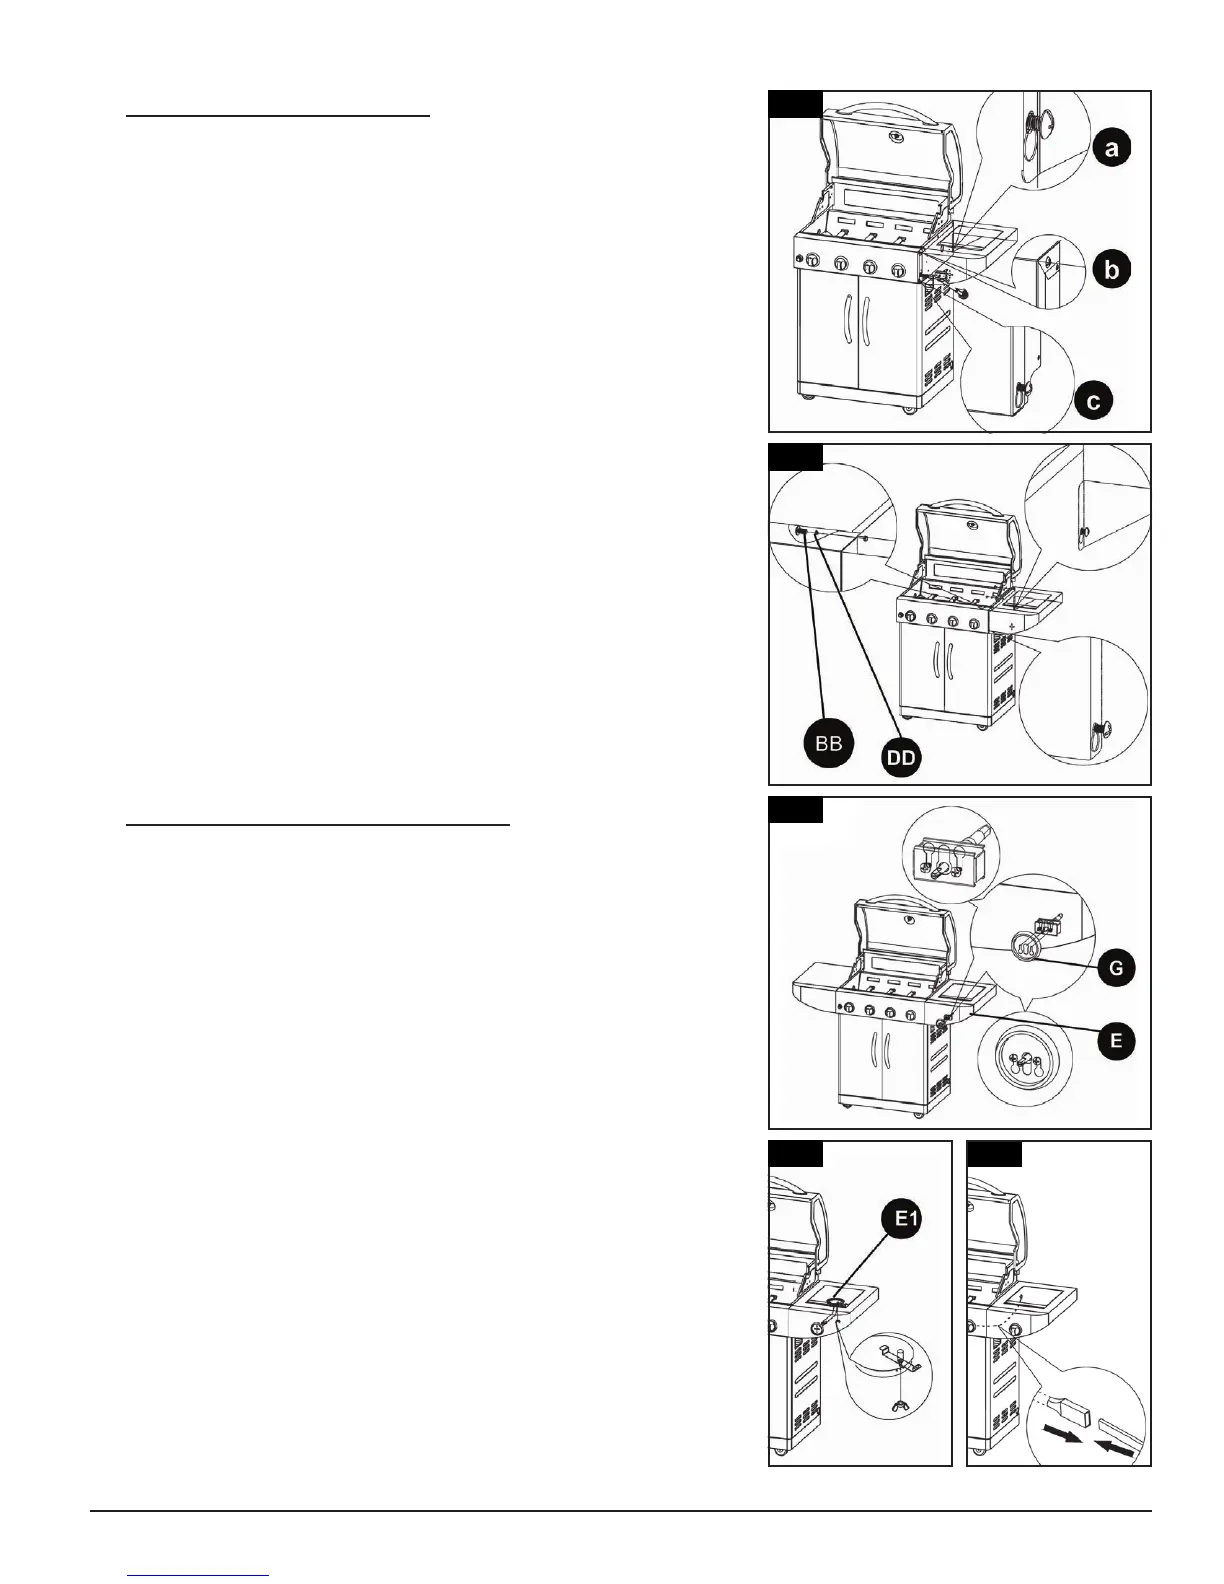
12
17.
Parts Required:
6 x Screw (BB)
6 x Lock Washer (DD)
Installation:
• Starting with the right side, loosen the 2 preinstalled bottom screws
(marked “a” and “c” in illustration), and completely remove screw “b”.
• Using the shelf keyhole slots, slide the right shelf onto the 2 loosened
screws “a” and “c”.
• From the inside of the grill, secure the right side shelf using 3 screws
(BB) and lock washers (DD).
• Reinstall the previously removed screw “b”. Tighten all other shelf
screws.
• Repeat same installation for left shelf.
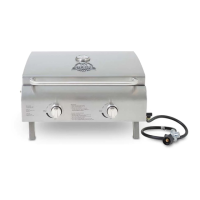
18.
Parts Required:
1 x Control Knob (H)
1 x Control Knob Bezel (G)
1 x Side Burner Plate (E1)
1 x Allen Wrench (FF)
Installation:
• Loosen – but do not remove – the two preinstalled screws from the
side burner valve. Insert the side burner valve screws through the
keyhole slots in the front of the side burner shelf, then slide the valve
upward so the screws rest in the small section of the keyhole slots.
• Place the control knob bezel (G) keyhole slots over the side burner
valve screws. Slide down, then re-tighten the two screws.
• With the side burner cooking grate still removed, unscrew and remove
the wing nut that secures the side burner plate (E1). Connect the side
burner tube to the side burner valve opening, and reattach the wing
nut to secure. Reinstall the side burner cooking grate into place.
• From the front of the shelf, push the control knob (H) onto the side
burner control valve stem, then secure using the Allen wrench (FF)
from underneath.
• Connect the electronic ignition wire to the side burner electrode
located under the side shelf. The side burner is now fully connected.
17
17
18
18 18