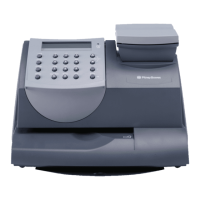
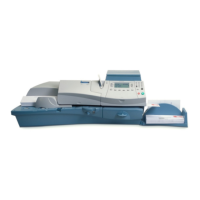
These instructions describe how to install the Barcode Scanner on the DM125 / DM225 mailing machine.
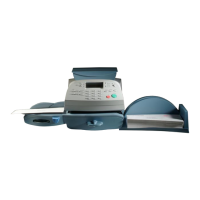
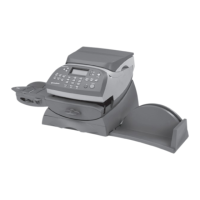
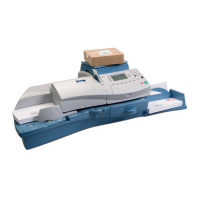
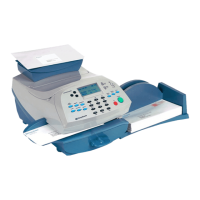
DM125 / DM225
Barcode Scanner Kit Instructions
AW22526
Installing the Barcode Scanner
Configuring the Barcode Scanner
Checking the Barcode Scanner
1
Plug the USB connector from the barcode scanner into the
USB port on the DM125/DM225 mailing machine or into a
hub port.
Be sure the meter is turned OFF.
The ON-OFF switch is located
on the back of the meter.
2
Rear of Meter
Intellistand for
Hands-Free Mode
3
Turn the meter ON. After the meter is powered up
(approximately 1 minute), a low /medium/high beep will
sound which indicates that the meter detects the attached
barcode scanner. If the scanner beep did not occur,
refer to the Troubleshooting section.
Warning:
Only follow installation instructions for DM125/DM225.
Do not scan other barcodes shown in other documents
because it may disable the barcode scanner.
4
Using the barcode scanner, scan in the following
barcodes, in the sequence shown here:
5
Press the Options key, followed by pressing Page
Down twice and selecting ADVANCED FEATURES.
6
From the ADVANCED FEATURES screen,
select Barcode Scanner.
7
To verify that the scanner is working properly,
select Diagnostics.
When finished, press Clear until you return to
the Home screen.
Scan the sample barcodes below to verify the
scanner is configured correctly and properly
displayed on the meter’s BARCODE INPUT screen.
b.
Continue on reverse side.
*123456789* *123456789*
a.
BARCODE INPUT
ASCII Character:
1234567890
BARCODE INPUT
ASCII Character:
06926
or
On/ Off Switch
Now your barcode scanner is ready to scan the
following formats for your meter: UCC/EAN 128,
Code 39, Code 39, Full ASCII, Code 128, and
Code 128 Full ASCII.
For scanning additional barcode types, please
refer to the product reference guide at
http://www.motorola.com/ls2208.
Ensure the scan line crosses every bar and space
of the barcode.
Scan Options
<DATA> <SUFFIX>
Enter
Enable Code 39
Full ASCII