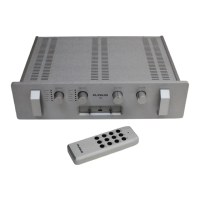
15
PHONO CARTRIDGE LOADING ADJUSTMENT
This section onl
This section onlThis section onl
This section only applies if your M16 was purchased with optional
y applies if your M16 was purchased with optional y applies if your M16 was purchased with optional
y applies if your M16 was purchased with optional phono stage fitted.
phono stage fitted.phono stage fitted.
phono stage fitted. The phono
cartridge load can be adjusted to suit your particular phono cartridge, using two pairs of internal blue
mini-switches.
The M16 mini-switches are factory set to a 47kΩ load. Also, switch 1 is set in the on position. This is a
220pF capacitive setting and is usually required for RF suppression. It is not recommended that you turn
switch 1 off.
Disconnect the lead from the IEC socket on your Plinius M16. Carefully remove the lid by undoing the
three cap screws. Locate the blue mini-switch banks to the rear of the smaller phono circuit board (right
side rear). Adjust the settings of the five individual switches (remember to do both channels) to give a
loading required with reference to the table below.
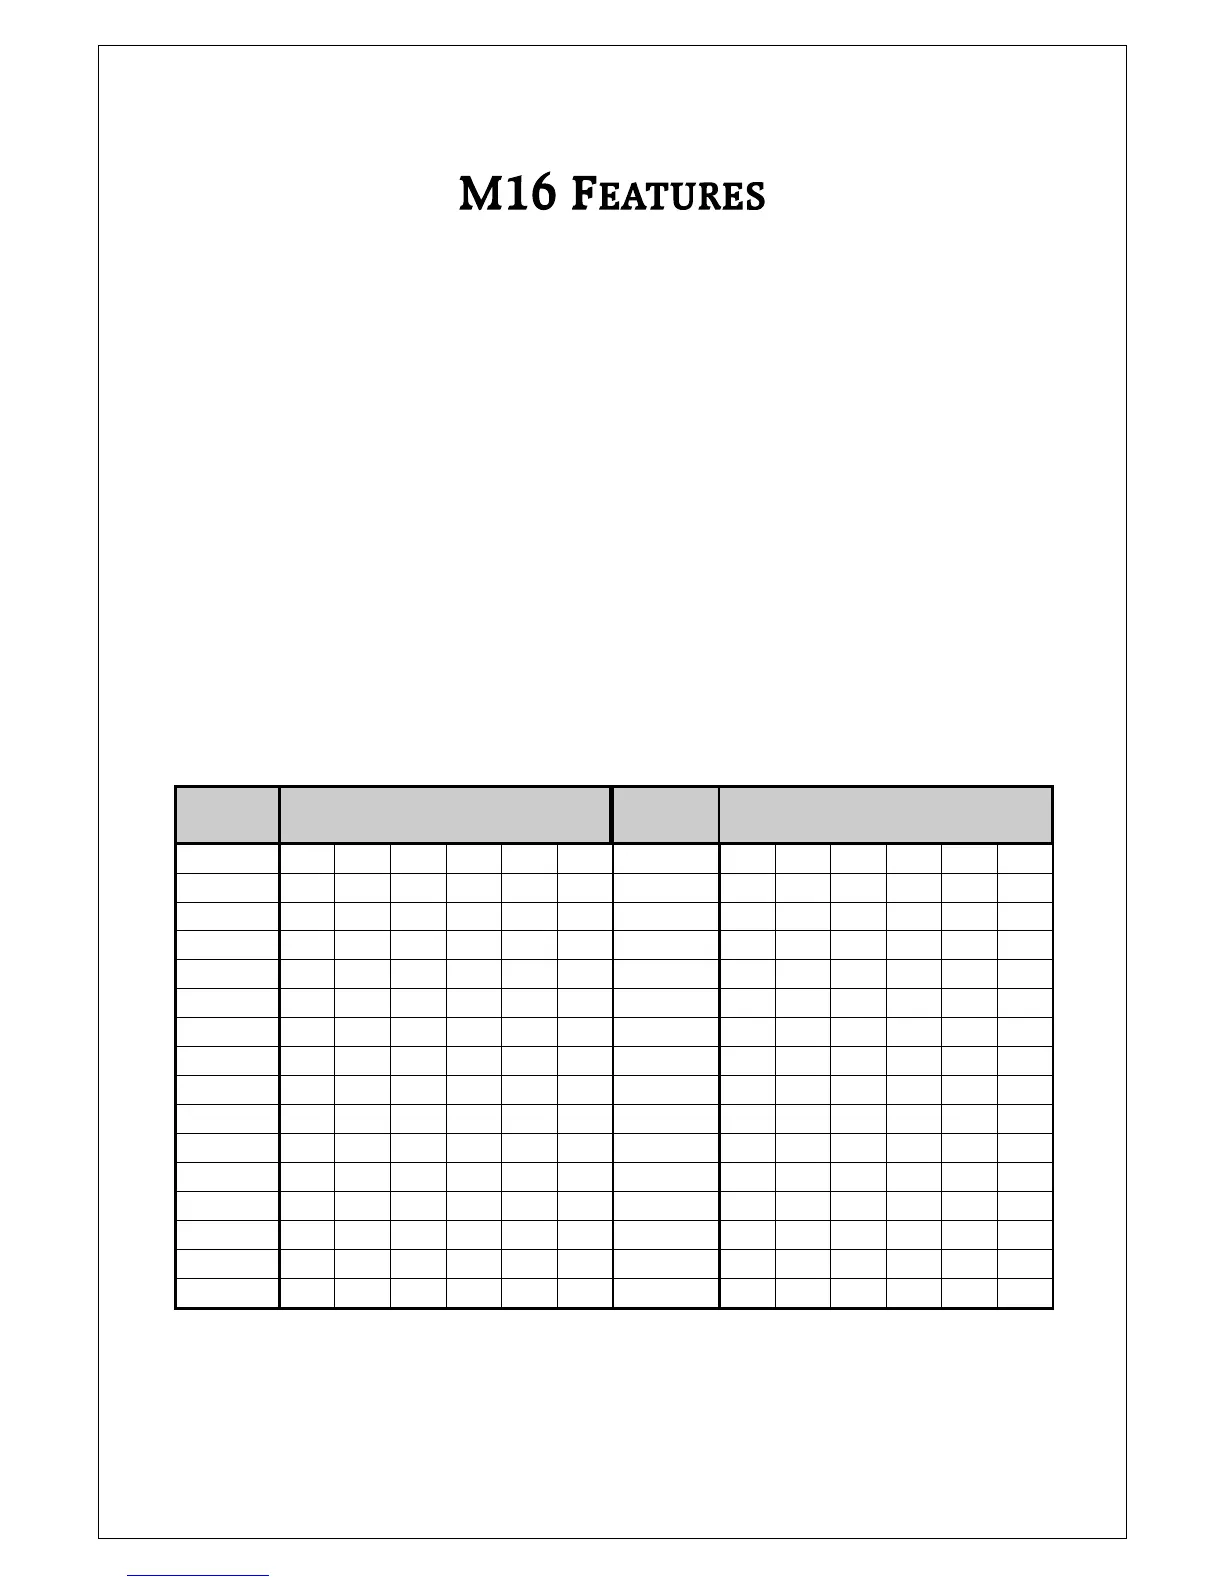
LOAD
REQUIRED
SWITCH NUMBER AND SETTING
1 2 3 4 5 6
LOAD
REQUIRED
SWITCH NUMBER AND SETTING
1 2 3 4 5 6
7.4Ω
ON ON ON ON ON ON
29Ω
ON ON ON ON ON
7.5Ω
ON ON ON ON ON
30Ω
ON ON ON ON
7.6Ω
ON ON ON ON ON
31Ω
ON ON ON ON
7.7Ω
ON ON ON ON
32Ω
ON ON ON
8.0Ω
ON ON ON ON ON
41Ω
ON ON ON ON
8.1Ω
ON ON ON ON
43Ω
ON ON ON
8.2Ω
ON ON ON ON
45Ω
ON ON ON
8.3Ω
ON ON ON
47Ω
ON ON
8.8Ω
ON ON ON ON ON
76Ω
ON ON ON ON
8.9Ω
ON ON ON ON
82Ω
ON ON ON
9.0Ω
ON ON ON ON
90Ω
ON ON ON
9.1Ω
ON ON ON
100Ω
ON ON
9.7Ω
ON ON ON ON
320Ω
ON ON ON
9.8Ω
ON ON ON
470Ω
ON ON
9.9Ω
ON ON ON
1kΩ
ON ON
10.0Ω
ON ON
47kΩ
ON
Now reassemble your Plinius M16.