CR Family Hardware
Installation Guide
CR Family Hardware Installation Guide Page 17 of 30
Copyright © 2016 by Pointer Telocation, Ltd.
After all wires are connected, use plastic straps (cable ties) or insulation tape to secure
all the wires and cables to fixed elements in the vehicle (such as existing stable cables,
metal parts or other fixed parts of the vehicle, but not parts that are removed during
regular vehicle service). Loose cables and wires may cause irritating noises while the
vehicle is in motion.
Do not lay cables and wires on the floor of the vehicle where people can step on them.
Always route the cables in areas where they will not be stepped on or otherwise
damaged by other activities.
All wires and cables should be hidden.
Make sure the device is receiving power with a properly fused connection. The fuse is
supplied with the harness.
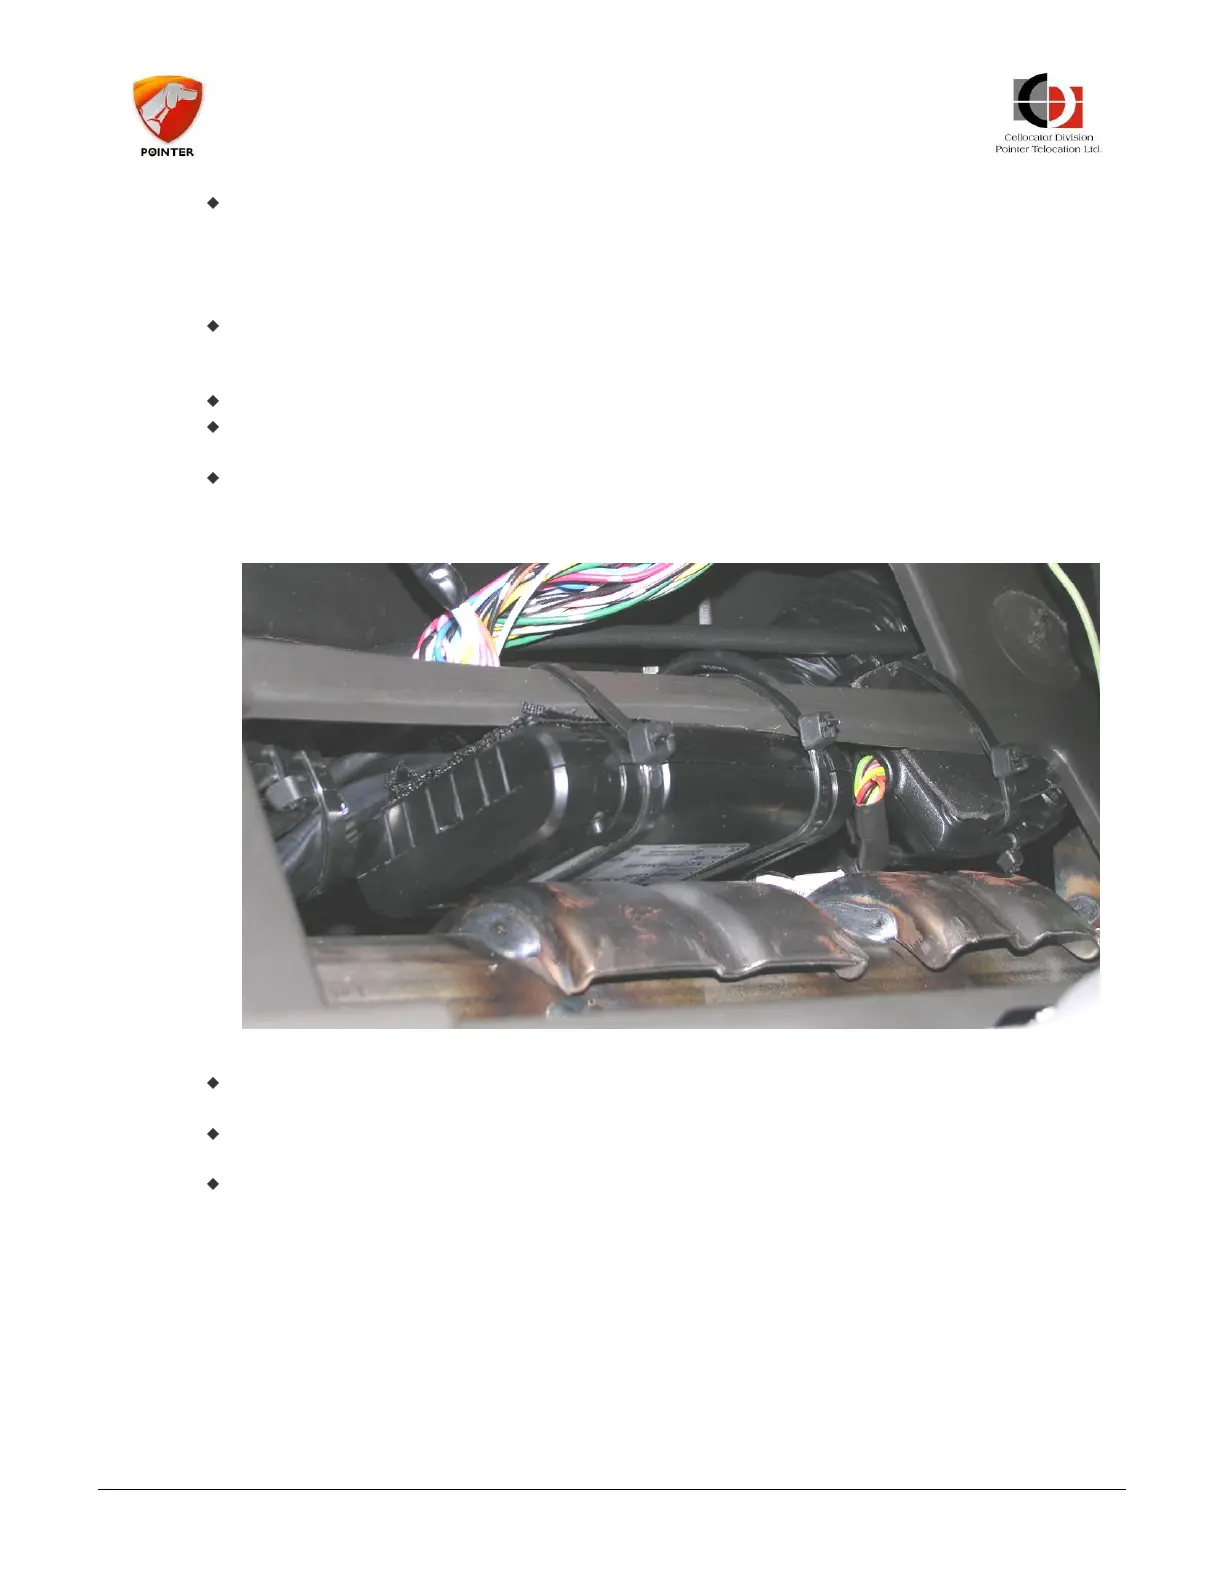
To attach the device to its location use a thick, two sided, adhesive tape, between the
device and the fixed support and then use two plastic straps (cable ties) to secure the
device to its location. Make sure the device is well positioned and will not become
loose (it may either fall or create irritating noises if not properly secured).
Figure 11: Attaching the device
When you finish your work, clean the vehicle and return all the items you removed
into their original positions, using all the original screws and connectors.
Test the functioning of all the vehicle systems: they should all perform as is before you
installed the device.
Test the connectivity of the device with the system server to ensure proper operations.