90
MAINTENANCE AND LUBRICATION
Lights
Indicator Lamp Replacement
1. Lift the hood.
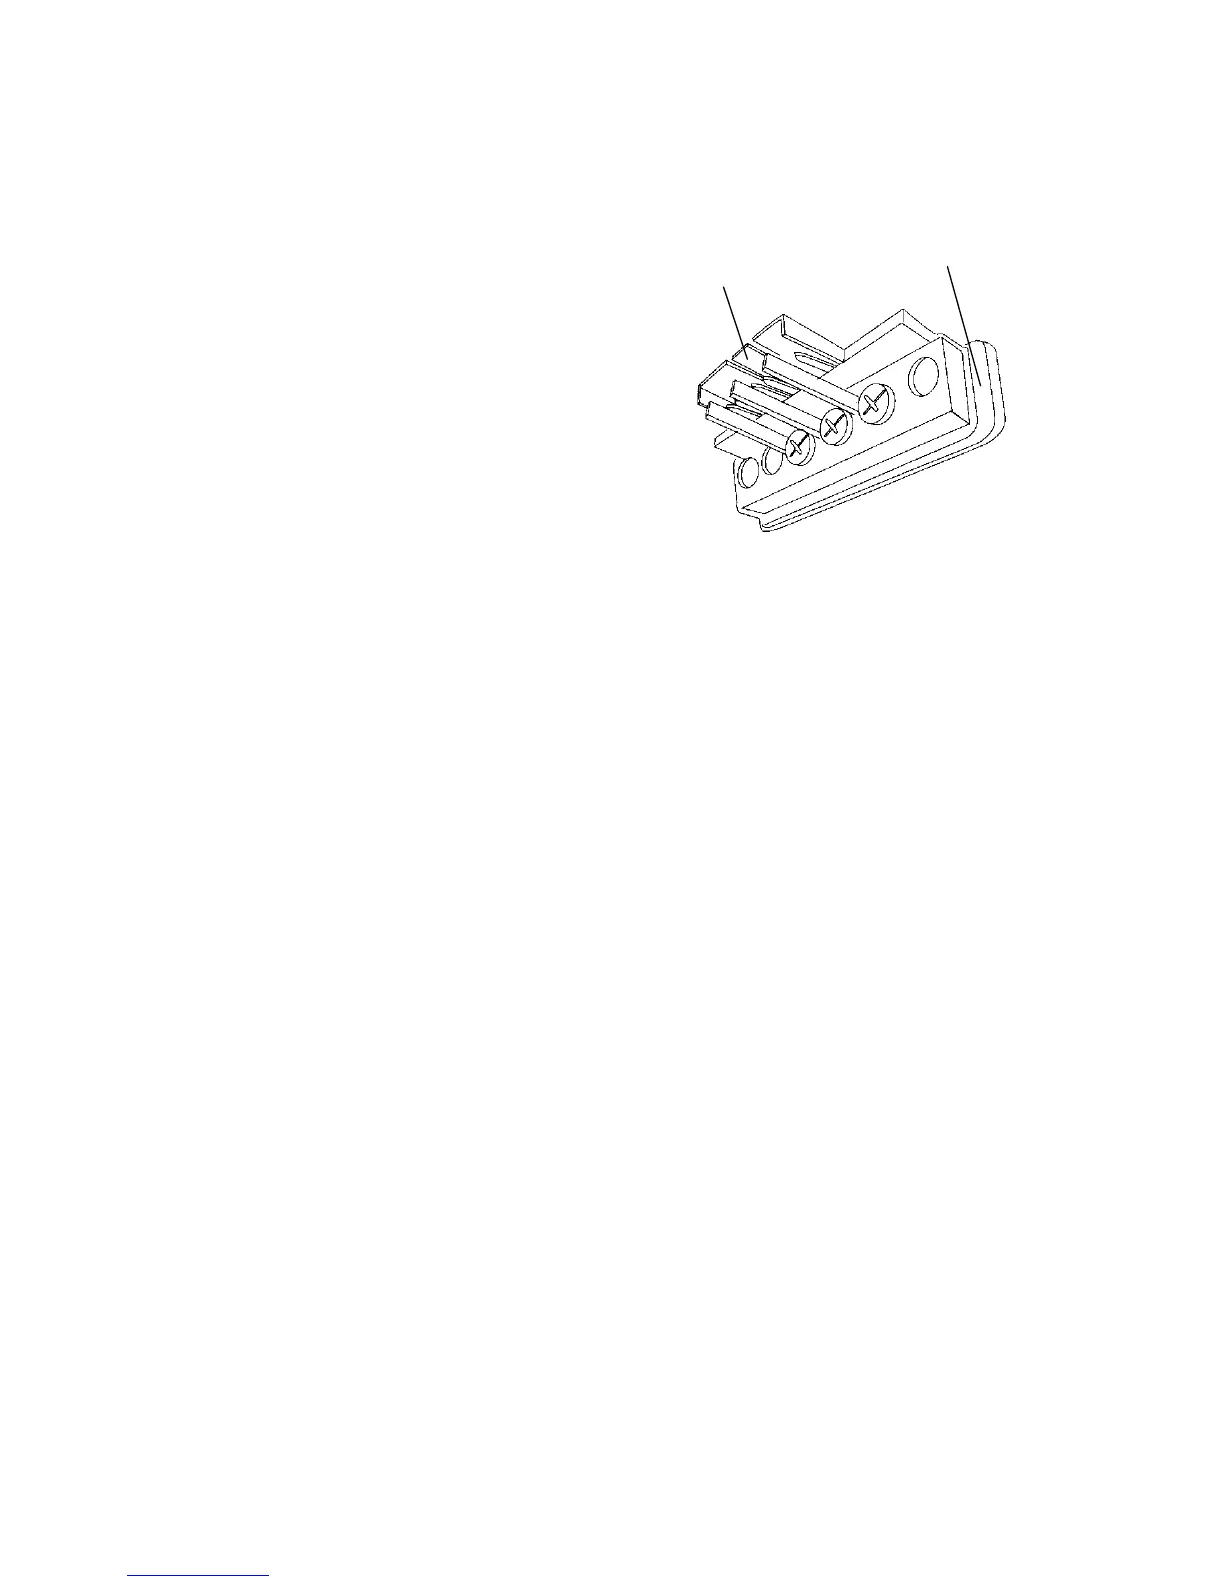
2. Reach in behind the console
panel and lift the release (1) to
unplug the light from the
harness.
3. Using a flathead screwdriver,
press on the tab (2) on the top
of the light to remove the
indicator light assembly from
the console panel.
4. Using a screwdriver, turn the
light that needs to be replaced
1/4 turn counterclockwise.
5. Grip the light with a needle nose plier and remove the light from
the assembly.
6. Install the new light and use a small flat head screwdriver to seat it
into place, 1/4 turn clockwise.
7. Snap the assembly back into the console panel and reconnect the
harness.
8. Close the hood.
Tool Kit
To help you perform routine maintenance, a tool kit is provided with
your vehicle. Items included in the kit are:
S A screwdriver
S An open-end wrench (8-10 mm)
S An open-end wrench (12-14 mm)
S A tire pressure gauge
S A spark plug wrench and handle
NOTE: Additional tools will be necessary to perform routine
maintenance.
1
2
 Loading...