6.1.2 Enabling/disabling the audio and vibration alarms
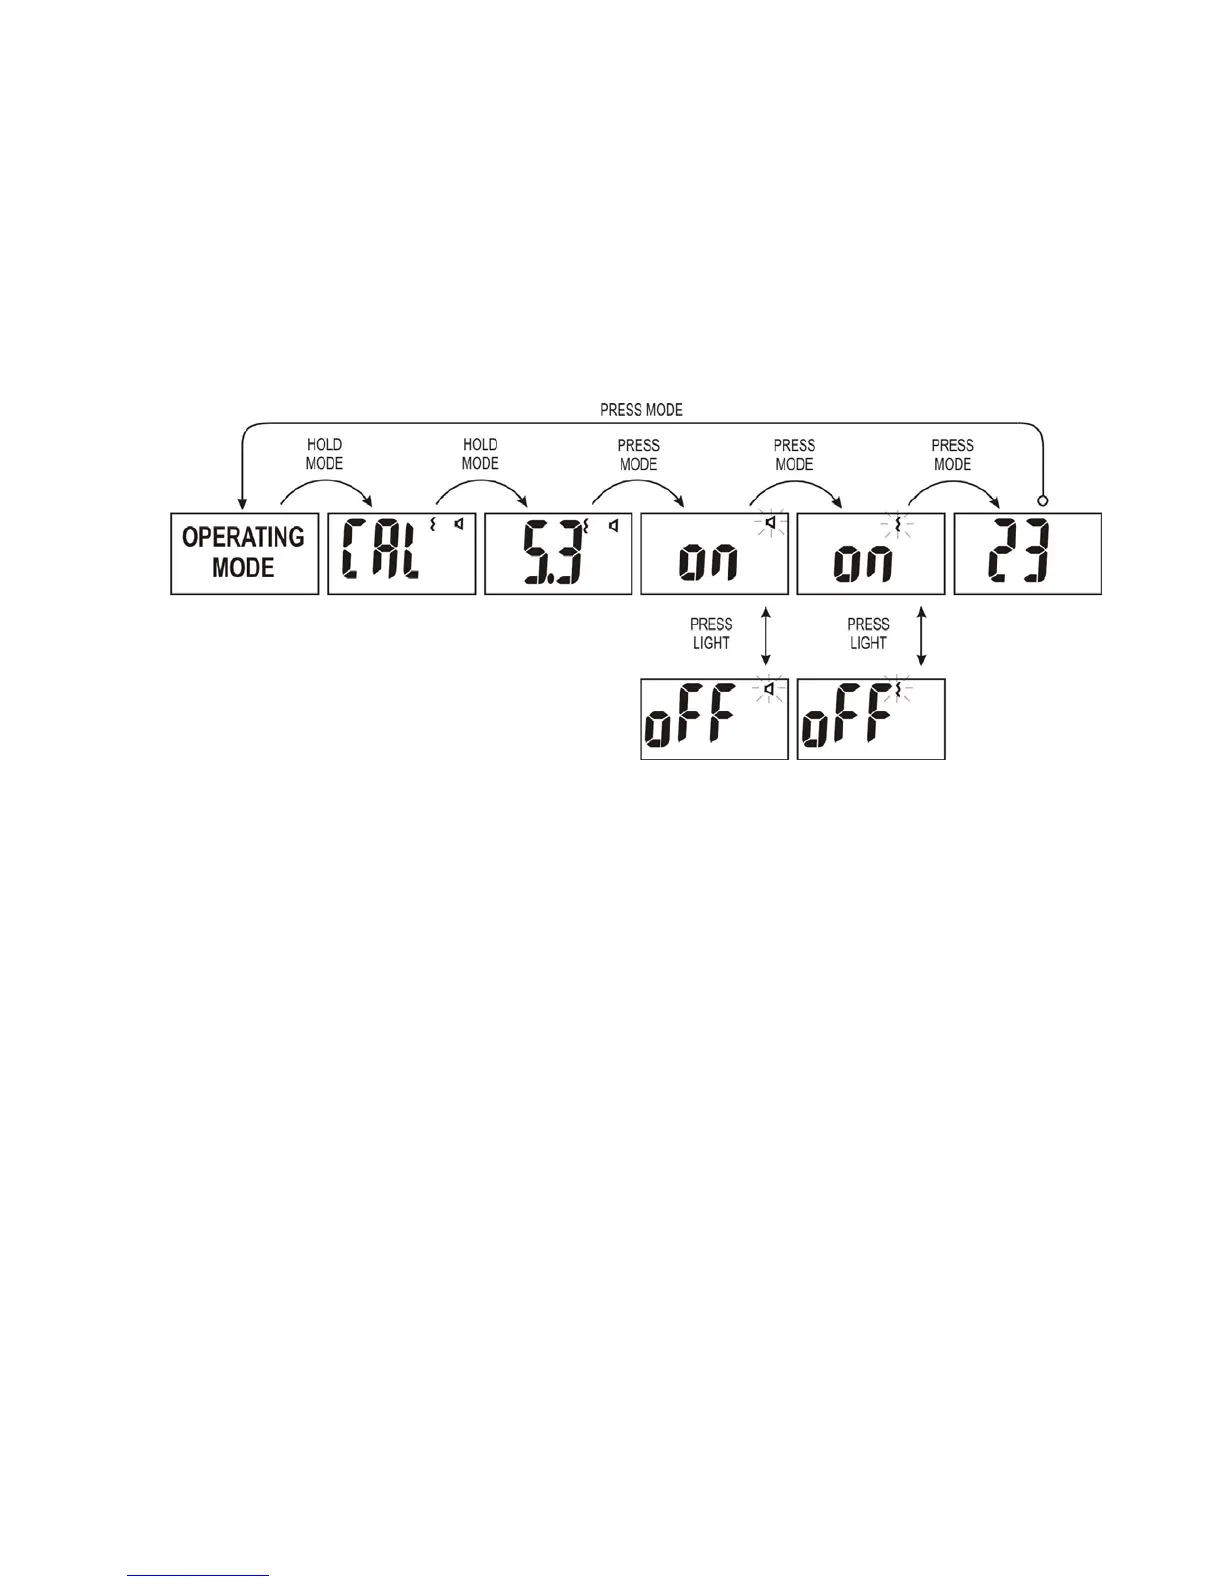
To adjust it, make sure the instrument is in any of the operation modes, then press
the Mode button and hold it for more than 5 seconds, “CAL” message will be displayed
first. Continue to hold the Mode button down until the instrument enters the settings
adjustment menu. Depending on the settings allowed for editing in your particular
instrument, you will have to press the Mode button one or several times until you see
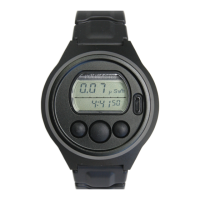
the On (or Off) и a blinking loudspeaker sign:
When the LCD displays On (or Off) you can use the Light button to change the
setting, i.e. switch on or off the audio alarm. Then press the Mode button to do the same
for the vibration alarm: when the LCD displays On (or Off) and blinking vibration sign
you can use the Light button to change this setting as well.
Then press the Mode button and LCD displays the temperature inside the
instrument.
Note: Don’t use the built-in temperature use for environmental temperature
measurement.
If you don’t press any button within four six seconds the instrument calibration
will be performed automatically.
15