4.5 Charging the instrument battery
The battery charger is combined with the instrument holder and is designed for
installation on the dash panel of an automobile or any other horizontal surface. To
protect the instrument from sun thermal effect, the charger can be equipped with
optional protective screen.
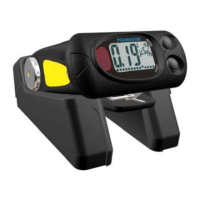
• Install the holder on the
automobile’s dash panel and fasten it
with four screws (included in the
delivery package);
• Move the instrument clip down by
pressing on in;
• Install the instrument to the holder
and ensure that the clip claw is firmly
fixed in the holder;
• If the charger is properly installed in vehicle power supply, the green LED will be
activated on the charger’s back side;
• If the instrument is properly installed in the holder, the battery sign will be activated
until the battery completely charges.
4.6 Alarm thresholds
PM1703МО-1 can produce warning signals when the following threshold values
are exceeded:
- Search (one threshold level, see section 5.5);
- Dose rate (two threshold levels);
- Dose (one threshold level).
When background radiation level reaches the specified threshold level, the
instrument immediately produces a warning signal, notifying the user about a dangerous
radiation level.
The audio, vibration and visual signals are different for each of the three
thresholds.
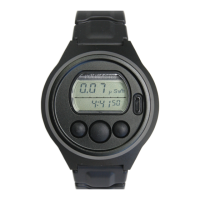
Exceeding the threshold values is also indicated by an analogue scale on the
LCD.
Use the PM1703MO-1 Data Processing Software to change instrument
threshold values.
When several thresholds are exceeded simultaneously, the Dose threshold has the
highest priority, then the Dose rate threshold, and finally the searching “Alarms”
threshold.
8