Setting Up the System3
See the setup sheets applicable to your video system and its peripheral devices, including cameras,
monitors, microphones, and controllers.
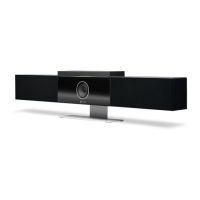
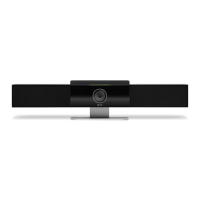
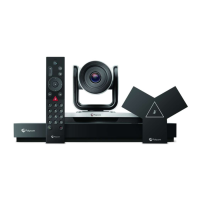
Set Up Your G7500 or Studio X System
To set up your system, use the provided cables to connect the system to your network, a monitor, and
power. By default, the system is set to Poly Video mode.
NOTE: Before powering on your system, connect a monitor, Ethernet cable, and any USB
cameras.
In most cases, your system defaults to Poly Video mode. To use another provider mode, such as
Teams Rooms, Zoom Rooms, or Google Meet, you'll need an account and license per the provider
requirements.
1. Connect the system to a monitor using the supplied HDMI cable.
a. To connect one monitor, use the HDMI 1 port on the system.
b. Connect the HDMI cable to HDMI port 1 on the monitor.
2. Connect the system Ethernet port to your network using the supplied Ethernet cable.
3. Turn on the system using the supplied power supply.
4. When the system powers on, review the out-of-box information on the monitor. Take note of the
system IP address and default user name and password which you'll need to complete setup
using the system web interface.
5. Connect the Poly TC10 or TC8 touch controller to a PoE enabled Ethernet port connected to
your network.
Default System Configuration
The default configuration of a Poly video system depends on the supported features included with the
system's initial software version.
The default configuration for G7500 and Studio X systems aligns as much as supported features
allow.
Updating the system software to a version that supports a new feature doesn't automatically enable
the new feature even if the feature is enabled by default on other systems.
20
Chapter 3Setting Up the System