42
1. Wire AirTouch 4, gateway and AC indoor as per diagram below and leave the
dipswitches on the gateway at their default position. Make sure all wires are
connected properly.
2. Initialise the AC Unit with Fujitsu AC Wall Controller connected. The Fujitsu wall
controller can be wired to B, W and R in parallel with the gateway
3. If Fujitsu wall controller is not to be used after commissioning and the return air
sensor is used for AC temperature control, set position 1 of S1 on the gateway
to ON (1) and restart the AC and AirTouch 4.
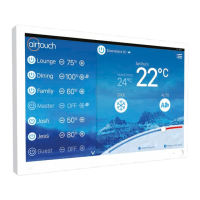
4. If AirTouch 4 sensors are used for AC temperature control:
Settings on the AC wall controller: Set thermostat sensor to the remote
controller (Go to Service->Function Setting, nd Function No 42, and set its
value to 01. Then go to Submenu and change “R. C. sensor control” from
O to On).
Remove the Fujitsu wall controller if it’s not to be used after commissioning.
Settings on the Gateway: Set position1 of S1 to ON (1)
Settings on the AirTouch 4 screen: Go to AC Setup and select the proper
temperature sensor for AC control Restart the AC and gateway rst and then
power up AirTouch 4 or power them up at the same time
(
657214
)
Commissioning notes
Wiring Diagrams contd.