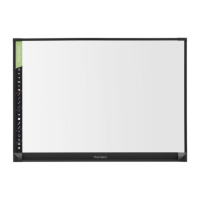
Preparing the ēno whiteboard for use
PolyVision 5
Preparing the ēno whiteboard for use
Install the whiteboard
To mount the ēno
whiteboard, follow the instructions provided in the ēno
Installation Quick Reference Guide
.
Two people are needed for portions of this installation.
When you install the whiteboard, you can mount it to: sheetrock, brick,
cinderblock, plaster, or metal.
Control icon mounting options
The ēno interactive whiteboard includes control icons that provide key
features and functions when you tap them with the ēno stylus. The control
icon strip can be mounted anywhere, including on the whiteboard by
pressing the magnetic backing to the board.
Prepare the ēno stylus
To prepare the ēno
stylus for use:
• Install batteries as illustrated in the ēno
Quickstart Installation Guide
.
• The ēno stylus requires a Bluetooth connection with your computer.
Assure that the ēno stylus is paired with your computer as described
below in Prepare your computer.
To turn the ēno stylus on and off:
• Remove and replace the stylus cap.
About the ēno stylus battery
When the stylus is not in use, replace the cap to extend battery life.
The computer which is paired with your stylus provides on-screen
warnings when:
• the ēno stylus battery is low, to remind you to replace the battery
• the stylus has been idle for five minutes, to remind you to replace the
cap
Note that NiMH rechargeable batteries are not suitable for the ēno stylus.
Lithium batteries give the longest life.