15 - ENG
Hot surfaces. Risk of burn. Outlet tube, pump head, and
surrounding parts are very hot, do not touch (see the Hot Surfaces identified in
Important Safety Instructions). Allow compressor to cool prior to servicing.
Before starting compressor, pull the ring on the safety valve (F) to make sure that the
safety valve operates freely. If the valve is stuck or does not operate smoothly, it must
be replaced with the same type of valve.
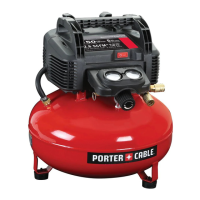
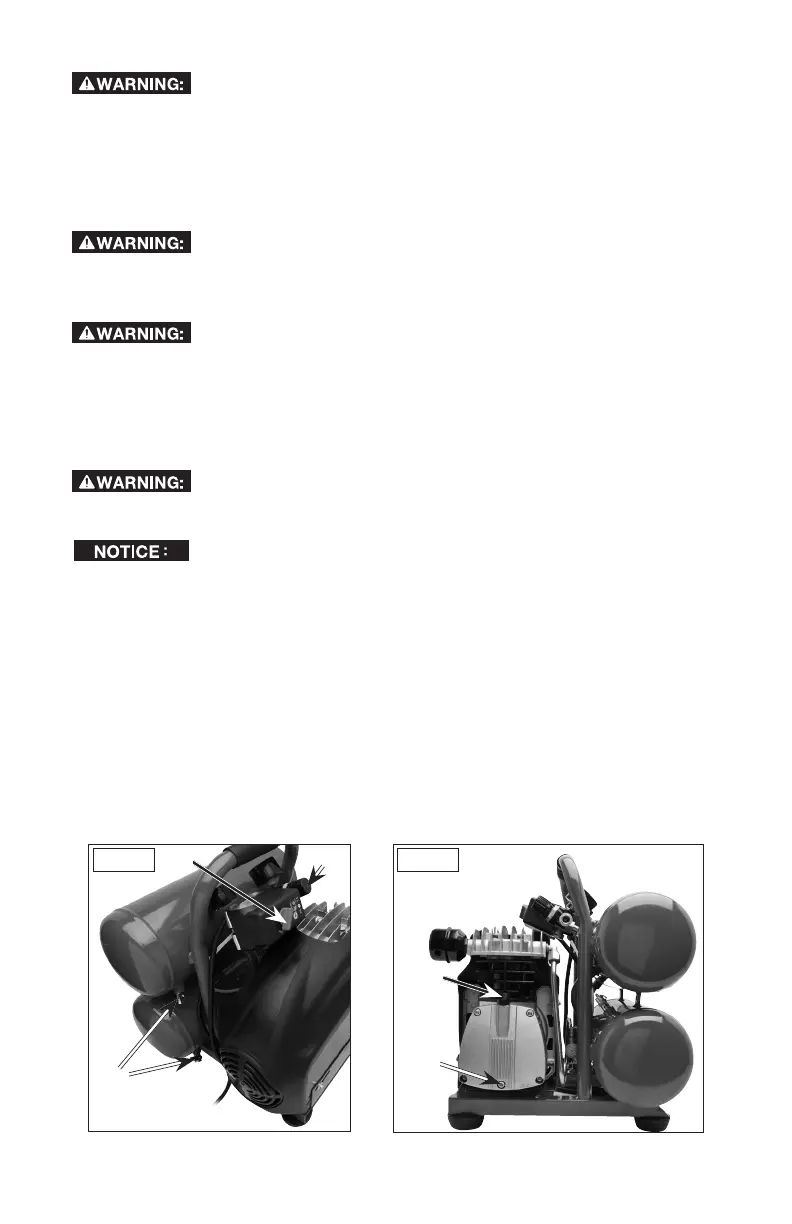
TODRAINTANK(FIG.5,6)
RiskofUnsafeOperation.Air tanks contain high pressure air.
Keepfaceandotherbody partsawayfromoutletofdrain. UseANSI Z87.1
eye protection (CAN/CSA Z94.3)whendraining asdebris canbekicked up
intoface.
Riskfromnoise.Alwayswearproperhearingprotectionduring
use.Undersomeconditionsanddurationofuse,noisefromthisproductmay
contributetohearingloss.
NOTE: All compressed air systems generate condensate that accumulates in any drain
point (e.g., tanks, filter, outlet tubes, dryers). This condensate contains lubricating oil and/
or substances which may be regulated and must be disposed of in accordance with local,
state, and federal laws and regulations.
Risk of Bursting. Water will condense in the air tank. If not
drained,waterwillcorrodeandweakentheairtankcausingariskofairtank
rupture.
Risk of Property Damage. Drain water from air tank may contain oil
and rust which can cause stains.
1. Set the Auto/Off switch (D) to "Off".
2. Turn the regulator knob (N) counterclockwise to set the outlet pressure to zero.
Push regulator knob in to lock in place.
3. Remove the air tool or accessory.
4. Placeasuitablecontainerunderthedrainvalves(K)tocatchdischarge.
5. Pull ring on safety valve (F, Fig. 5) allowing air to bleed from the tank until tank
pressure is approximately 20 psi. Release safety valve ring.
6. Drain water from air tank by opening drain valves (K) on bottom of tanks.
7. After the water has been drained, close the drain valves. The air compressor can
now be stored.
NOTE: If drain valve is plugged, release all air pressure. The valve can then be
removed, cleaned, then reinstalled.
FIG.6
K
D
FIG.7
Q
R
N