8
BEFORE STARTING SAW
WARNING: Be sure to read the
electrical safety information in the safety
rules sec tion of this manual be fore you
begin. If you do not understand the elec-
trical safety information do not attemptto
use your unit. Seek help from someone
that does understand the information or
call the customer assistance help line at
1-800-554-6723.
GUIDE BAR AND CHAIN OIL
The bar and chain requir e lubricati on. The
chain oiler provides lubr icat ion to th e
chainandguidebar.Besuretofillthebar
oil tank before each cut tin g sessi on. Lack
of oil wil l quickly r uin the bar and chain.
Too little oil will cause overheating shown
by smoke coming from the chain and/or
discolorat i on of the bar. For maximum
guide bar and chain lif e, we recommend
you use Poulan or Poulan PRO chain
saw bar oil. If Poulan or Poulan PRO bar
oil is not avail able, you may use a good
grade SAE 30 oil until you are able to ob-
tain Poulan or Poulan PRO brand. Use a
funnel to fill the tank. Replace oil cap se-
curely. Check oil level after every 15 min-
utes of operati on.
CHAIN BRA KE
Ensure chain brake is disengaged by pull-
ing the fr ont hand guard back toward the
fr ont handle as far as possible. The chain
brake must be disengaged before cutti ng
with the saw .
STOPPING YOUR SAW
S Release the trigger switch.
S If motor does not stop, disconnect the
extension cord. Discontinue use of
the unit until it has been repaired by an
authorized service dealer.
STARTING YOUR SAW
1. Connect the saw to a p ower source
using the proper size extension cord
;
see SELECT AN EXTENSION CORD).
2. Grip both handles firmly.
3. Push and hold the trigger lock--out
button with your right hand thumb.
4. Squeeze and hold the trigger switch.
CHAIN BRA KE
WARNING: If the brake band is
wor n too thin it may break when the chai n
brake is triggered. With a broken brake
band, the chain brake will not stop the
chain. The chain brake must be replaced
if any part is worn to less t han 0.020″ (0.5
mm) thick. Repairs on a chai n bra ke
should be made by your authori zed ser-
vice dealer. Take your unit to the place of
purchase or to the nearest authori zed ser-
vice dealer.
S This saw is equipped with a chain
brake. The brake is designed to stop the
chain if kickback occurs.
S The iner t i a--acti vat ed chain brake is ac-
tivate d if the fro nt hand guar d is pushed
for ward, either manually (by hand) or
automati call y (by sudden movement).
S If the brake is already acti vated, it is dis-
engaged by pulling the front hand guard
back toward the front handle as far as
possib le.
S When cutt i ng with the saw, the chain
brake must be disengaged.
Disengaged
Engaged
Braking function co ntrol
CAUTI ON: The chain brake must be
checked several times daily. The motor
must be running when perf or mi ng thi s
pr oc edure. This is the onl y inst an ce when
the saw should be placed on the ground
wit h the motor running.
Place the saw on fi rm ground. Grip the
rear handle with y our right hand and the
front handle with your left hand.
Squeeze trigger switch and allow motor
to reach full speed. Activate the chain
brake by tur ni ng your left wrist against the
hand guard without releasing your gri p
around the front handle. The chain should
stop immediat el y.
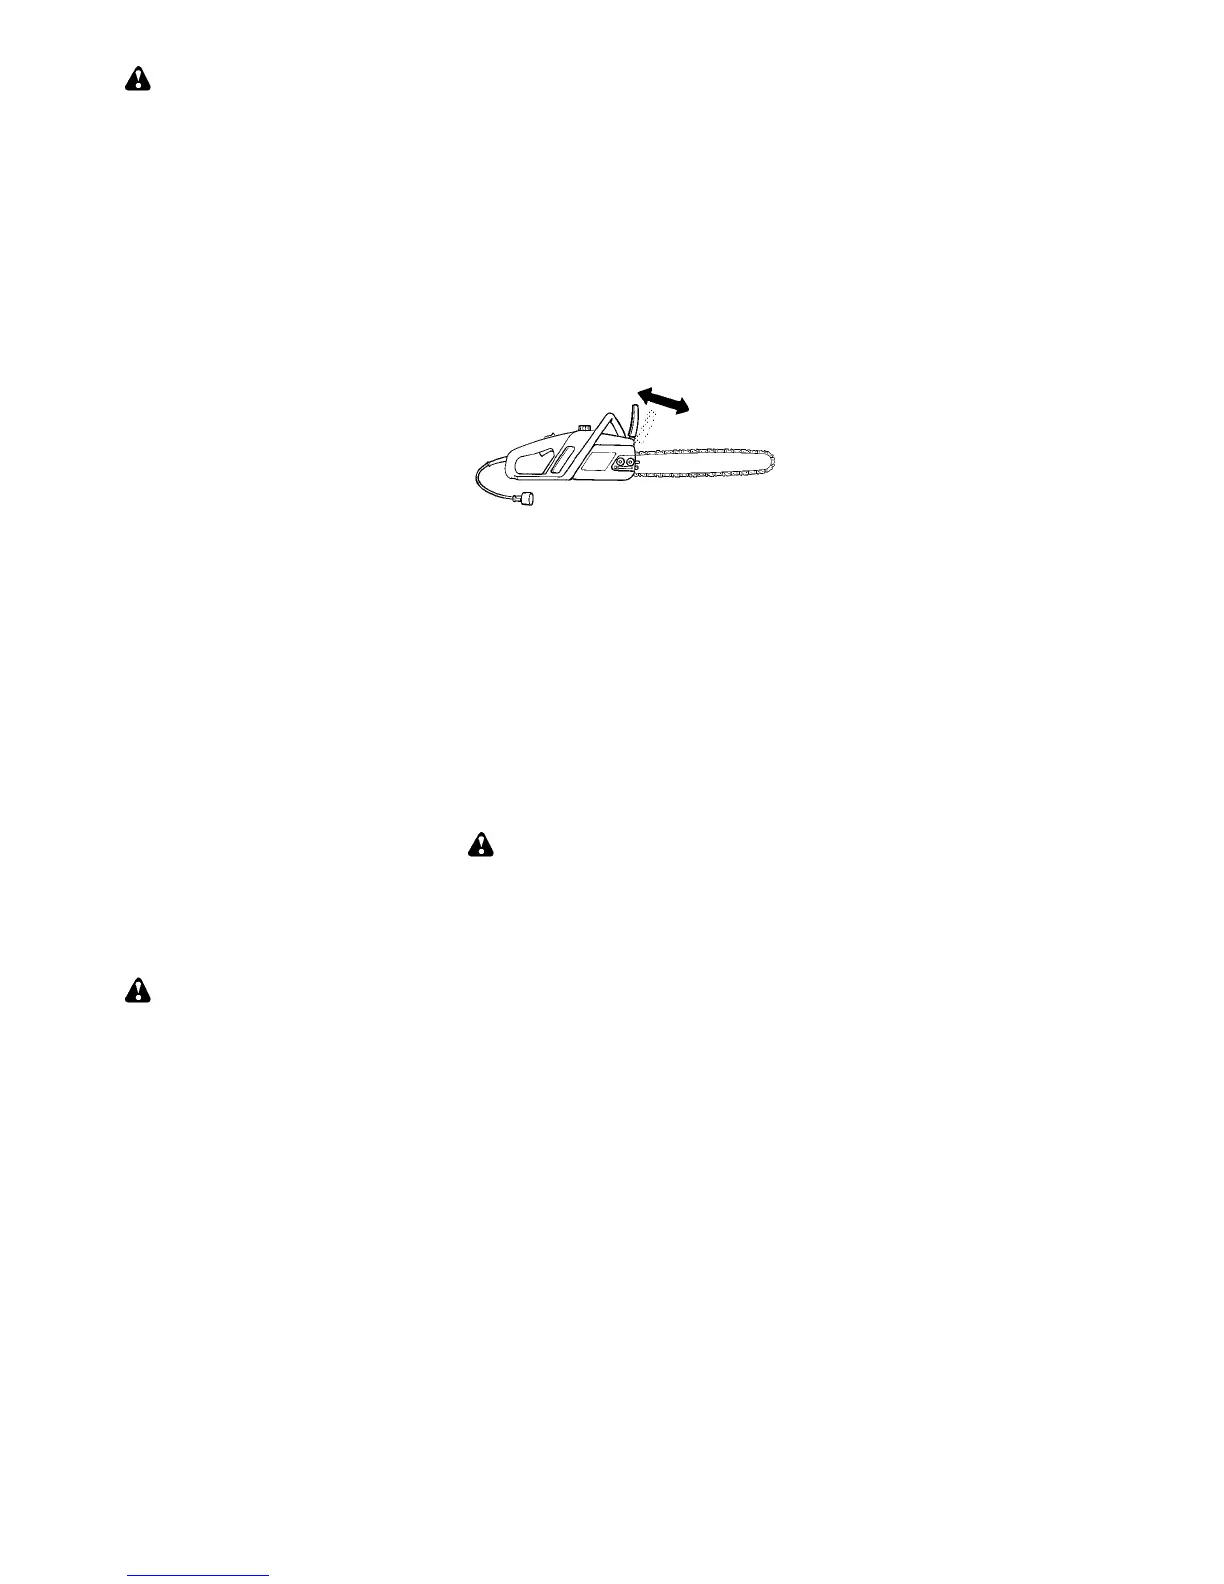
Iner t ia activat i ng functi on control
WARNING: When performing the
following procedure, the motor must not
be running and the saw must be un-
plugged from the power source.
Grip the rear handle with y our right hand
and the front handle with your left hand.
Hold the chain saw approximat el y 14″ (35
cm) above a stump or other wooden sur-
face. Release your grip on the fr ont han-
dle and use the weight of the saw to let the
ti p of the guide bar fall for war d and contact
the stump. When the tip of the bar hits the
stu mp , the brake shoul d acti vate.