Page 13
1) Connect components to the charge controller in the sequence as shown
above and pay particular attention to the “+” and “-”. Don’t switch on the Solar
panel breaker until the installation is complete. When disconnecting the
system, the order must be reversed.
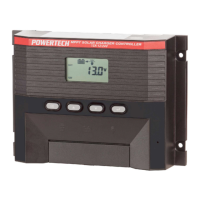
2) After installation, switch on the breaker and check that the LCD display
comes on. If it’s not on, please refer to chapter 4.
NB: Always make sure the battery is connected to the controller BEFORE
Solar Power is applied, to allow the controller to recognize the system voltage.
3) The battery fuse should be installed as close to battery as possible. The
suggested distance is within 150mm.
4) The MP3741 is a positive ground controller. Any positive connection of solar,
load or battery can be earth grounded as required.
CAUTION: If the Remote Temperature Sensor (RTS) is unplugged or
not fitted, the temperature of battery is assumed to be 25 ºC.
CAUTION: If you want to use an inverter, connect the inverter to the
battery terminals rather than to the controller terminals. (It is always a
good policy that anything you can power direct from 12 Volts, should
be powered from 12 Volts, rather than using a 240V device through
an inverter).
3 Operation
3.1 Button Functions
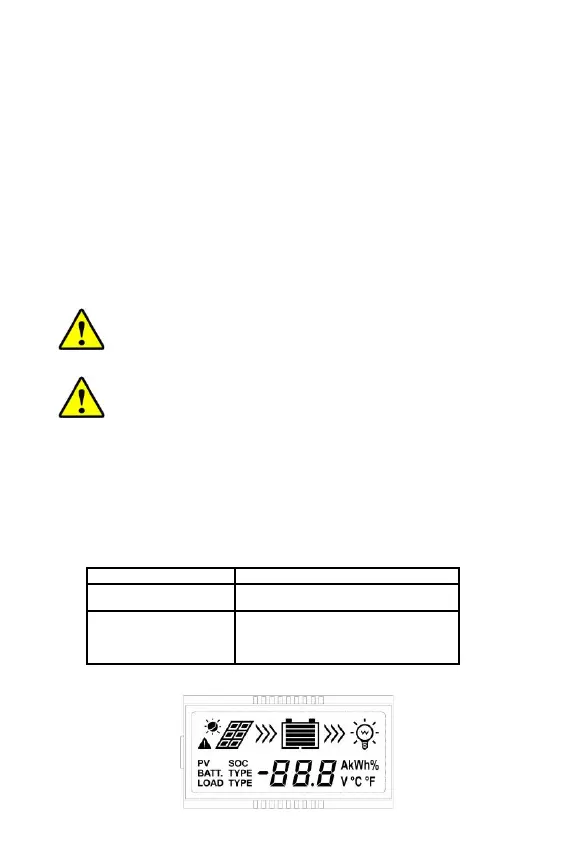
3.2 LCD Display