32 Assembling and Maintaining TRM 800-Series Treadmills
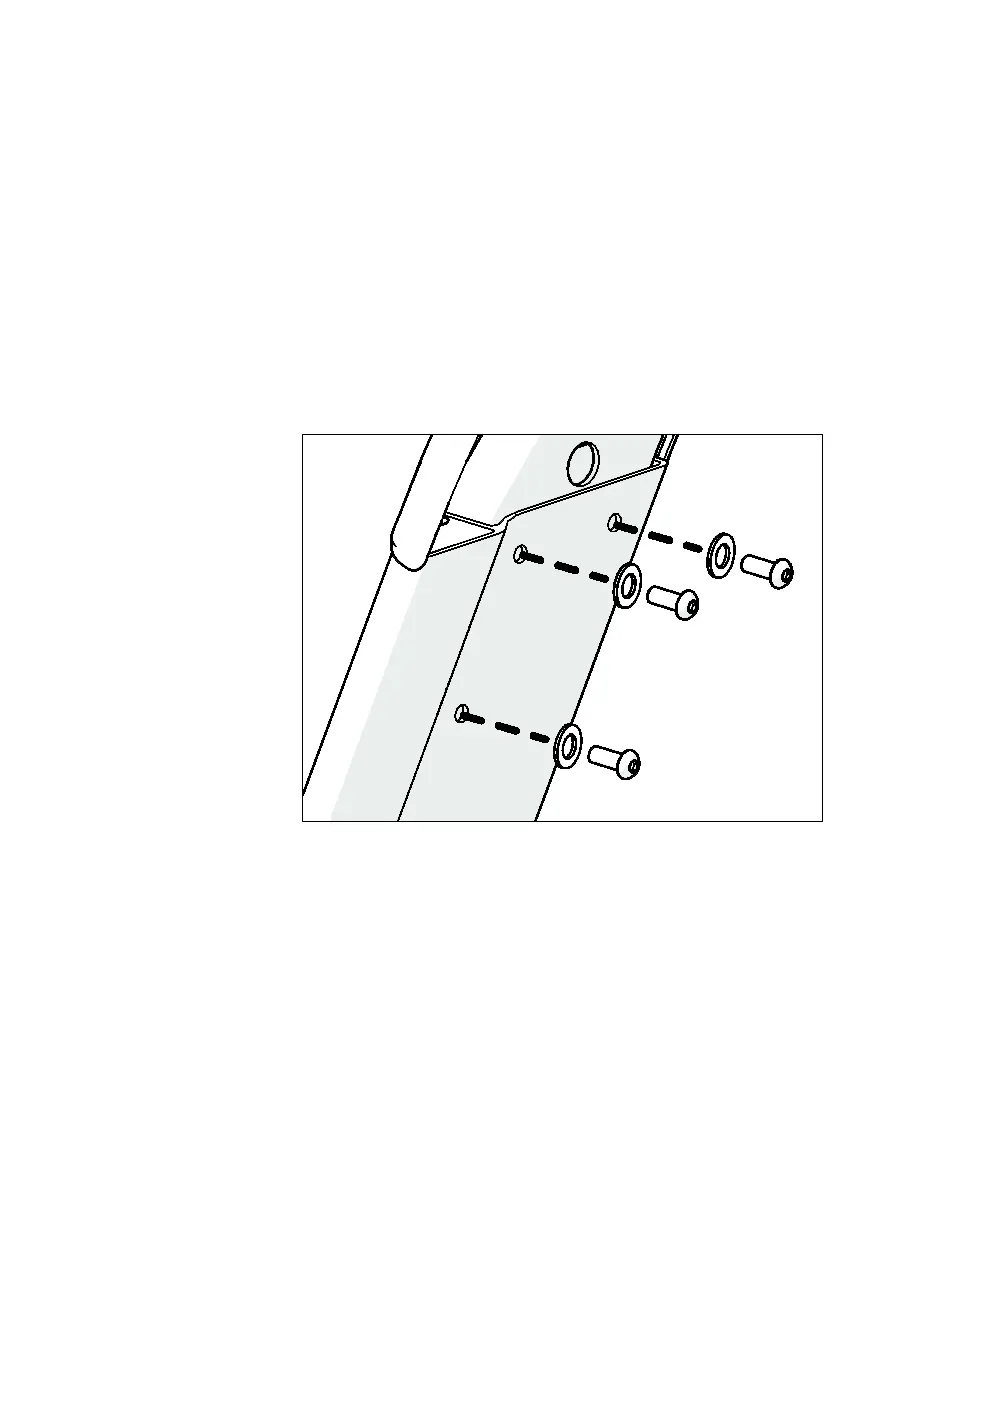
5. Secure the fairing assembly using six ³₈-inch × 1-inch
buttonhead screws and six ³₈-inch narrow flat washers.
Partially tighten the fasteners using a ⁷ ₃₂-inch hex wrench.
Tip: To position the fairing brackets in the upright
supports, insert your #3 Phillips screwdriver through one
of the screw holes in the upright support and into the
corresponding screw hole in the bracket. Use the
screwdriver to hold the parts in position while you insert
and partially tighten the screws in the other two holes,
then remove the screwdriver and insert the third screw.
Repeat these steps for the other upright support if
necessary.
Figure 13: Fairing assembly attachment
6. Connect the DC output cable from the power supply to
the power cable in the console cable assembly.
7. Carefully pull all cables back up through the upright
supports so that no excess cable remains in the base of
the treadmill. Store the excess cable in the compartments
just above the upright supports.

 Loading...


