Section 3 - INSTALLATION
13
© Copyright 2006 PREO SRL
All rights reserved
EAW530E2MV
Edition
03/2006
• Feed the guns with compressed air at a minimum pressure of 6 bar.
• Protect the guns against vibrations and make sure that they are secured in
such a way that they do not change position during use of the system.
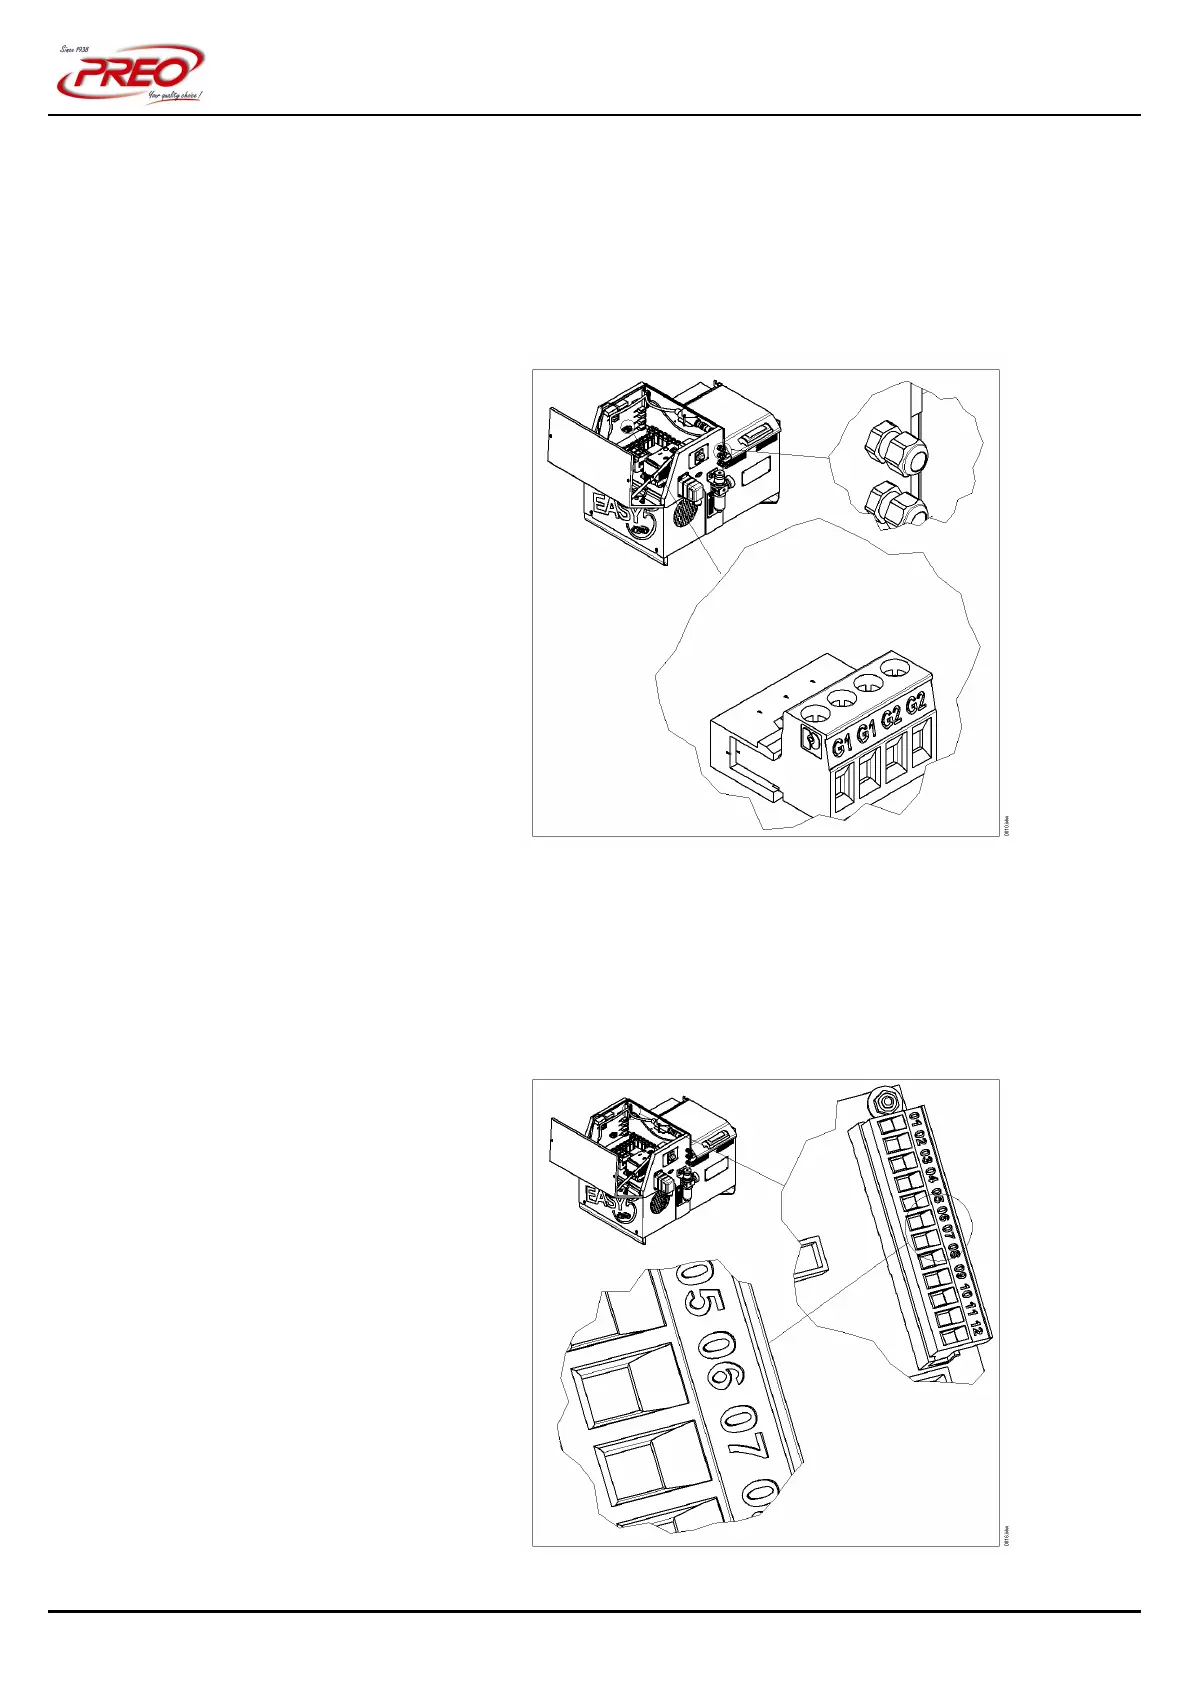
3.10 GUN SOLENOID VALVE SIGNAL CONNECTION
In order to carry the electric signal to the guns’ solenoid valves, connect to the
terminal card situated inside the electrical box, as illustrated in figure 13.
Figure 13
Terminals G1-G2 (guns 1-2) are connected to the terminals of the solenoid valve
coils. These signals are interrupted by a really that closes when the machine is
ready. Connect the external signals, destined to activate the guns, here. The voltage
parameters may be selected on the basis of the gun type. Typically, the voltage is
24 V DC, but AC may also be used if necessary.
3.11 MACHINE READY SIGNAL CONNECTION
Figure 14

 Loading...