1. Set the unit to maintenance mode (software-wise and pump switch(es) off).
2. Close the valve on the fertiliser line concerned. If there are valves at the start and end of the
fertiliser line then close the valve at the end (closest to the unit).
3. Place a plastic receptacle underneath the dirt filter.
4. Unscrew the cap from the dirt filter and remove the filter element from the housing.
5. Rinse the filter element underneath the tap until clean.
6. Replace the filter element and screw the cap back onto the dirt filter.
7. Open the valve on the fertiliser line concerned.
8. Check that the dirt filter is not leaking.
9. Empty the receptacle into the appropriate tank of fertiliser.
10. Put the unit back into operation.
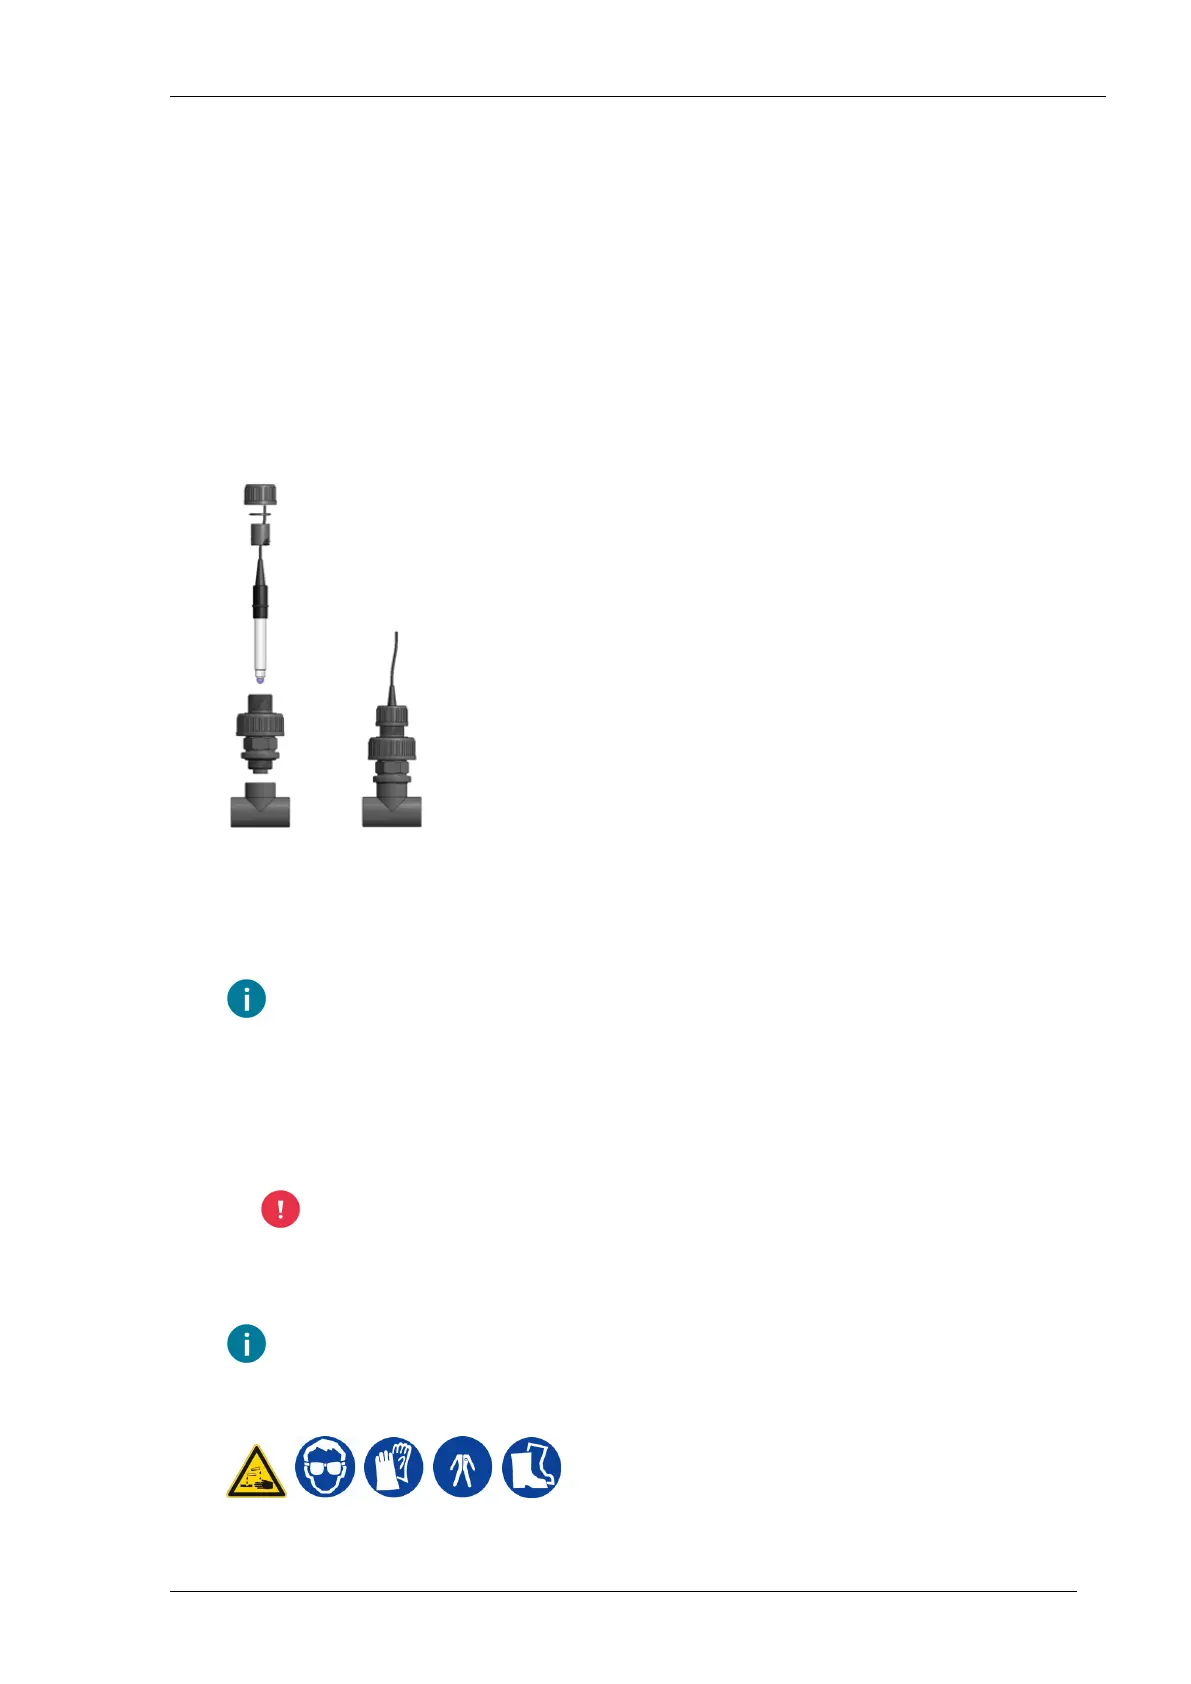
Cleaning the pH sensors
The pH sensors have to be unscrewed from the pH sensor holder for cleaning (see also chapter
Fitting the pH sensor (page 29)). Only do this when the unit is in maintenance mode (software-wise
and pump switch(es) off). Check the screw coupling on the pH sensor holder for leaks after putting
back into operation.
In principle, the sensor cables in the cabinet can remain connected during maintenance.
However, the sensor cables must be disconnected if the current situation requires this so
that cleaning can taken place elsewhere.
Cleaning the pH sensor normally
1. Clean the glass membrane and the housing of the sensor with a solution of liquid detergent in
warm water. Use a soft brush or a clean cloth, dipped in the soap solution. Do not use a paper
towel.
Do not apply excessive pressure to the glass membrane as it is fragile.
2. Rinse the glass membrane well with distilled water. Then immerse the sensor for at least 30
minutes in a 50/50 mixture of pH 4 buffer and 4M KCl before using it again.
It is advisable to recalibrate the pH measurement after cleaning.
Cleaning the pH sensor thoroughly
NutriJet - user - 00.00228
Priva