11
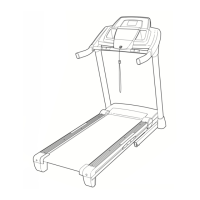
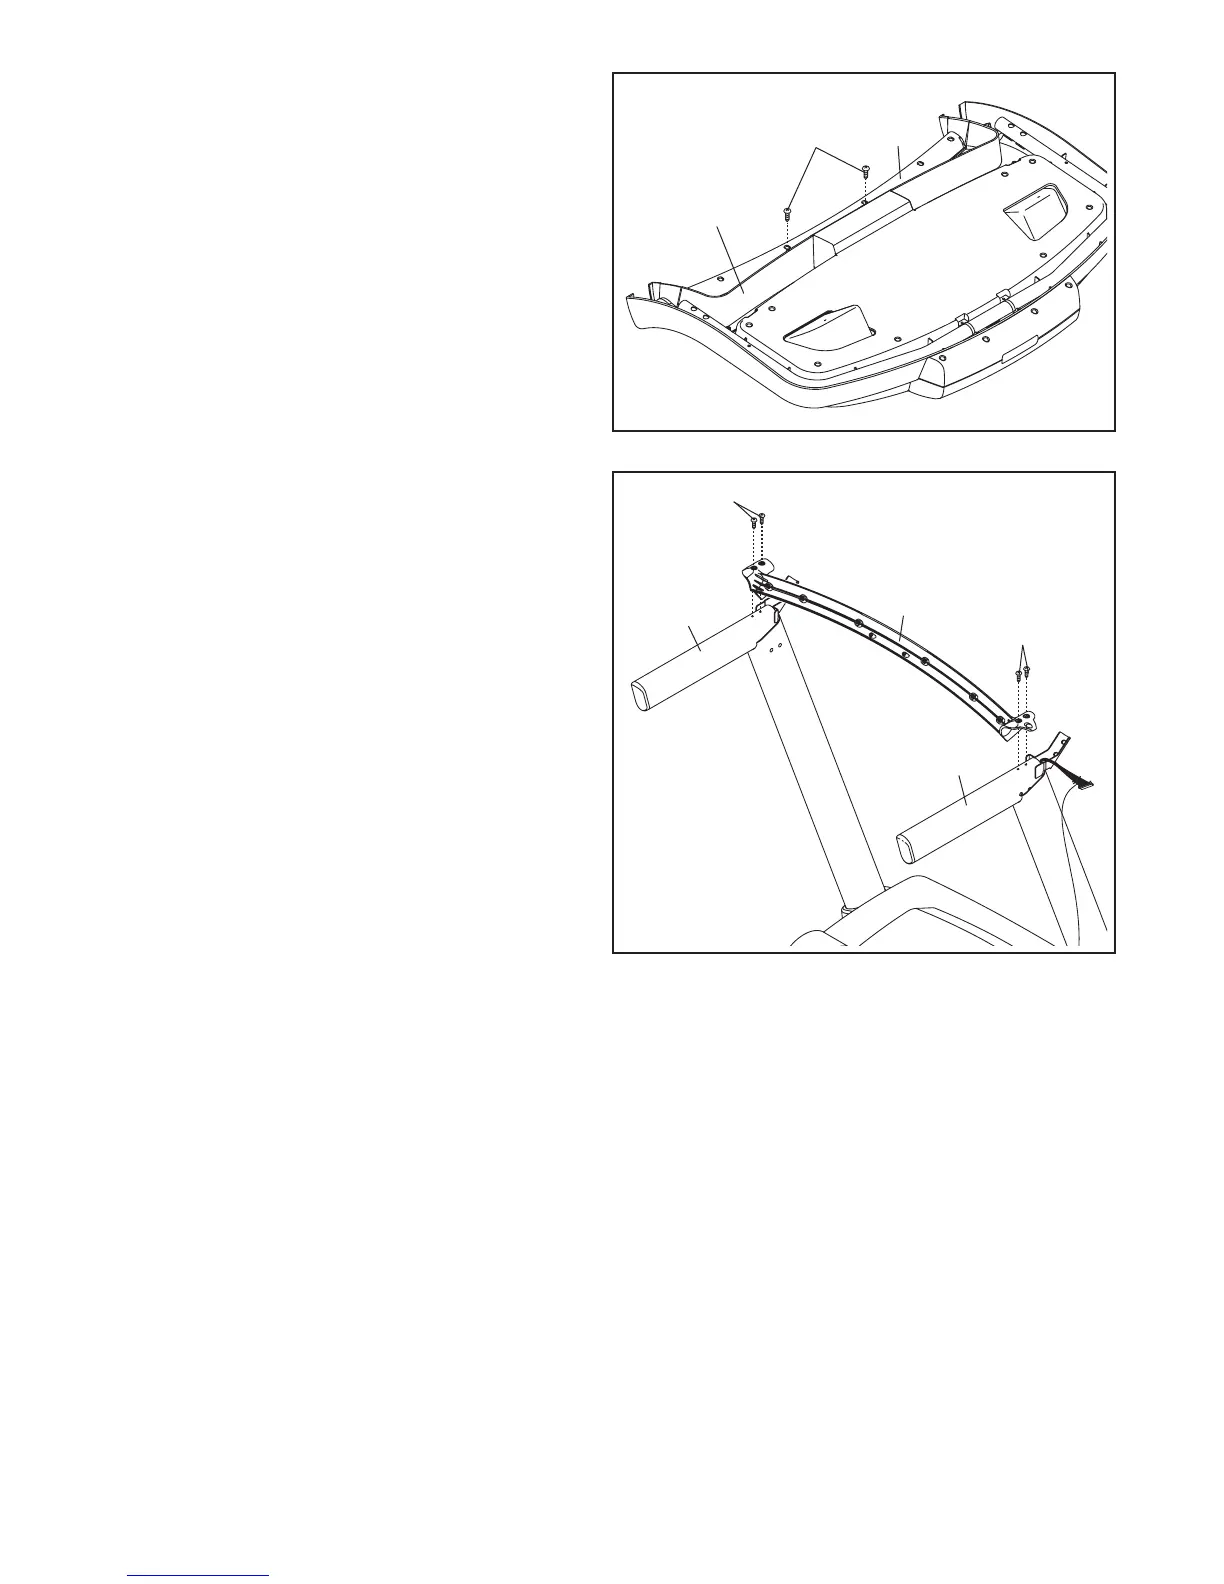
9. Set the console assembly face down on a soft
surface to avoid scratching the console assem-
bly. Remove and discard the two screws (B). Lift
off the Crossbar (33).
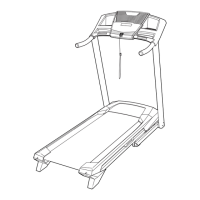
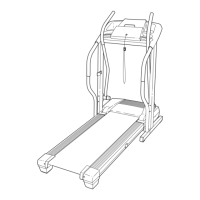
9
33
Console
Assembly
B
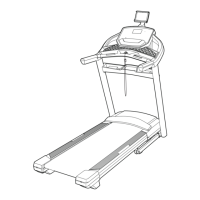
10. IMPORTANT: To avoid damaging the
Crossbar (33), do not use power tools and
do not overtighten the #10 x 3/4" Screws (2).
Orient the Crossbar (33) as shown. Attach the
Crossbar to the Handrails (82, 83) with four #10
x 3/4" Screws (2). Start all four Screws, and
then tighten them.
10
33
2
83
82
2