©2022 Pro-Vision Solutions, LLC. Page 12 of 56
Analog HD Forward Facing Camera Installation
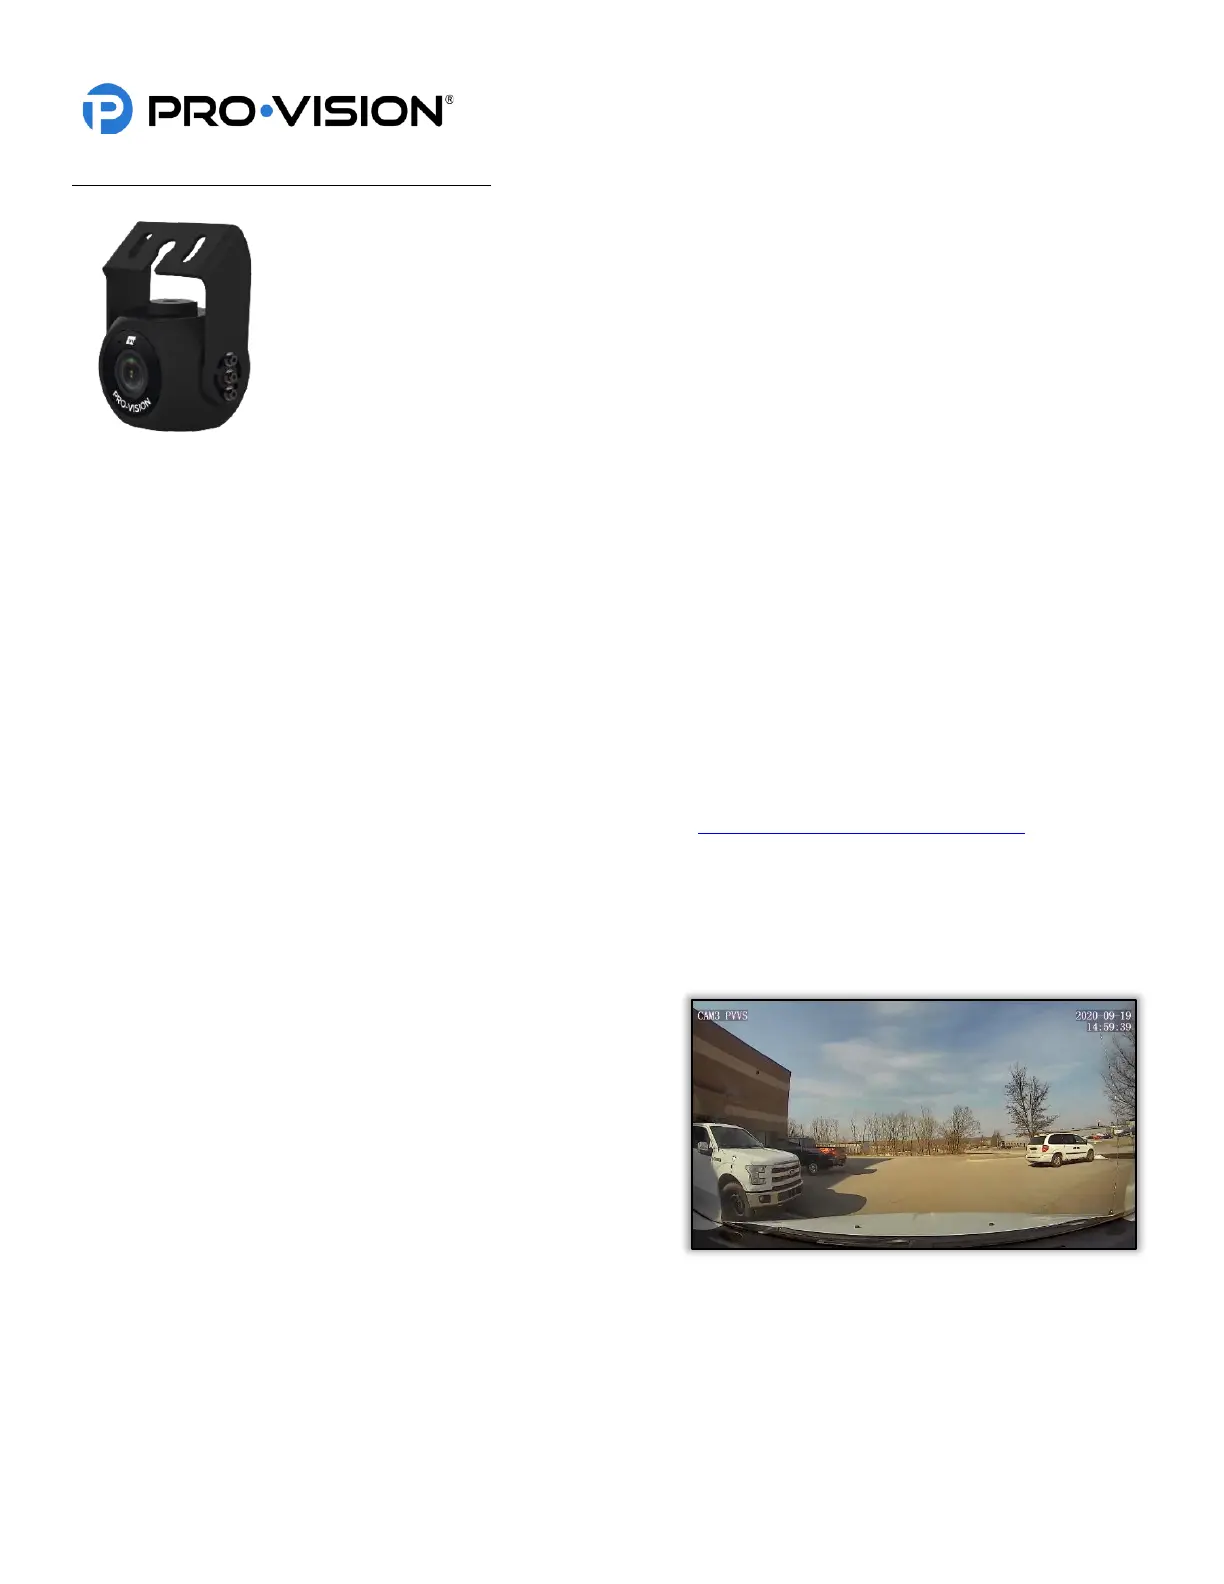
The AHD Forward Facing Camera (Kit P/N: DVR-922, Camera P/N: PC-1922) is designed to
record the area in front of the vehicle through the windshield. The camera lens has a wide 130°
horizontal field of view and vertical field of view of 70°. The camera has a built-in microphone for
audio recording and is able to capture discernable video in low-light and day-time conditions.
Mounting Location:
The PC-1922 AHD Forward Facing Camera is designed to mount to the front windshield of a
vehicle as close to the center and as high as possible, usually just below or on the passenger
side of the rearview mirror mounting bracket. Ensure that the window tint is not within the
camera’s field of view and that the camera is mounted in a location that least obstructs the
drivers visibility. An optional pedestal mounting bracket (P/N: PC-1017S) is available to allow
mounting of the camera without attaching it to the windshield glass.
Installation:
1. Slide the mounting bracket over the top of the camera so that the Pro-Vision logo located on the mounting bracket
is facing the rear side (cable side) of the camera. Using the six (6) assembly screws provided, attach the
mounting bracket to the camera. Only install the assembly screws finger tight for now as final aiming adjustments
will need to be made later.
2. Clean the top of the mounting bracket along with the approximate camera mounting area on the front windshield.
3. Remove the film from one side of the double-sided adhesive and firmly press it to the top of the mounting bracket.
DO NOT remove the film from the windshield side of the adhesive yet.
4. It is recommended to power on the DVR unit, temporarily connect the camera to it, hold the camera up to the
windshield, and observe the view in the desired mounting location to ensure that the view is satisfactory before
permanently attaching the camera and routing the cable. (See Viewing Cameras on a Smart Device for
connection details)
5. When the desired mounting location is found, use tape to mark the camera mounting location on the windshield.
6. Remove the remaining film from the adhesive and firmly press the mounting bracket to the front windshield in the
marked location for at least 30 seconds. Remove any tape from the windshield that was used to mark the camera
mounting location.
7. Make any final aiming adjustments required to the
camera and tighten up the six (6) assembly screws.
8. Connect the camera to the extension cable running to the
“Camera 1” connector on the PLE-1910 cable connected
to the DVR unit and verify that the camera is functioning
as expected.
 Loading...