©2022 Pro-Vision Solutions, LLC. Page 21 of 56
8. Power on the DVR unit and connect to the Wi-Fi to view the live camera image to properly aim it on the view
page. (See Viewing Cameras on a Smart Device for connection details)
9. After the camera is aimed, tighten the six (6) mounting screws on the sides of the camera.
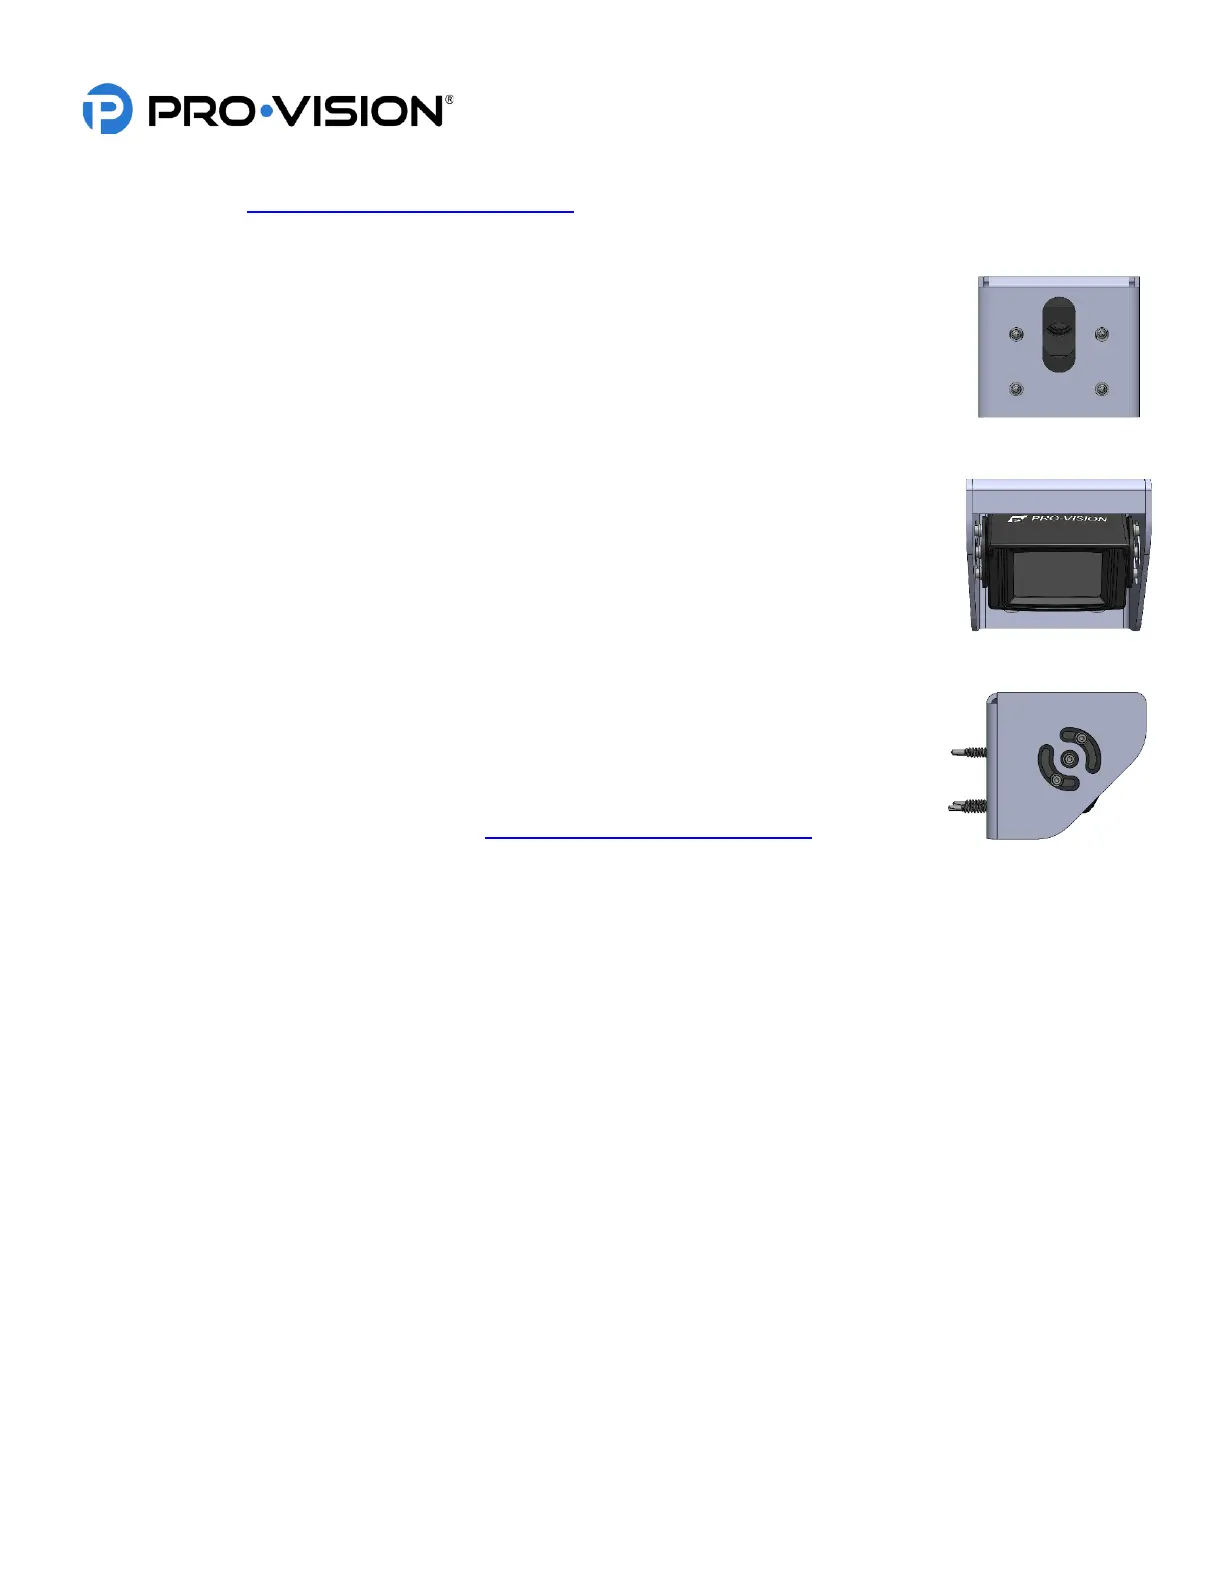
Optional Heavy-Duty Bracket Installation (Requires P/N: PC-1271):
1. Locate the desired mounting location of the camera. It is recommended to power on the
DVR unit, temporarily connect the camera, and observe that the view in the desired
mounting location is satisfactory before proceeding to the next step.
Important! Make sure there is no wiring behind the desired mounting location that could be
damaged when mounting the camera to the vehicle.
2. If the cable will be routed through the vehicle body, it is typically routed through a ¾”
hole drilled directly in the center of the vehicle body behind the bracket. Mark and drill
this hole if needed. Remove any burrs or jagged edges from the hole to prevent damage
to the cable.
3. Holding the bracket up with the cable slot centered on the hole drilled from step 2, use a
5/16” socket to screw the four (4) mounting screws into the vehicle body. Make sure that
the bracket is level to the vehicle body. When mounting to thicker metal surfaces, pre-
drilling the mounting holes may be necessary
4. Route the camera cable through the cable hole and install a grommet or put adhesive
around the cable to seal the cable routing hole.
5. Install the camera into the bracket with the six (6) screws and washers. Leave the
screws slightly loose until final camera aim adjustment is completed.
6. Power on the DVR unit and connect to the Wi-Fi to view the live camera image to
properly aim it on the view page. (See Viewing Cameras on a Smart Device for
connection details)
7. After the camera is aimed, tighten the six (6) mounting screws on the sides of the camera.
 Loading...