© 2008 by Proceq SA 13
3.1 Preparation
See chapter 4 for advice on selecting your regional setting
and on navigating around the menus.
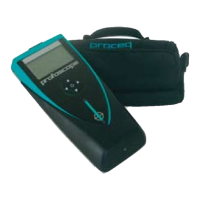
Measuring Screen Short Cuts
UP
RIGHT
DOWN
SELECT
LEFT
Pressing the up arrow
will switch the back-light
on/off.
Pressing the right arrow
toggles between meas-
uring ranges.
3.2 Locate a Rebar
☺ Switch on the Profoscope and perform a reset as ex-
plained in “Getting Started”. The Profoscope can im-
mediately be used to locate a rebar.
Note: The Profoscope is able to locate a rebar
and also the mid-point between two rebars. It is
important to be able to recognize which is which.
3.2.1 Finding a Rebar
Step 1 – Place the Profoscope on the test surface and
move it slowly in a chosen direction. The Profoscope re-
acts differently depending on its orientation relative to the
rebars. There are three scenarios.
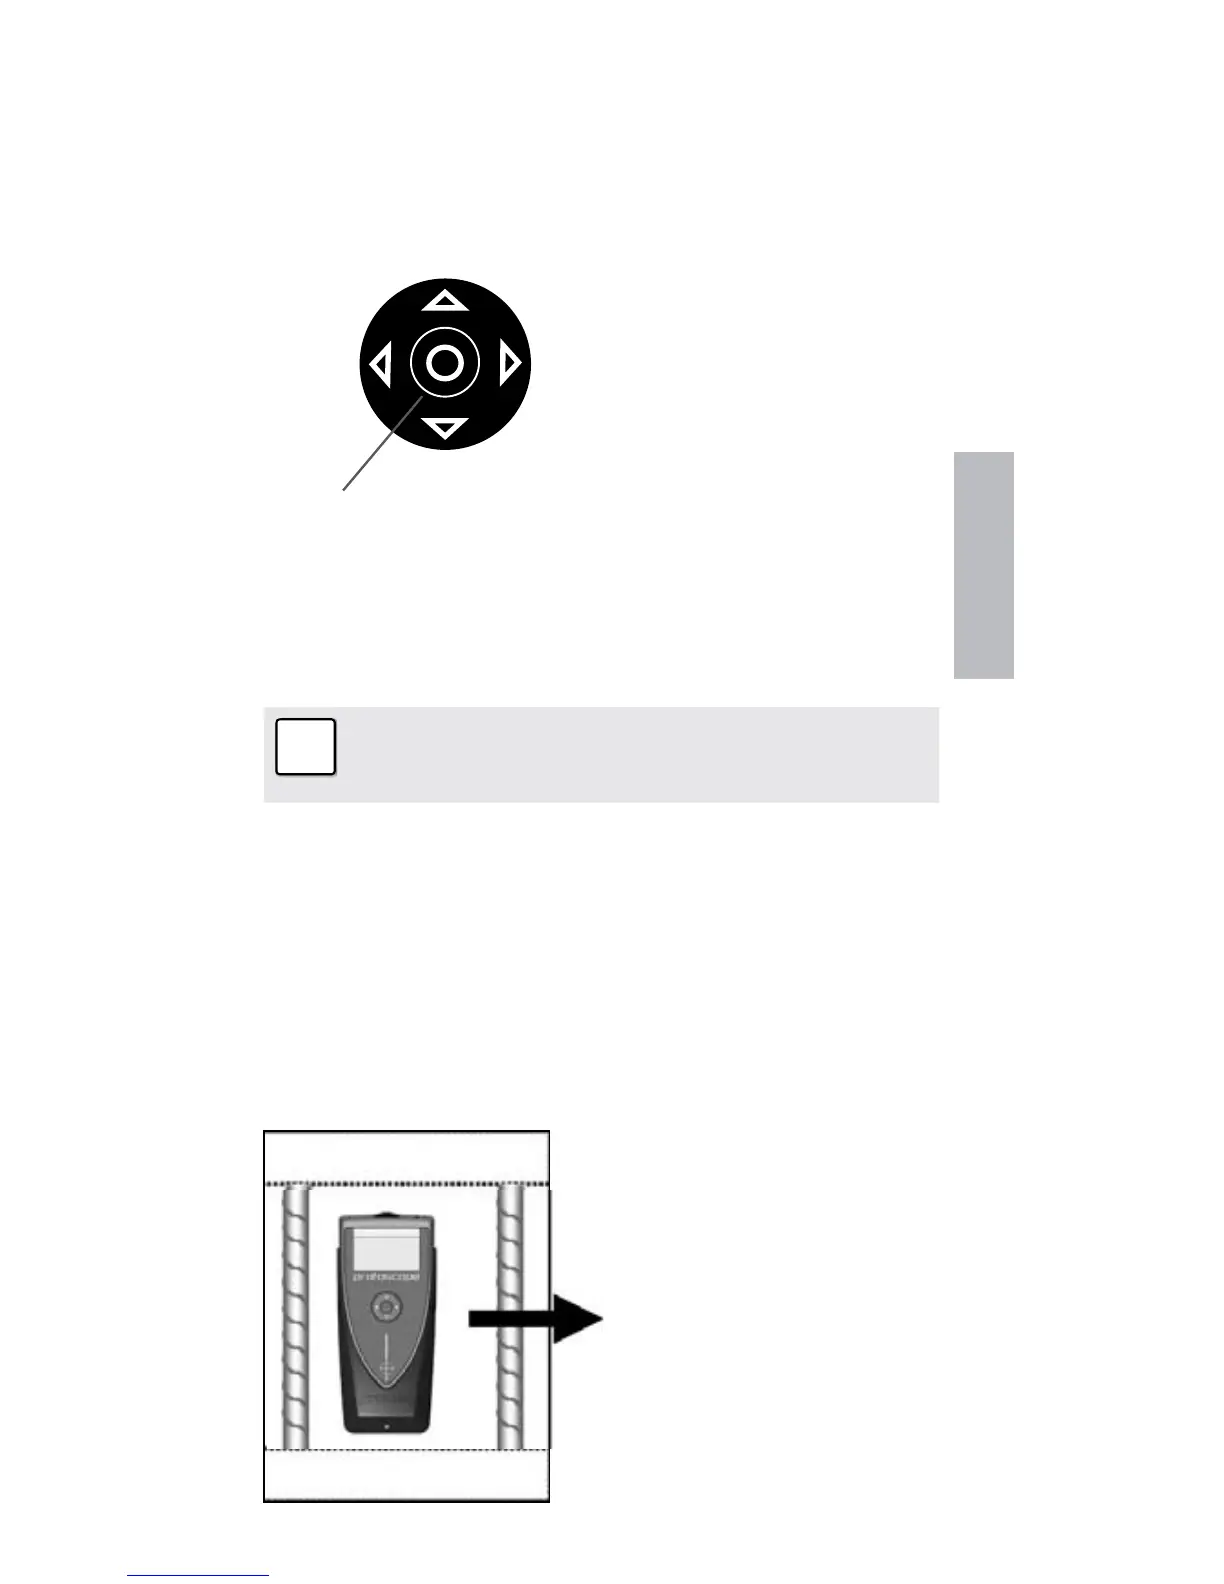
Scenario A)
Sweeping Parallel to the Rebars
☺ Try it out on the start-
up test kit.
Real Tests