© 2008 by Proceq SA 21
is located with at least 150 mm (6”) spacing to a neigh-
boring rebar.
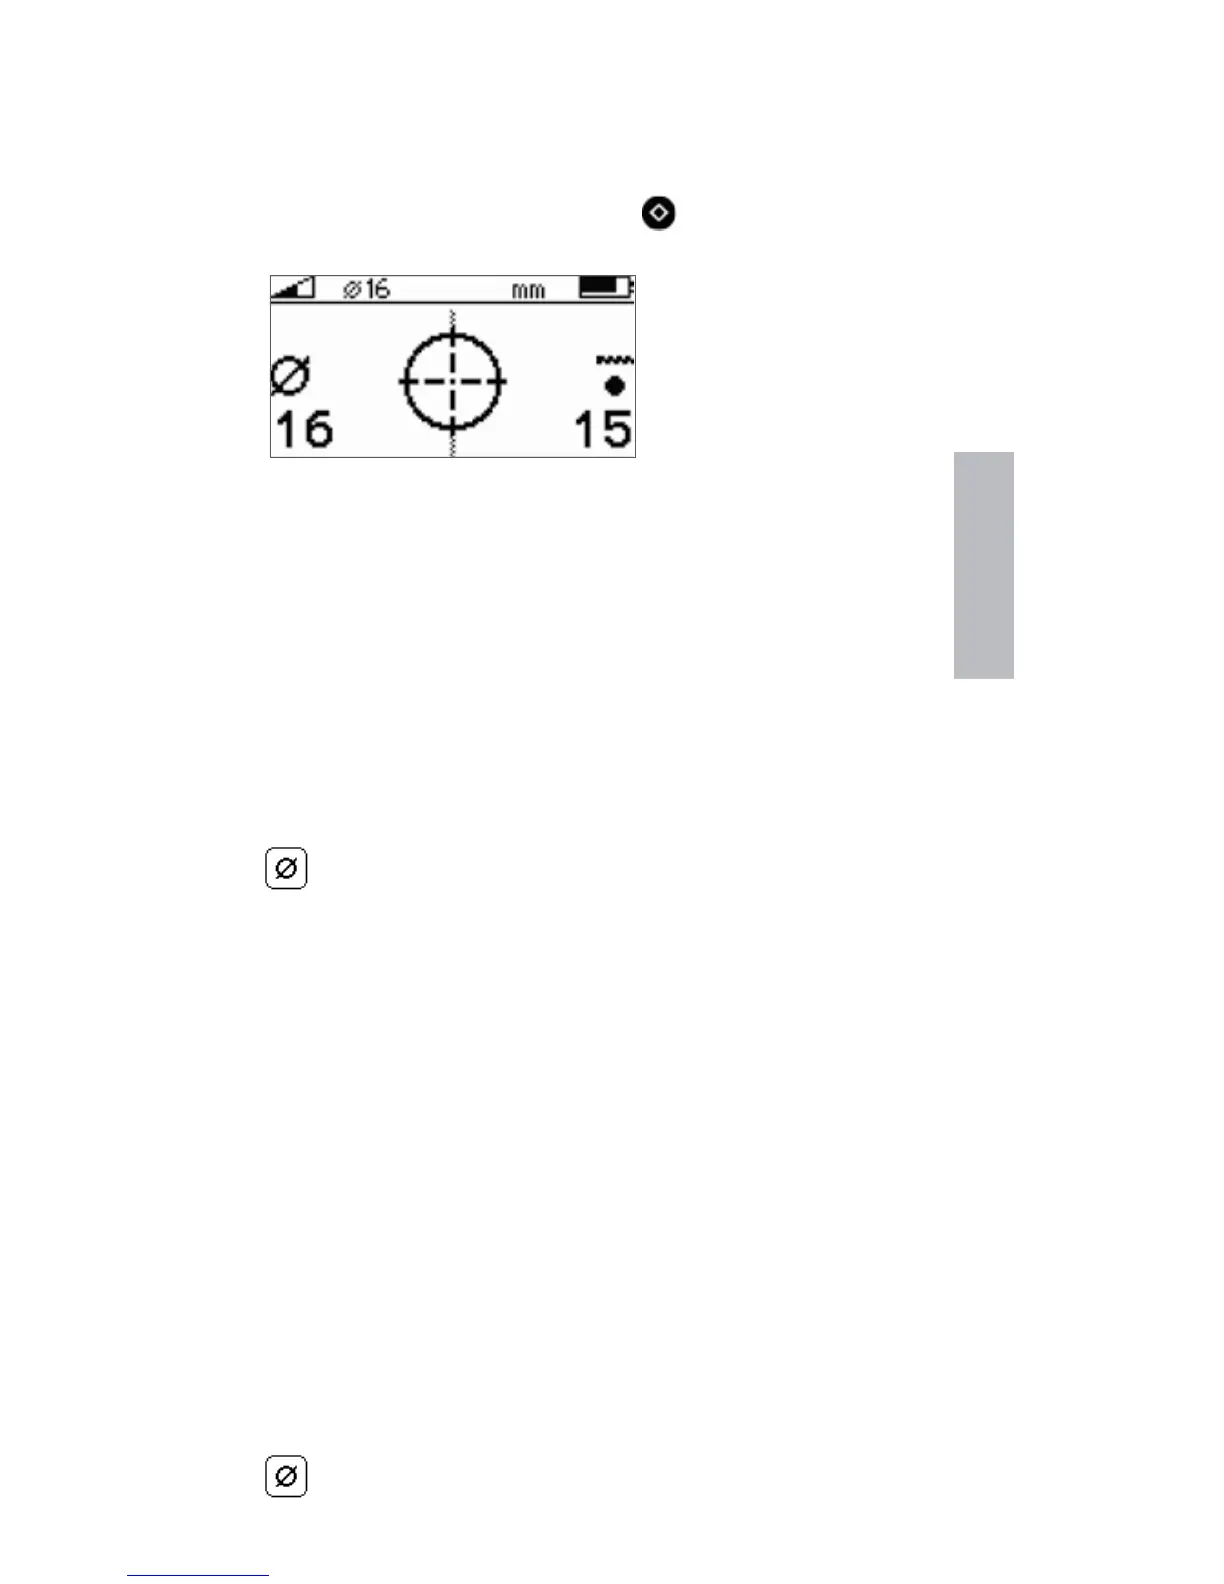
Step 4 - Place the centre line of the Profoscope over the
rebar and click the function key on the left side.
The measured rebar
diameter replaces the
signal strength arrow.
Note down the rebar diameter.
☺ Try it out on the start-up test kit.
3.4.3 Work with a Default Value
Method 2 The purpose of this approach is to work with
a default value with known error tolerances.
From the menu item “Bar diameter” select the default
value 16mm or #5 for the diameter.
Use the chart in section 2.5 of the tutorial to understand
the errors that can be expected in the cover readings if the
actual rebar diameters differ from the reference value.
3.4.4 Drill Inspection Hole
Method 3 The purpose of this approach is to accurately
determine the rebar diameter through destructive means.
If neither of the methods 1 and 2 are feasible for what-
ever reason and you are still in doubt (this could be the
case when rebars are bunched too close together or are
too small in diameter), then drill an inspection hole wide
enough to allow the use of a caliper to measure the re-
bar diameter. Program this value into the Profoscope and
proceed.
Real Tests