23
RESULT
The boot up of the Gateway takes around 2min until the LED
1 lights up green. The connectivity device is connected to
the end device.
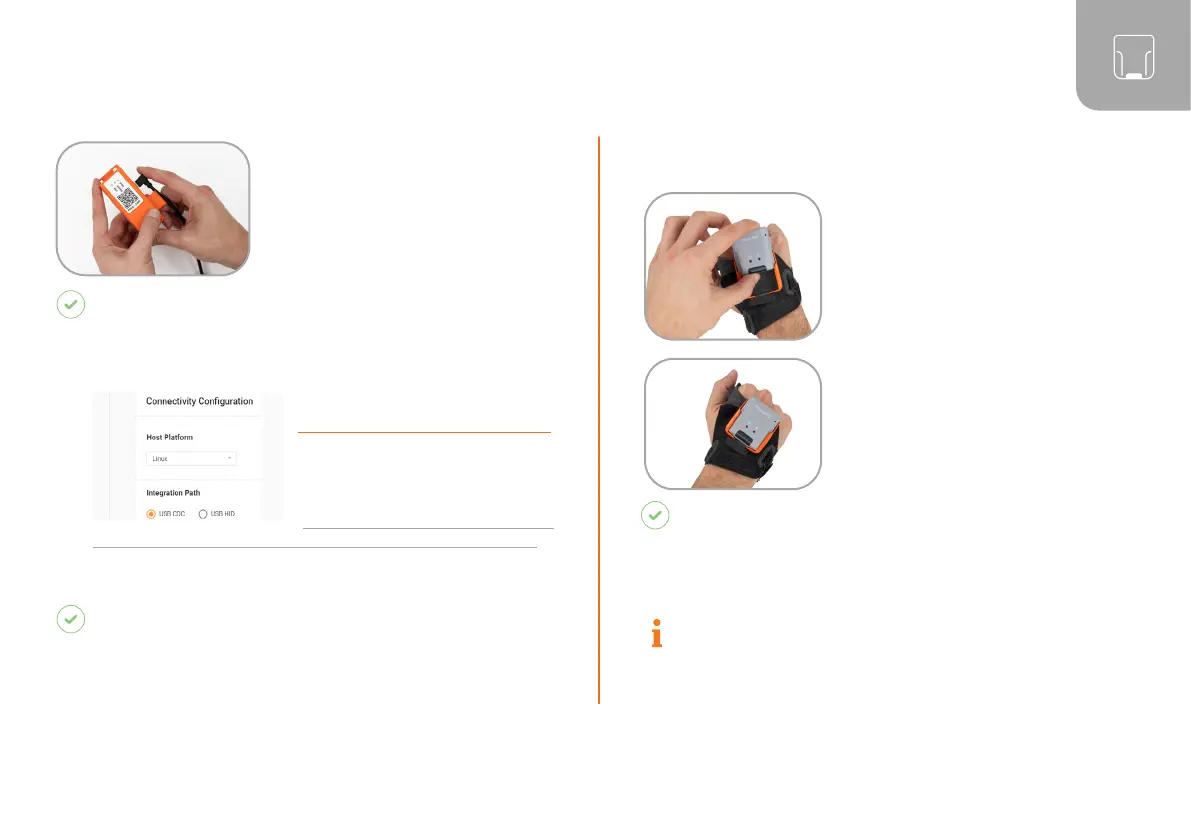
2. Plug the other end of the USB
cable into the Micro USB socket of
the Gateway. A clear clicking sound
confirms the correct fastening.
4. Connect with the COM port on the end device.
RESULT
The boot up of the Gateway takes around 2min until
the LED 1 lights up green. The connectivity device is
connected to the end device.
3
RD
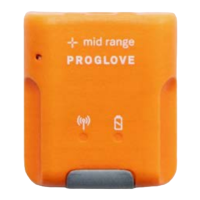
STEP: SWITCH ON THE SCANNER
1. Position scanner on the
fastening rail of the wearable.
The pins face down.
2. Push scanner down. A
clear clicking sound confirms
the correct fastening.
3. Press the textile trigger on
the glove for about 2 seconds
RESULT
Scanner lights up with all LEDs. You can hear a
beeping sound and feel a short vibration. Scanner
is switched on.
NOTE
Scanner switches off automatically after 15
minutes without being used.
3. In the configuration tool
(https://insight.proglove.com/)
under “Connectivity
Configuration > Integration
Path” select USB CDC.
More detailed information about this
can be found in chapter “Configure devices and firmware update.”