Connect
3.ConnecttheconvertertotheHDMIportonthebackofthe
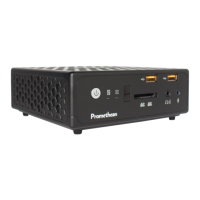
ClassFlow Connect device.
4. Connectoneendofastandardaudiojackcabletothe
backofyourdisplayorprojector.
5. Connecttheotherendofthecabletotheheadphonejack
on the front of the ClassFlow Connect device.
Step 3: Connecting touch input to your ClassFlow Connect
device
If you have a touch display you will need to:
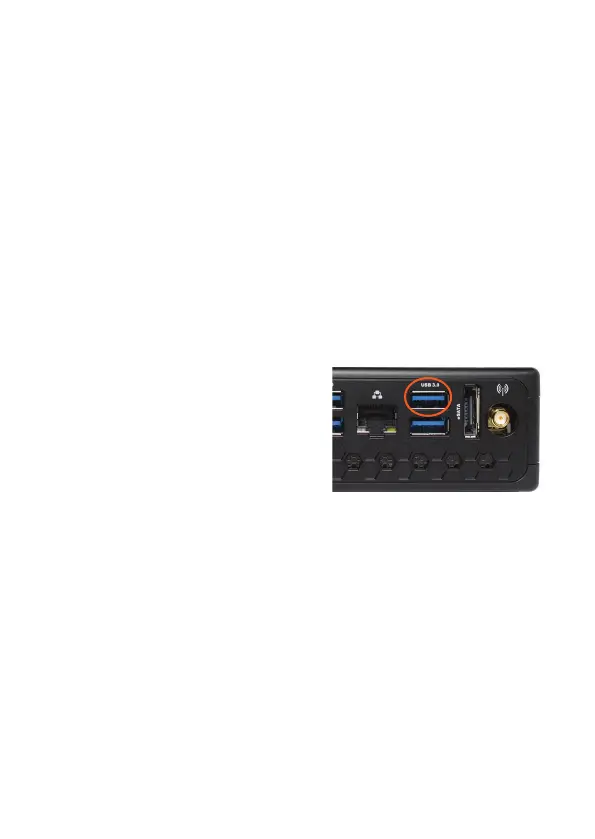
1. ConnectoneendoftheUSBcabletotheUSB(touch)port
on your display.
2.Connect the other end of
the cable to the top right
USBportonthebackof
your ClassFlow Connect device.
Step 4: Connecting the WiFi antenna
1. Connect the included WiFi antenna to the WiFi antenna
connectoronthebackofyourClassFlowConnectdevice.
Step 5: Connecting the power cables
1. Connectthepoweradaptertothepowerinputontheback
of the ClassFlow Connect.
2.Connect the appropriate mains power lead into the power
adapter.
3.Plug the mains power lead into a mains outlet. DO NOT turn
on your ClassFlow Connect device.
ClassFlowConnectInstallation&UserGuide11