PRO-VISION® Video Systems
29 provisionusa.com
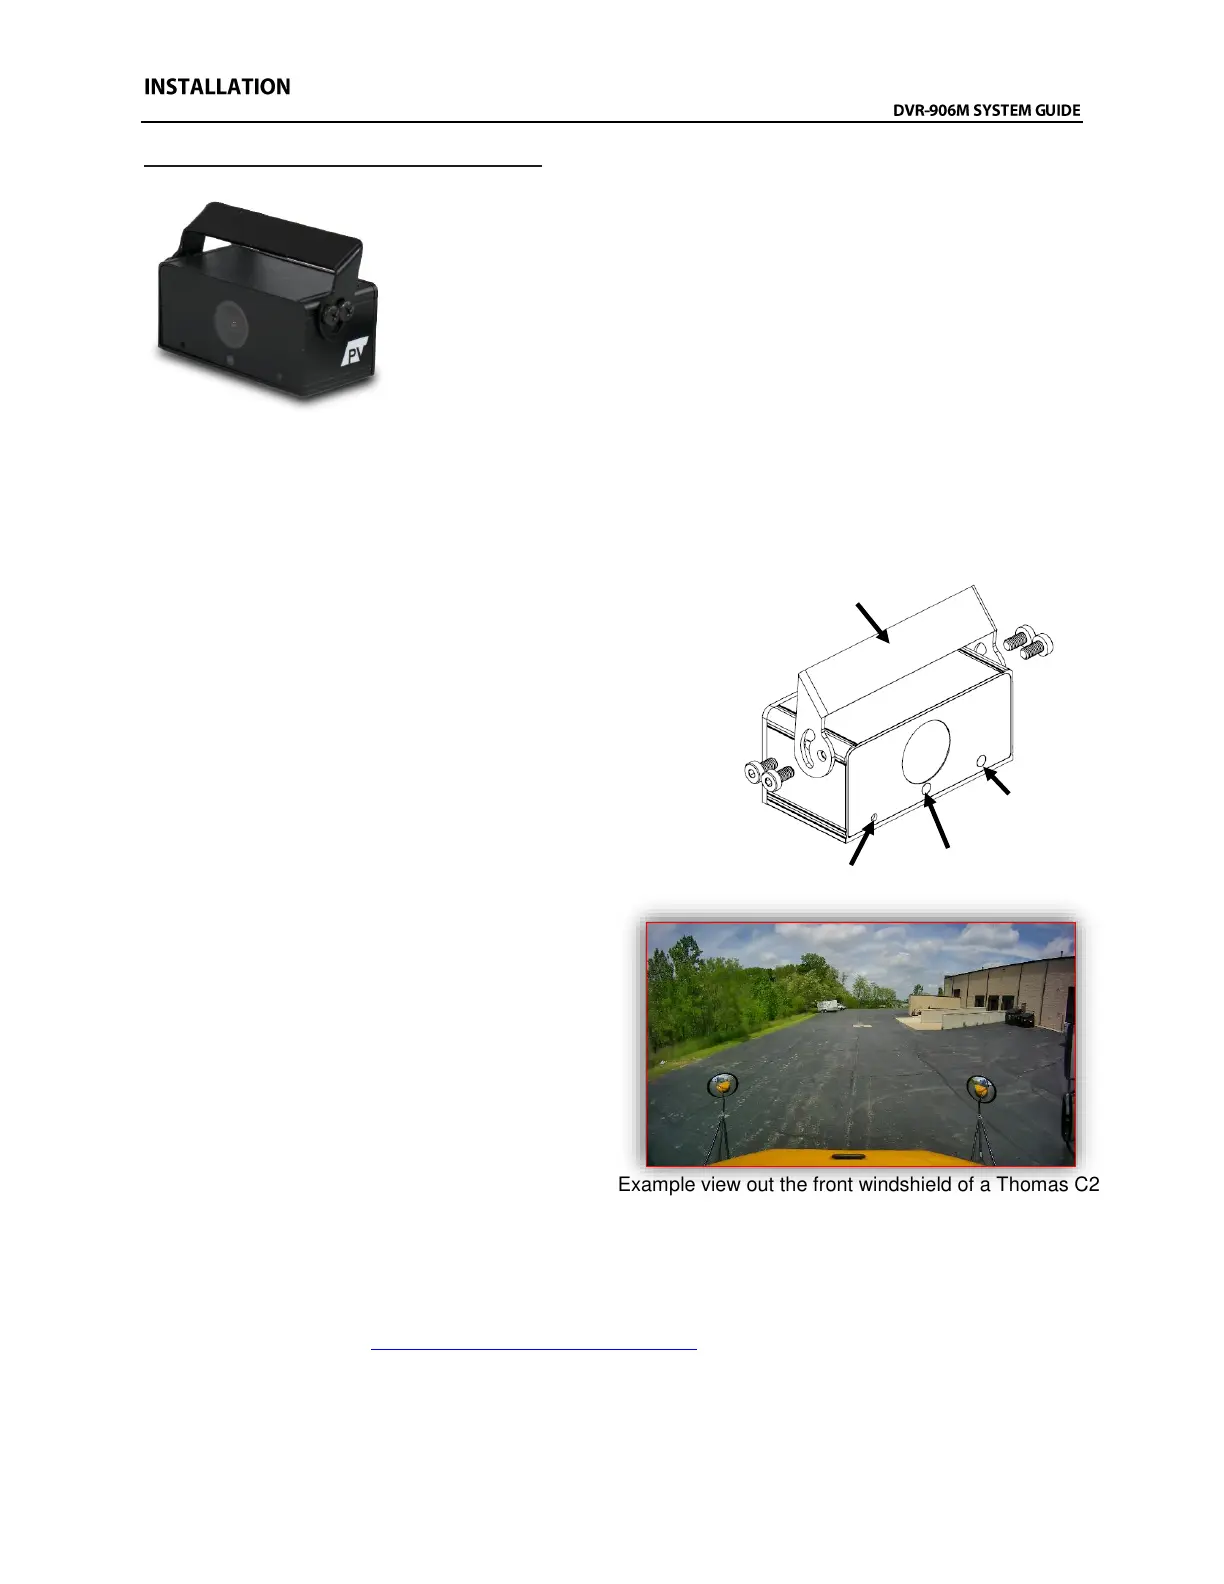
Digital HD Windshield Camera Installation
The Wide-Angle Windshield Camera (Kit P/N: DVR-813, Camera P/N: PC-
1813) is designed to mount to glass and view through it either out the front
or side of the vehicle. This camera has a wide-angle 130° horizontal field-
of-view that allows it to cover a wide area directly out the window. The
camera has a photocell to switch the camera into low light/night mode as
required. A microphone is built into the front of the camera; this
microphone can be disabled. There is a red LED on the front of the camera
that will flash to indicate the recording status.
Mounting Location:
This camera is designed to be mounted in the front window as close to centered on the vehicle as
possible. Commonly the camera location is at the center of the window just below the tint, or just to the
passenger side of divided windows. This camera can also be used to look out the fixed side windows of a
vehicle.
Installation:
1. Slide the bracket over the top of the camera and
attach the four (4) side attachment screws through the
holes on each side of the bracket into the camera.
Install these screws only finger tight as final
adjustments to camera aim will need to be made later.
2. Remove the film from one side of the adhesive pad
and apply the pad to the bracket. DO NOT remove the
windshield side of the film yet.
3. Clean the windshield in the approximate
area of camera mounting.
4. It is recommended to power on the DVR
unit and temporarily connect the camera to
it and observe that the view in the desired
mounting location is satisfactory before
permanently attaching the camera and
routing the cable(s).
5. When the desired mounting location is
found, mark bracket location with tape.
6. Remove the remaining side of film from
the adhesive on the bracket and mount the
camera. Press and hold the bracket firmly in place for 30 seconds.
7. Route the camera cable up to the headliner.
8. Power on the unit and connect to the Wi-Fi to view the live camera image to properly aim it on the
view page. (See Viewing Cameras on a Smart Device for connection details)
9. After the camera is aimed, tighten the four (4) mounting screws on the sides of the camera.
Adhesive Mount