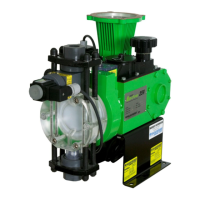
7.4 HYDRAULIC PERFORMANCE VALVE (HPV)
7.4.1 General Description
During normal pump operation hydraulic fluid is continually discharged through the automatic bleed
valve and may also be lost past the piston seals. This causes the diaphragm to be drawn further
back on each successive suction stroke until it actuates the HPV. Once the valve is actuated, oil is
allowed to flow into the hydraulic system until the piston reaches the end of the suction stroke. As
the piston starts forward a check valve prevents oil from flowing back through the HPV, thereby
allowing the valve to close as the diaphragm moves forward. Through this process the diaphragm
is continually maintained in a proper operating position relative to the pump head dish-plate. Since
the HPV is unaffected by the vacuum level in the pump head, oil cannot be inadvertently brought
into the hydraulic system which would result in over-extension and damage to the diaphragm. This
feature provides pump protection should the suction line become restricted or closed.
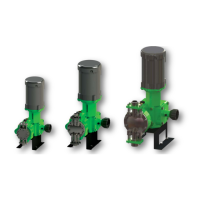
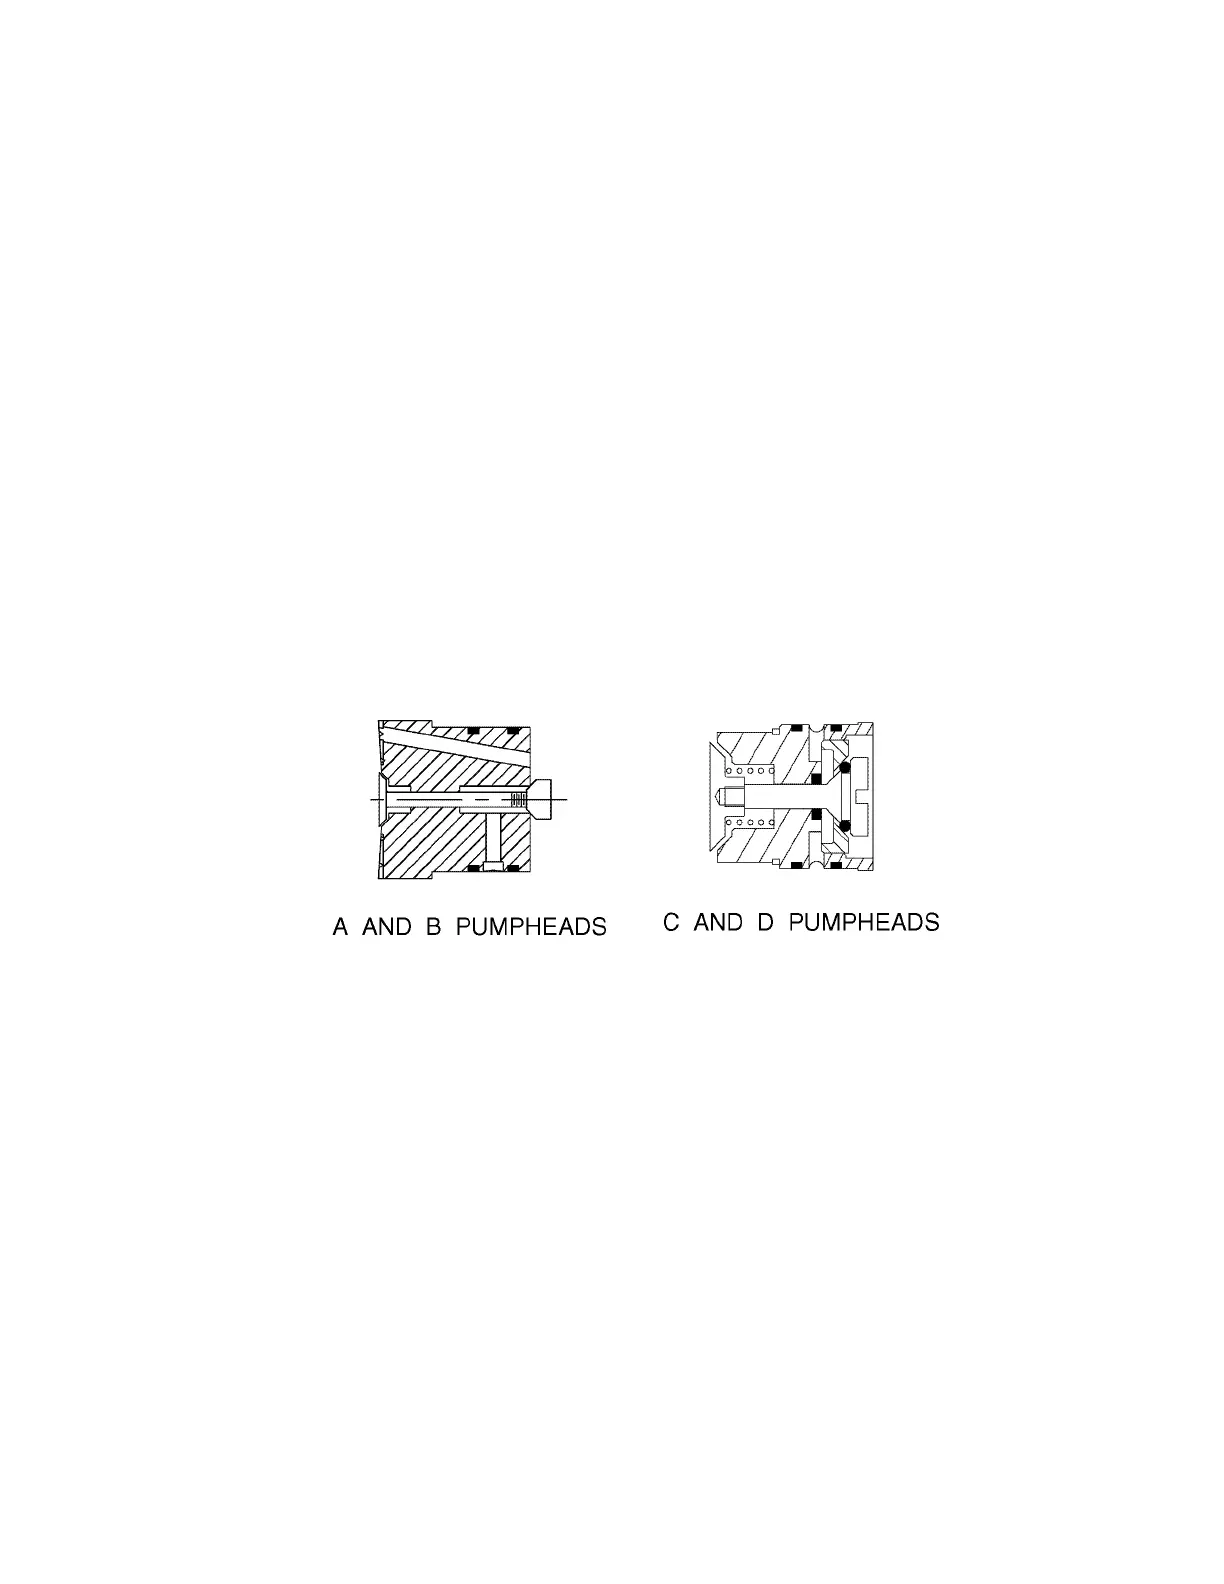
PULSAR pumps utilize two styles of High-Performance Valves (refer to Figure 17) dependent on
the pump head size. Although different in appearance they function identically. The valves are
factory preset and require no maintenance provided the hydraulic oil remains clean. The check
valve in series with the HPV includes a screen to trap contaminants (refer to Figure 15) and should
be removed and cleaned with each change of the hydraulic oil as indicated below. A clogged filter
screen will impede the operation of the HPV and can lead to diaphragm damage. Should the HPV
require removal for cleaning or replacement, follow the procedure appropriate to the valve style. If
a diaphragm has failed, and chemical has contaminated the pump head assembly, both the HPV
and the HPV check should be removed and thoroughly cleaned.
Figure 17
7.4.2 Check Valve Screen - Removal and Cleaning
Use the following procedure to remove and clean the Check Valve screen (refer to Figure
15) It is easiest to perform this process during an oil change:
1. Disconnect the power source to the drive motor
2. Relieve all pressure from the piping system.
3. Drain hydraulic fluid from the eccentric box.
4. Unscrew the check valve from the bottom of pump head.
5. Clean the valve and screen in a solvent compatible with the nitrile seal material and blow air
through the valve to remove all contaminants.
6. Inspect the copper gasket and o-ring for nicks or other damage and replace if necessary.
7. Lubricate the o-ring with PULSAlube 7H and replace the valve, tightening securely.
8. Re-install the eccentric box drain plug and refill with PULSAlube 7H hydraulic oil.
 Loading...