27
4
27
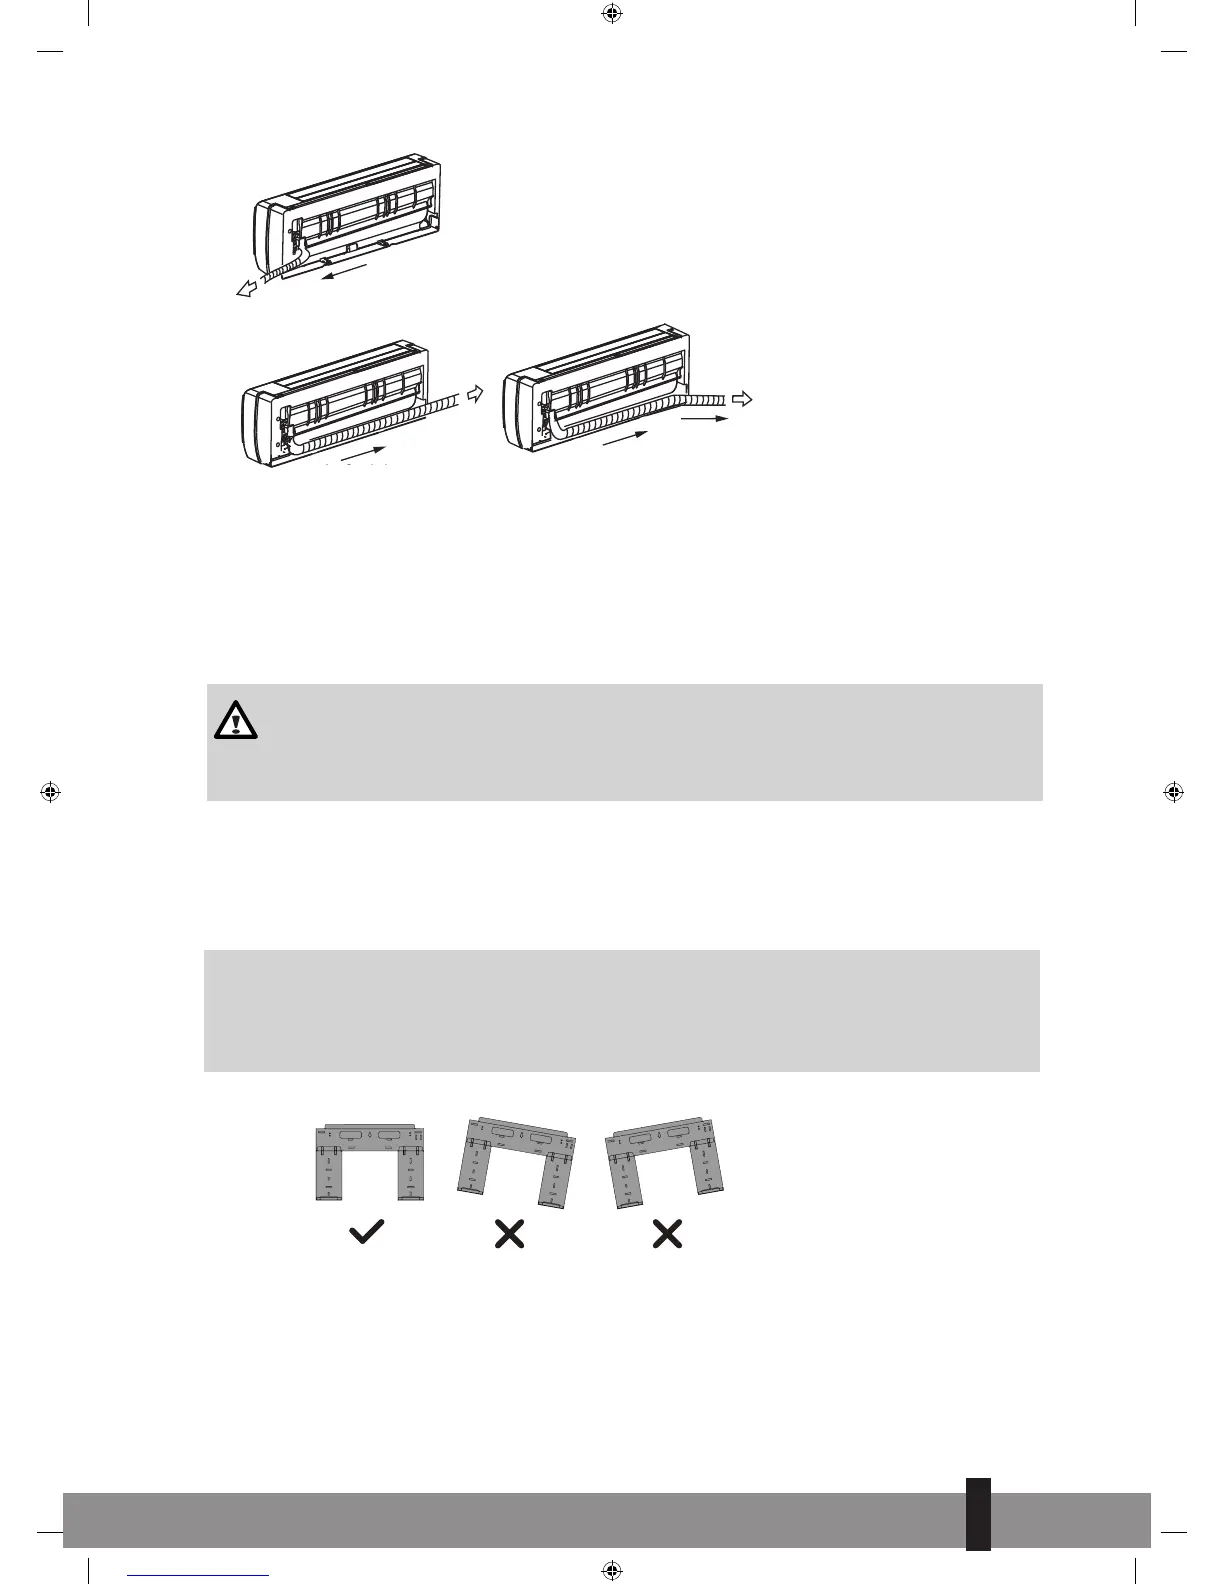
Figure 7
Right piping
Left piping
Left back piping
6. MOUNTING THE INSTALLATION PLATE AND MAKING THE PIPING
FEEDTHROUGH.
6.1 Mounting the installation plate of the interior unit.
WARNING!
Use a pipe detector to detect electrical conduits and pipes in the wall before drilling the required
holes to prevent unnecessary damage to the wall or dangerous situations.
a. Fit the installation plate horizontally on structural parts of the wall with spaces around the instal-
lation plate. See figure 8.
b. If the wall is made of brick, concrete or the like, drill eight (8) 5mm diameter holes in the wall. Insert
clip anchor for appropriate mounting screws .
c. Fit the installation plate on the wall with eight (8) type “A” screws .
G
REMARK
Mount the mounting plate and drill the holes in the wall corresponding to the material of the
wall and the mounting points on the mounting plate in question (dimensions are in “mm” unless
otherwise indicated).
Correct orientation
of Installation Plate
Figure 8
Q_instal_S-JA2518 ('17) V2.indd 27 30-10-17 14:42
 Loading...