29
4
29
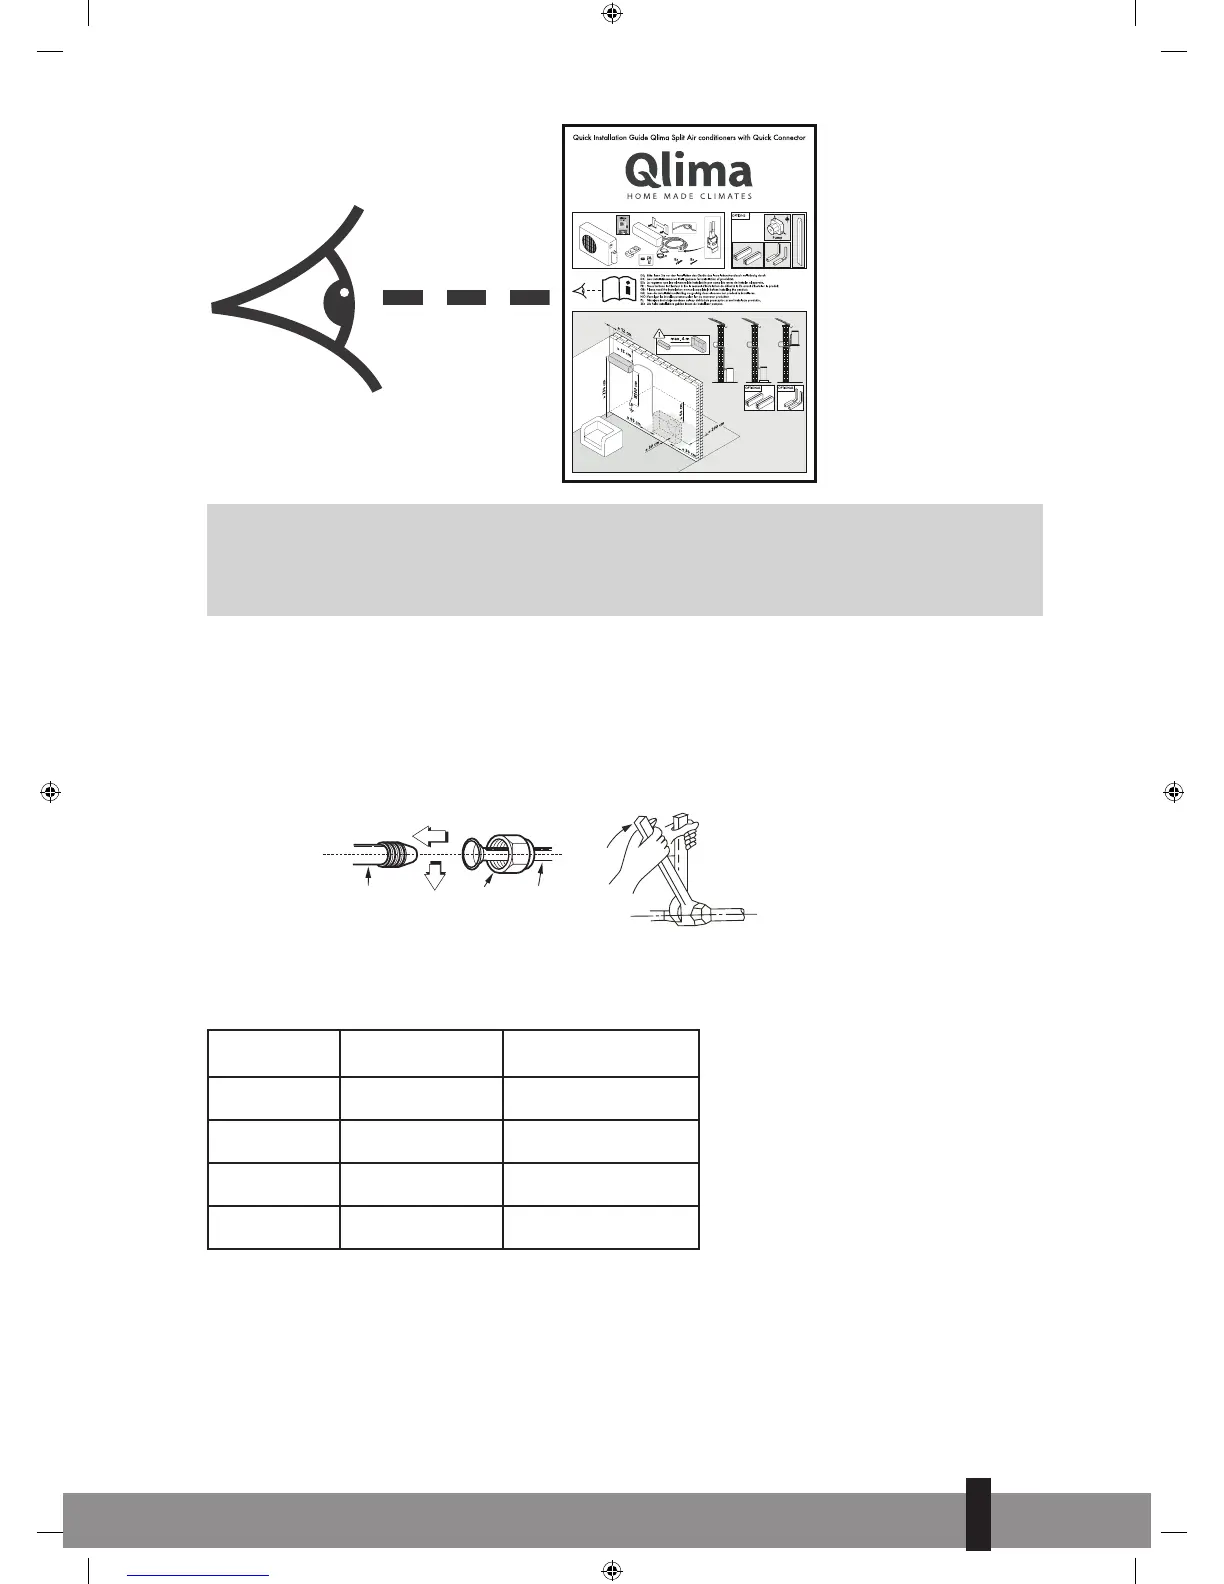
Figure 11
G
ATTENTION
All refrigerant work and refrigerant piping should comply with the local legislation, standards
and codes and should only be done by qualified and skilled people.
7.1 Connecting the coolant pipes for the S-JA2518 models
a. Fit a gland nut or suchlike to the piping and make a so-called “flare” at the end of the piping.
b. Interior unit: Tighten the gland nut by hand to the piping on the interior unit and then tighten it
with a spanner and torque wrench as shown in fig. 13.
c. Exterior unit: Tighten the gland nut by hand to the connections on the valves on the exterior unit
and then tighten it with a spanner and torque wrench as shown in fig. 13.
Indoor unit tubing
Flare nut
Pipings
Figure 13
d. Select the correct tightening torque (shown table 1) in order to prevent the pipes, connecting pieces
and nuts from being damaged.
Outer
diam.
Tightening torque
(N.cm)
Additional tightening
torque (N.cm)
Ø 6.35
1500
(153kgf.cm)
1600
(163kgf.cm)
Ø 9.53
2500
(255kgf.cm)
2600
(265kgf.cm)
Ø 12.7
3500
(357kgf.cm).
3600
(367kgf.cm)
Ø 16.0
4500
(459kgf.cm).
4700
(479kgf.cm)
e. Insulate the connection points on the interior section with insulation material to prevent condensa-
tion build-up .
f. Wind the piping, connection cable and drain hose, behind the interior unit, with tape so that a firm
bundle is formed. This makes it easier to mount the interior unit to the mounting plate.
Q_instal_S-JA2518 ('17) V2.indd 29 30-10-17 14:42
 Loading...