4. Connect all cables and external attachments.
5. Connect the power cord to the electrical outlet.
6. Power on the device.
Drive Installation
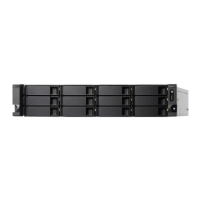
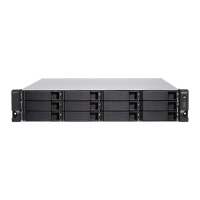
The TS-h1886XU-RP-R2 is compatible with 3.5-inch and 2.5-inch hard drives, and 2.5-inch solid state drives.
Installing 3.5-inch Hard Drives and Solid-State Drives on 3.5-inch Trays
Warning
• Installing a drive deletes all data on the drive.
• Observe electrostatic discharge (ESD) procedures to avoid damage to components.
•
Moving fan blades: Keep your hands and other body parts away from moving fan
blades.
•
Other moving components: Keep your hands and other body parts away from other
moving components.
1. Power o the NAS.
2. Remove the drive tray.
a. Pull the handle to release the tray.
b. Pull the tray out.
TS-h1886XU-RP User Guide
Installation and Conguration 17
 Loading...