25
Chapter 4 On-Screen Display (OSD) Settings
OSD Menu Controls
The Qumi has an On-Screen Display (OSD) settings menu that allows you to make
adjustments and changes to settings, such as display settings and audio settings. There
are 5 menus within the OSD menu:
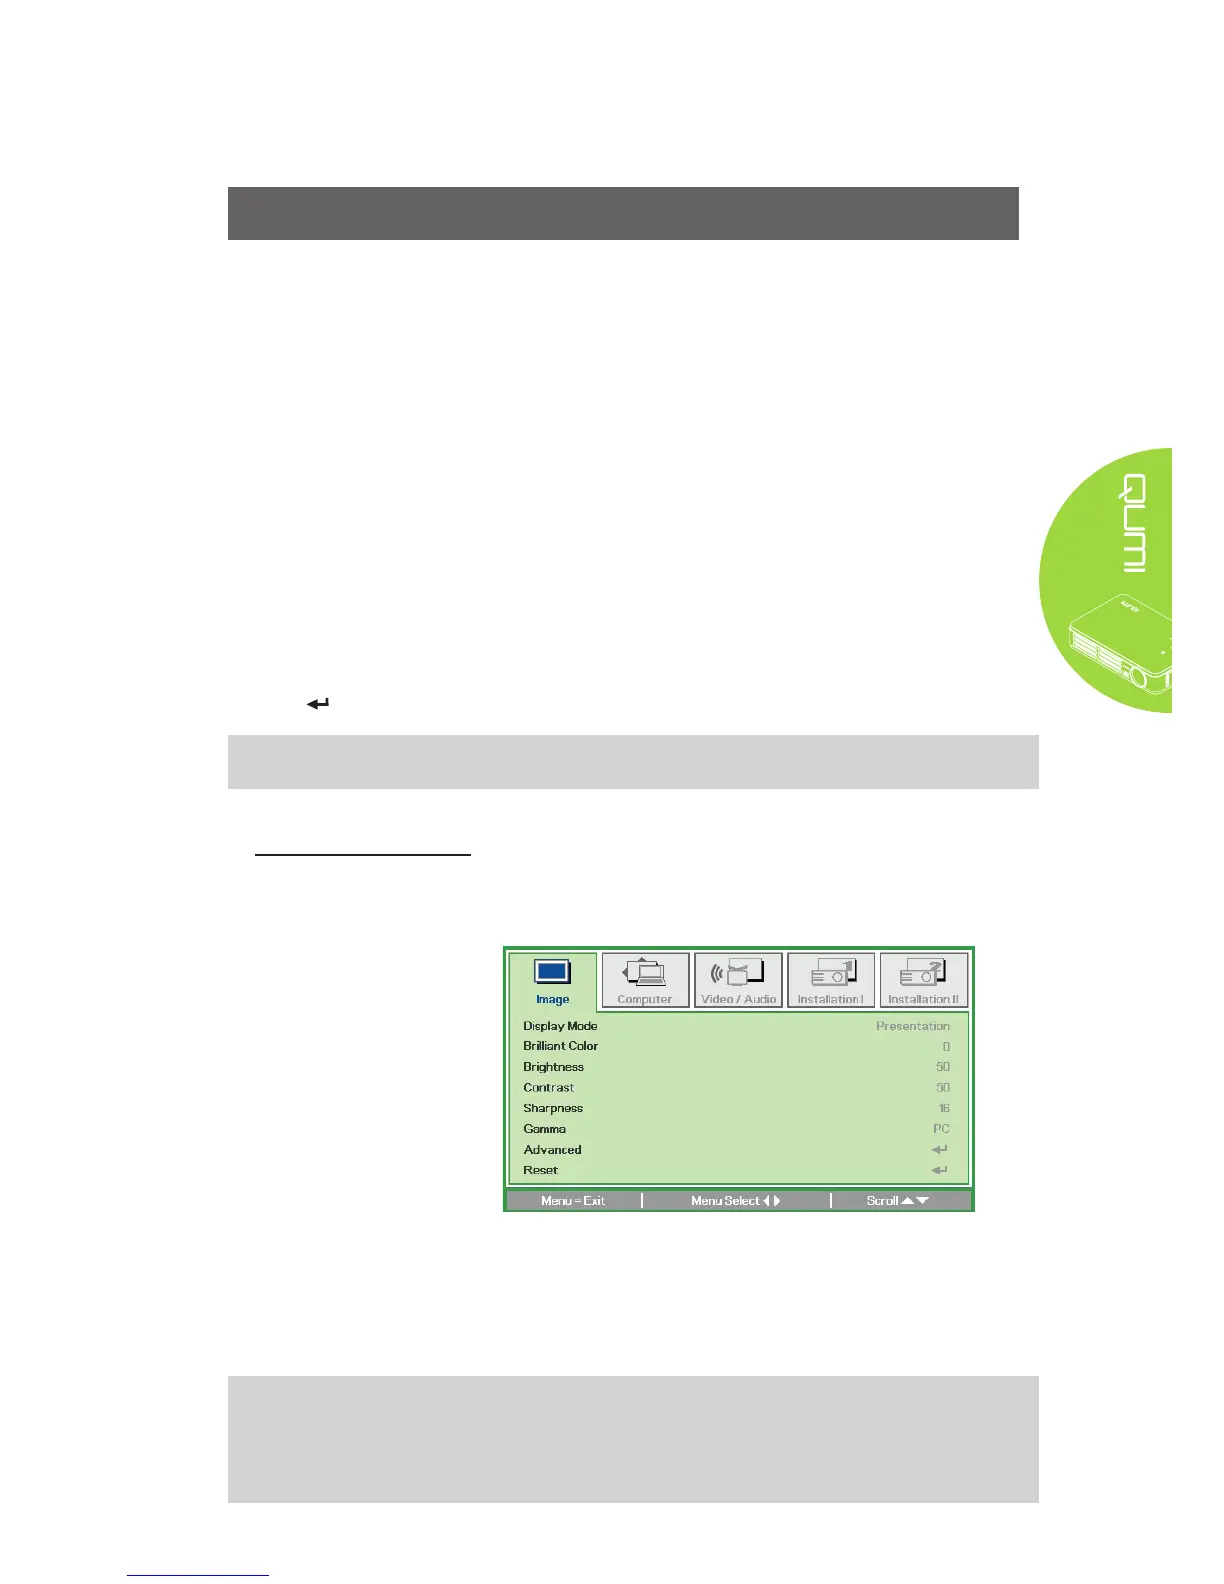
• Image – Various aspects of the image quality can be adjusted in this menu.
• Computer – Settings for personal computers can be adjusted in this menu.
• Video/Audio – Many settings for video and audio can be adjusted in this menu.
• Installation I – Default language and other settings can be adjusted in this menu.
• Installation II – Factory reset and other settings can be adjusted in this menu.
If the interface is set on AV-IN, HDMI or Universal I/O, the OSD menu can be accessed by
pressing the MENU button on the remote control or keypad.
If the interface is set on the Qumi Media Suite menu, the OSD menu can be accessed by
pressing the MENU button on the remote control or by simultaneously pressing MENU
and on the keypad.
Note:
If the OSD menu is inactive for 15 seconds, the OSD menu will close.
Navigating the OSD
The remote control cursor buttons or the buttons on the top of the Qumi can be used to
navigate and make changes to the OSD settings.
1. Enter the OSD menu.
2. Press the ◄ or
► button to move
through the 5 menus.
3. Press the ▲ or ▼
button to move the
cursor up and down
within in a menu.
4. Press ◄ or ► to
change the values for
specic settings.
5. Press MENU button
or Exit on the remote
control to close the
OSD or close a
submenu.
Note:
Depending on the video source, not all items in the OSD can be modied. For example,
the Horizontal/Vertical Position items in the Computer menu can only be modied when
the Qumi is connected to a PC through a VGA cable. Settings that are not enabled or that
cannot be modied are gray in color.
 Loading...