8. Drill the centre hole (Ø10 mm) to allow for the LR Sensor cable.
9. Check that the LR Sensor can be installed ush with the nished wall.
10. Attach the M6 xing studs to the LR Sensor and put it into position.
Note! Make sure that the LR Sensor cable does not become caught.
11. Place the LR Sensor backplate/washers over the M6 xing studs and secure
with the nuts.
12. Grout around the LR Sensor with hard setting compound.
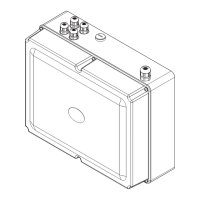
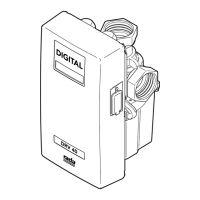
13. Make the connection between the 2 core cable and the Rada Pulse control box
using the plug-in connector (supplied).
LR Sensor Backplate
LR Sensor
M6 Fixing Studs
LR Sensor Cable
LR Sensor Cable
Finished Wall
LR Sensor
 Loading...