True to the Music
Radial Engineering Ltd.
SW8-USB™ Owner’s Manual
9
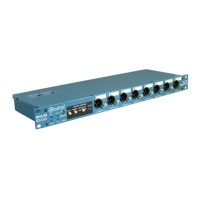
The STANDBY switch
(Can also be controlled
using the JR-2 remote)
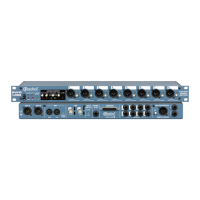
OPERATING IN AUTO-SWITCH MODE
Auto-Switch mode is activated by depressing the front panel AUTO switch,
illuminating the LED indicator below. Before engaging Auto-Switch mode, ensure
that you have sucessfully sent MTC or Tone via SPDIF to the SW8-USB from both
computers using the instructions on the previous page, as this is critical to the
operation of the Auto-Switch function.
After engaging Auto-Switch mode, begin playback on your primary (A) computer
only, so the PLAYBACK ACTIVITY A LED illuminates, then stop playback. You will
notice that even though the signal to the Auto-Switch input dropped out and the
PLAYBACK ACTIVITY A light turned off, the SW8-USB did not switch over to the
backup (B) computer.
The PLAYBACK ACTIVITY LEDs
This is because in Auto-Switch mode, the SW8-USB will only switch over to a backup computer that is actively
sending MTC or Tone via SPDIF to the Auto-Switch inputs. If the PLAYBACK ACTIVITY B LED is not illuminated, the
SW8-USB will assume that the backup playback system also has a fault, and it will not switch over to the B inputs.
In typical operation, the STANDBY switch will need to be engaged at the beginning and the end of each song, to
ensure the SW8-USB does not switch to the B inputs at the moment playback starts or stops. The SW8-USB is
able to detect a fault and switch inputs in as little as 10 milliseconds, so if the backup computer begins playback
even slightly before the primary computer, it will cause the SW8-USB to indicate there is an error and switch to the
B inputs.
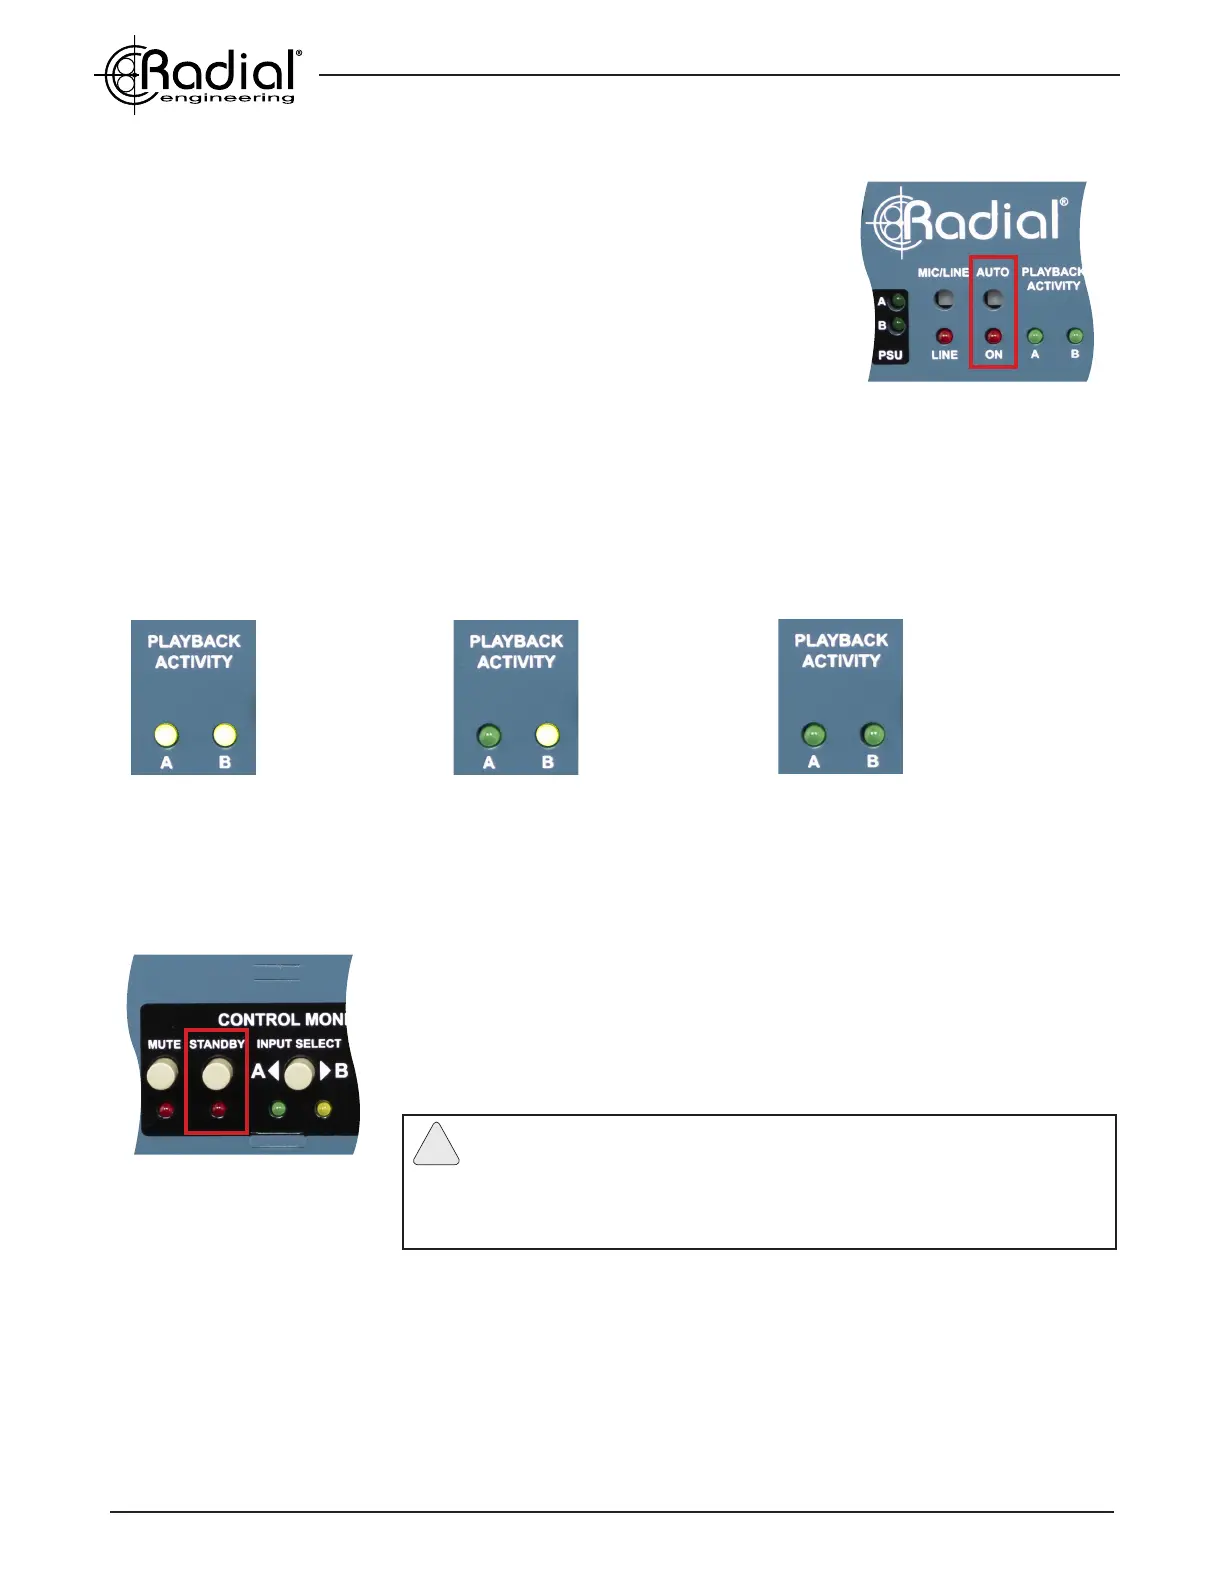
Typical operation:
Both LEDs are lit
indicating good
signal at both
Auto-Switch inputs.
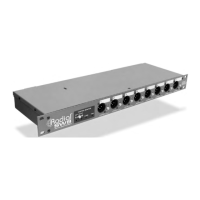
Fault on machine A:
Dropout on A and
good signal on B will
cause the SW8-USB
to switch to input B.
No signal present:
With no signal at
either Auto-Switch
input, the SW8-USB
will not switch over.
When STANDBY is engaged, the AUTO ON LED will turn off to indicate that the
operator has temporarily overriden the Auto-Switch feature, and the SW8-USB
will hold on the A inputs, regardless of the status of the PLAYBACK ACTIVITY
LEDs. Once the STANDBY function is disengaged, the SW8-USB will return to
normal Auto-Switch operation and switch to the backup inputs should your primary
playback system fail.
Note: You can avoid the requirement to engage the STANDBY switch
when using Tone via SPDIF to feed the Auto-Switch inputs. On the backup
(B) computer, trim 1 second from the start and end of each printed tone track in
your DAW. This will prevent the SW8-USB from unintentionally switching to the
backup inputs at the start and end of each song.
!
When a fault occurs during playback, the SW8-USB will switch to the B inputs and the ALARM LED will ash. Before
reaching for the RESET or STANDBY switches after an error, always ensure that your primary playback computer is
(1) playing back at the correct point in the song, and (2) generating good MTC or Tone via SPDIF so that the
PLAYBACK ACTIVITY A LED is lit.
Note that pressing the RESET switch will tell the SW8-USB to revert back to the A computer for playback, but if the
PLAYBACK ACTIVITY A LED is not lit, then the SW8-USB will automatically switch back to the B computer when the
RESET button is released. In most cases, after a fault you will want to wait until the end of the current song before
switching back to the A inputs.
The AUTO ON switch