Radiolink Electronic Ltd
www.radiolink.com
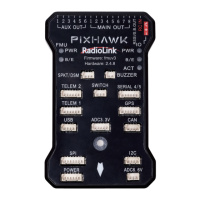
5.3 LED Indicator, Arming and Troubleshooting
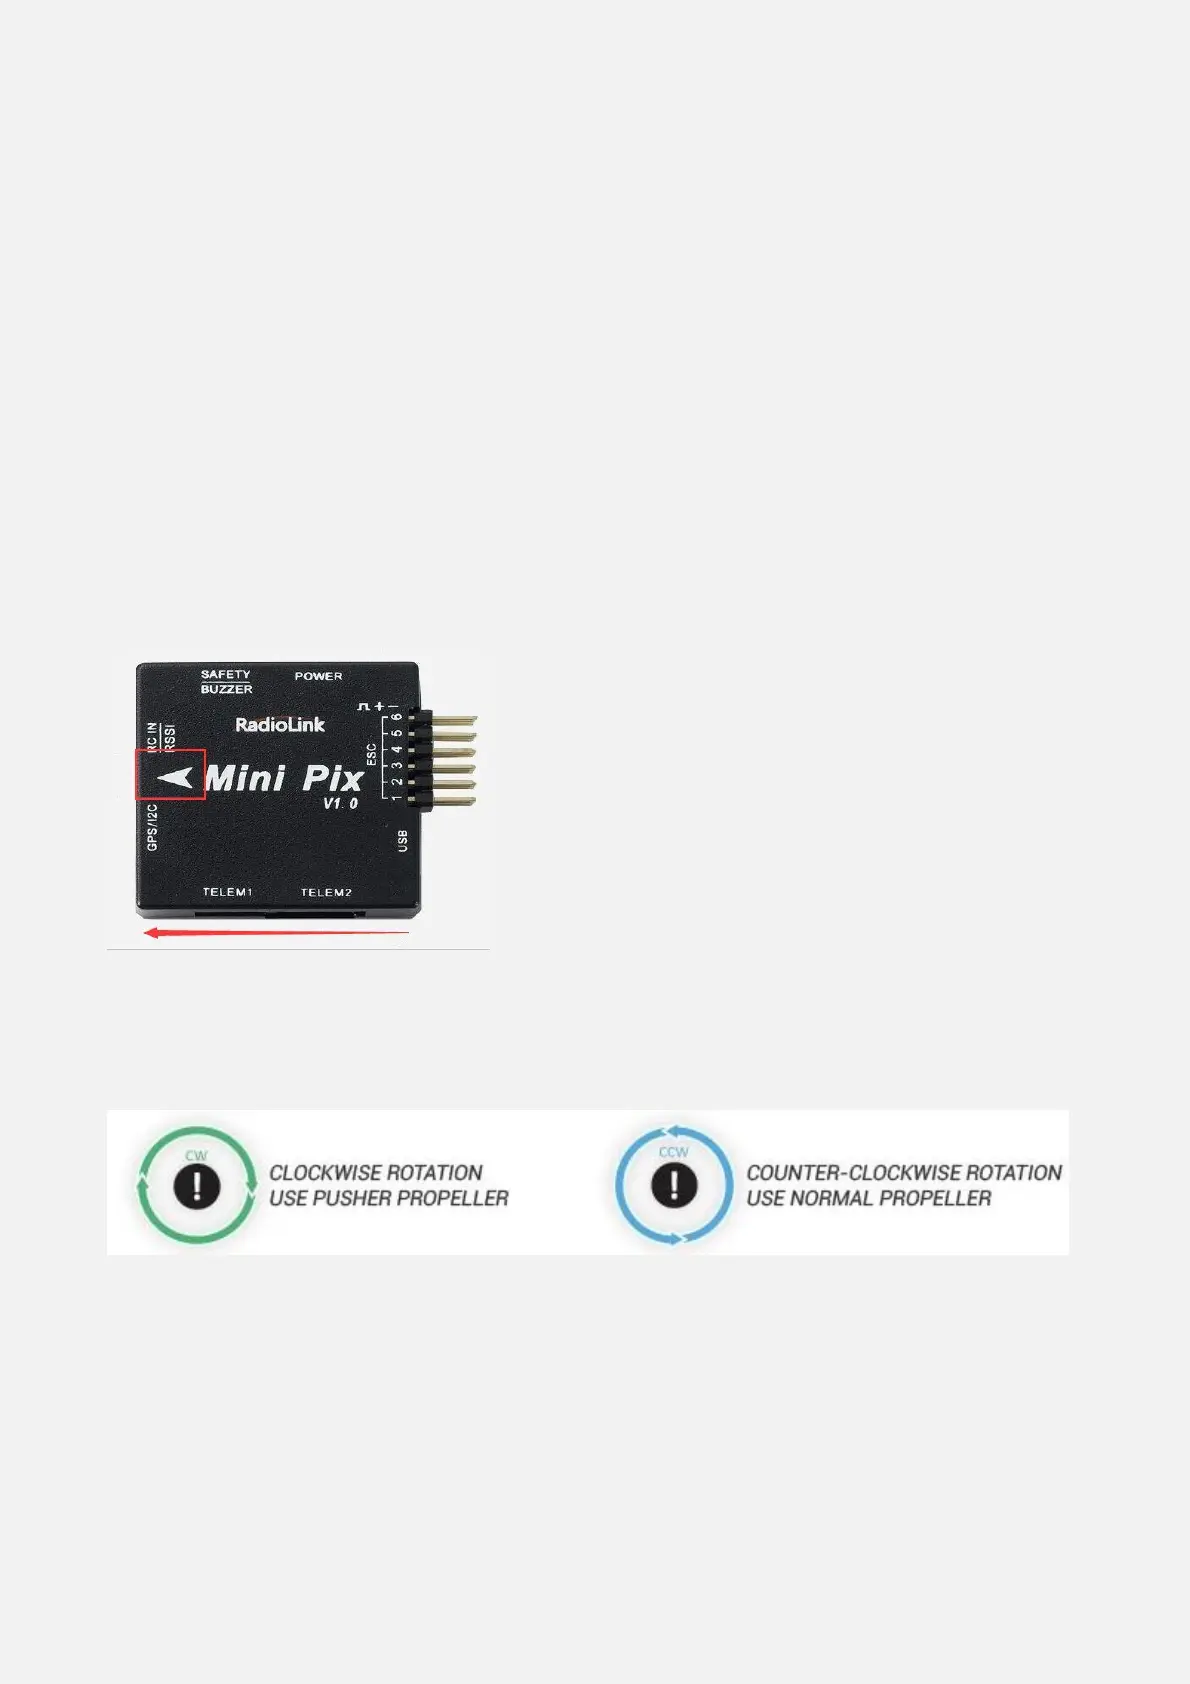
5.3.1 LED Indicator
Blue and red flashing: Initializing
Yellow flashing twice: Error, Arming rejected
Blue flashing: System locked and GPS is searching signals. Please note that no
matter which mode (Auto/Loiter/RTL) is, GPS needs to be locked.
Green flashing: System and GPS locked and ready to be armed. Pleas note that
there would be two fast d sounds to notify from locked to unlocked status.
Green always on + a long D sound: Armed and ready to take off
Yellow flashing: Transmitter failsafe activated
Yellow flashing+repeated fast D sounds: Battery failsafe activated
Yellow/Blue flashing+High/High/Low sounds: GPS data error or GPS failsafe
activated
Safety button indicator
Continous flashing quickly: System auto checking
Flashing intervally:
System is ready. Press the button to activate the system
Always on: Ready to be armed.
5.3.2 Arming and Disarming
Arming the motors causes ArduPilot to apply power to your motors, which will cause them to start spinning.
Before arming the motors, make sure all people, objects, and any body parts (e.g., hands) are clear of the
propellers. Then do the following:
You can only arm or disarm in Stabilize, ACRO, AltHold, Loiter, and PosHold modes. You cannot arm your
copter in AUTO mode.
1. Turn on your transmitter.
2. Plug in your LiPo battery. The red and blue lights should flash for a few seconds as the gyros are
calibrated (do not move the copter)
3. The pre-arm checks will run automatically and if any problems are found a PIXHAWK will double blink the
red arming light, on a Pixhawk the RGB led will blink yellow.
4. Check that your flight mode switch is set to Stabilize, ACRO, AltHold.
5. Press the safety button until the light goes solid.
6. If you are planning on using the autopilot (i.e. Loiter, RTL, Drift, Auto or Guided modes) you should wait for
30 seconds after the GPS has gotten 3d lock. This will give the GPS position time to settle. On a PIXHAWK
the RGB LED will blink green.
7. Arm the motors by holding the throttle down, and rudder right for 5 seconds. It takes approximately 5
seconds the first time the copter is armed as it re-initializes the gyros and barometer. Do not hold the rudder
right for too long (>15 seconds) or you will begin the AutoTrim feature.
8. Once armed, the red arming light should go always-on and the propellers will begin to spin.