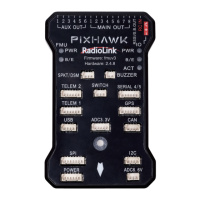
Radiolink Electronic Ltd
www.radiolink.com
1.2 Advices
For the users who firstly use PIXHAWK, we suggest that you use PIXHAWK following below steps:
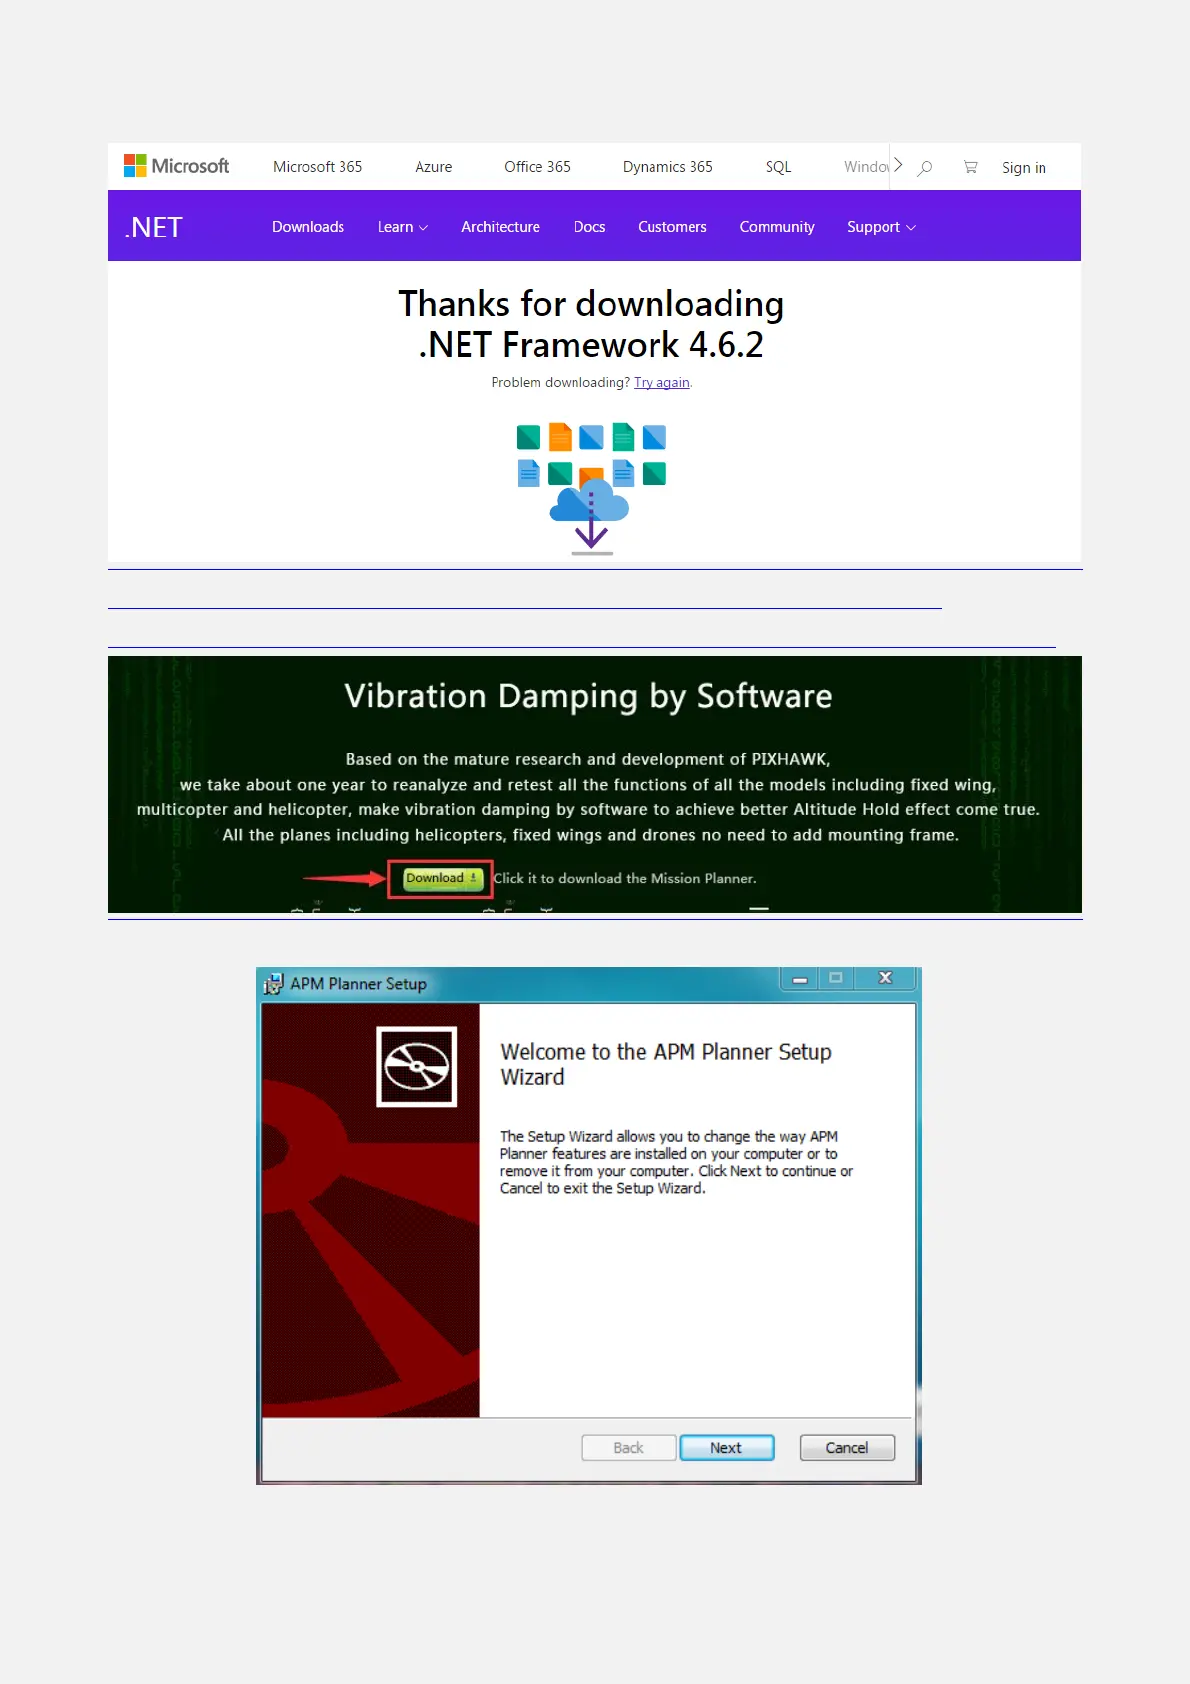
1. You have to install the mission planner and driver from here and familiar with the menu.
Download the latest Mission Planner from here:
http://www.radiolink.com.cn/firmware/MissionPlanner/MissionPlanner-latest.msi
Download the driver form here: https://www.microsoft.com/net/download/dotnet-framework-runtime/net462
2. To establish a connection you must first choose the communication method/channel you want to use, and
then set up the physical hardware and Windows device drivers. You can connect the PC and autopilot using
USB cables, Telemetry Radios, Bluetooth, IP connections etc.
3. Download the update firmware by USB cable if you need.
4. Connect Mission Planner to AutoPilot, and then connect receiver to AutoPilot to finish the calibration of
transmitter, Accelerometer and compass.
5. Setup RC transmitter flight mode.
6. Assemble aircraft and finish the pre-flight checklist.
7. PID usage.
8. Advanced configuration.
2. Mission Planner
2.1 Install Mission Planner
Net Framework 4.6.2 need to be installed first beforeMission Planner, you can download form here:
https://www.microsoft.com/net/download/thank-you/net462
Note The Net Framework 4.6.2 file will automatically download when website is clicked.
Then download the Mission Planner from
http://www.radiolink.com.cn/firmware/MissionPlanner/MissionPlanner-latest.msi