This document and the information contained herein, is the exclusive property of R&M Materials Handling, Inc., and represents a non-public, confidential and proprietary trade secret that
may n
ot be reproduced, disclosed to third parties, altered or otherwise employed in any manner whatsoever without the express written consent of R&M Materials Handling, Inc.
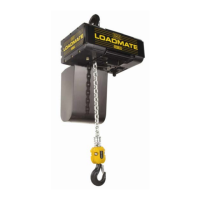
If your R&M Chain Hoist isn't lifting or lowering the load, there are several potential causes:
* The emergency stop button might be activated. If so, deactivate it.
* A fuse may have blown, requiring replacement.
* The motor's thermal protection could be activated; in this case, allow the motor to cool down.
* The pendant plug pin might be pushed out; reinstall the plug pin.
* Contactor terminal screws could be loose; tighten them.
* The mainline switch might be off; turn it on.
E
edwardweissAug 10, 2025
What to do if R&M LM doesn't lift load?
A
anneortizAug 11, 2025
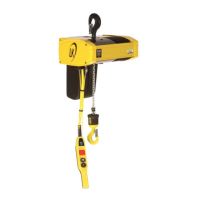
If your R&M Chain Hoist isn't lifting the load, it could be due to several reasons:
* An overload condition: Reduce the load.
* A worn or incorrectly adjusted slip clutch: Replace worn parts or readjust the slip clutch torque.
* The brake not releasing: Check the brake coil resistance, air gap setting (adjust if needed), and rectifier output voltage.
T
Tyler RothAug 16, 2025
What to do if my R&M Chain Hoist does not lift or lower load?
E
Elizabeth FarrellAug 16, 2025
If your R&M Chain Hoist isn't lifting or lowering, here are a few things to check:
* Ensure the emergency stop button is not activated; if it is, deactivate it.
* Check for a blown fuse and replace it if necessary.
* The motor's thermal protection might have activated; allow the motor to cool down.
* See if the pendant plug pin is pushed out and reinstall it.
* Make sure the contactor terminal screws are tightened.
* Check the inverter terminal fixation and press on the terminal.
* Confirm that the mainline switch is turned on.
T
Teresa Garcia MDAug 22, 2025
What to do if my R&M Chain Hoist does not lift load?
J
Justin MendozaAug 22, 2025
If your R&M Chain Hoist isn't lifting a load, the possible causes are:
* You may have an overload condition, in which case you should reduce the load.
* The slip clutch might be worn or incorrectly adjusted; replace worn items or readjust the slip clutch torque.
* The upper limit switch might be activated; try adjusting it.
D
Dustin BakerAug 28, 2025
Why does the load drift more than 4 inches during an emergency stop with my R&M LM?
B
Brian ReevesAug 28, 2025
If the load drifts more than 4 inches [100mm] during an emergency stop with your R&M Chain Hoists, it's likely that the brake lining is worn. Adjust the brake slipping clutch and replace the slipping clutch components if necessary.