Fig.7-13
Oven Check
Set the clock as described earlier in the instructions, and then
turn on the ovens. Check that the oven fans start to turn and
that the ovens start to heat up.
Note: The oven light bulb is not included in the guarantee.
Turn off the oven.
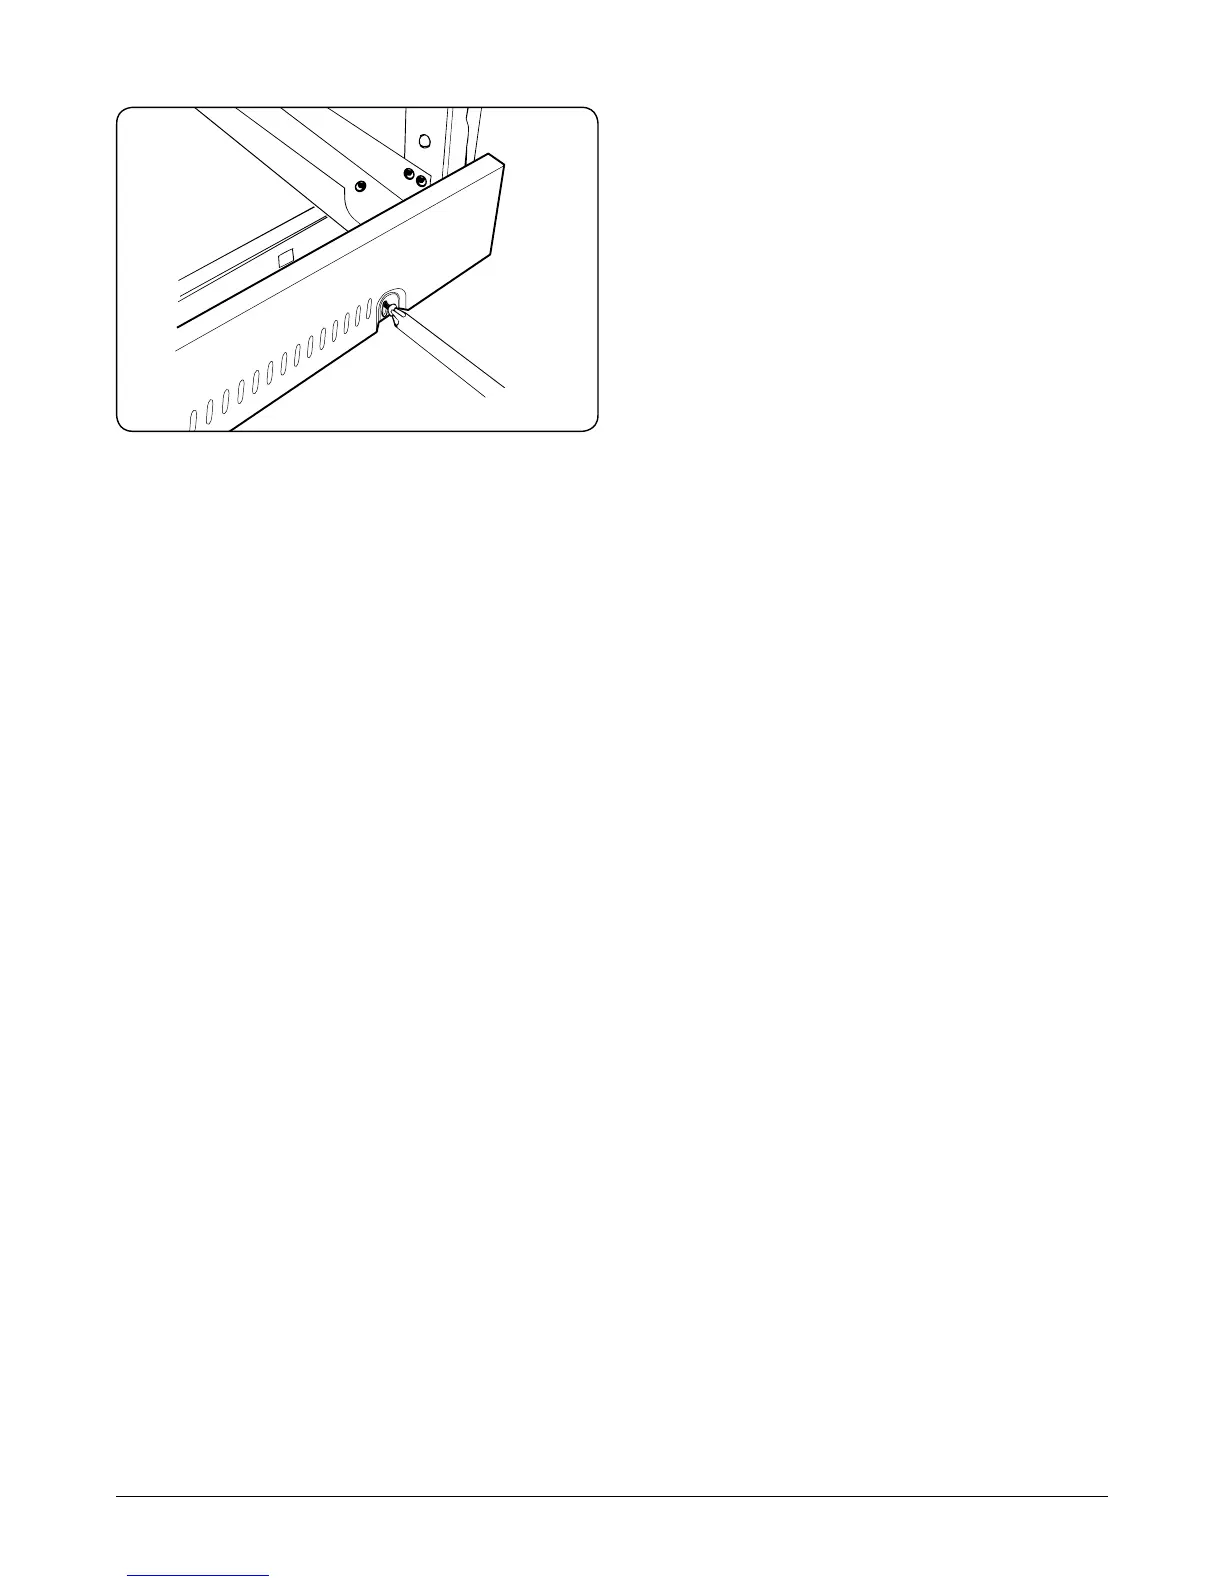
Fitting the Plinth
Loosen the 3 screws along the front bottom edge of the
cooker. Hook the central keyhole over the central screw. Twist
and fit each end keyhole over their respective screws. Tighten
the fixing screws (Fig.7-13).
Customer Care
Installer: Please complete your details in this Guide, inform
the user how to operate the cooker and hand oven the
instructions.
Thank you.