6 | Electrical connection
54 / 92 80.06.070_iCombi Pro-iCombi Classic_IM_V01_en-GB
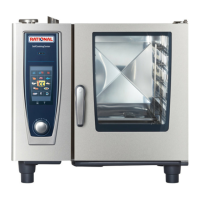
Unit size 6-2/3 GN
1. Insert the left side panel underneath the unit frame upwards.
2. Press the side panel upwards.
3. Tighten 2 screws on the underside of the side panel and 1 screw on the
rear side.
>> The electrical compartment is closed.
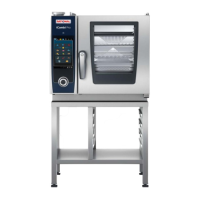
Unit size 6-1/1 GN up to 10-2/1 GN
1. Insert the left side panel underneath the unit frame upwards.
2. Press the side panel upwards.
3. Press the side panel inwards in the bottom area.
> The front edge is behind the plastic part and the rear edge is above the
earthing plate.
4. Tighten 2 screws on the rear side of the unit.
5. Put the blind rivet nuts on the front side in the bottom left corner and
tighten them.
6. Insert the grate and press it down.
7. Check that the floor gasket is positioned correctly.
>> The electrical compartment is closed.
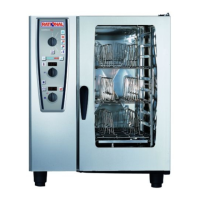
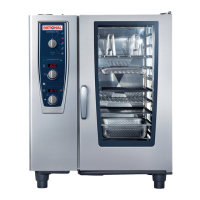
Unit size 20-1/1 GN - 20-2/1 GN
1. Insert the left side panel underneath the unit frame upwards.
2. Press the side panel upwards.
3. Tighten 2 screws on the underside of the side panel.
>> The electrical compartment is closed.
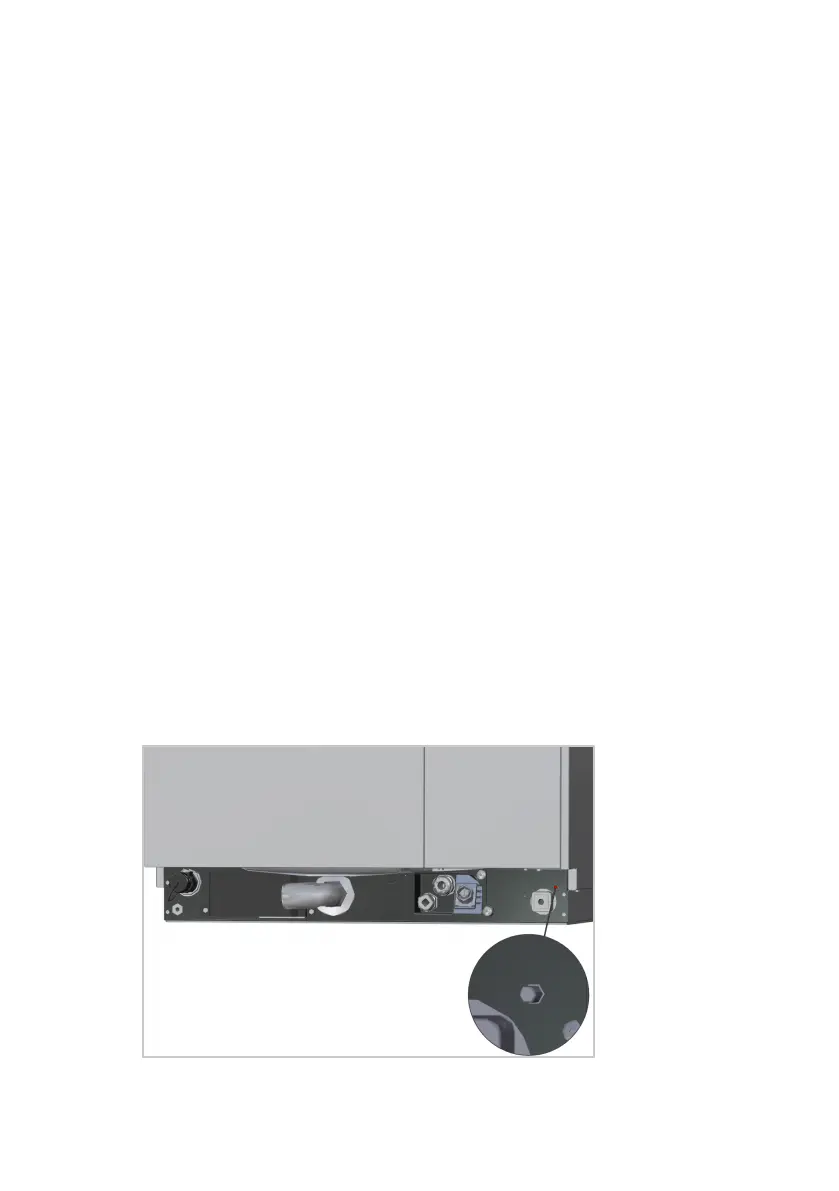
6.8 Connecting the equipotential bonding
A connection site for equipotential bonding is located on the bottom or the
rear of the unit.
Unit size 6-2/3 GN
 Loading...