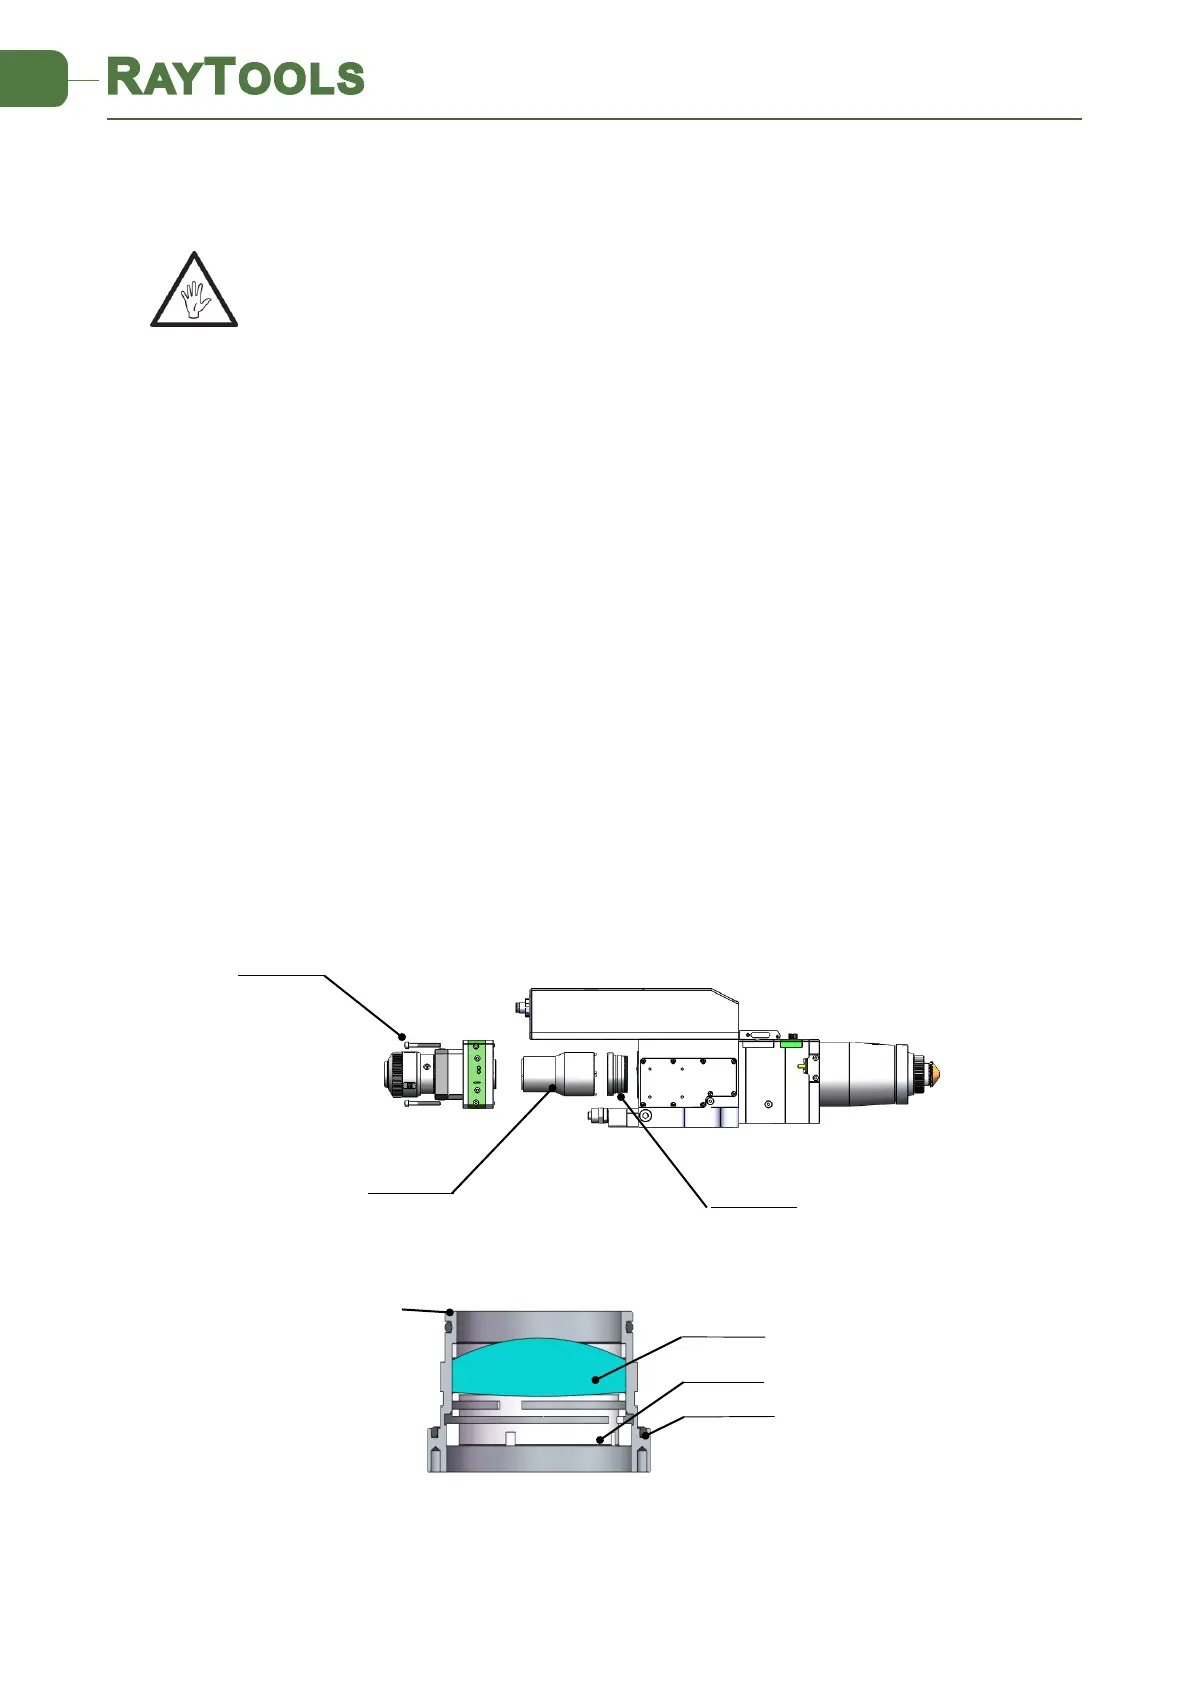
Re-insert the cover glass holder to the laser processing head and tighten the locking
screw.
Note: It is not allowed to pull out the edge of seal ring directly as it is very easy to
damage the elastic seal ring.
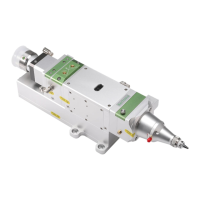
5.2.3 Removal and Installation of Collimating Lenses
Removal and installation of collimating lenses refers to the following steps:
Remove the laser head and move to a dust free room. Clean all dusts on the laser head
surface;
Use a 3mm internal hexagonal wrench to unscrew the locking screws of the collimator
(as shown in Figure 5.4), seal the opening with textured tape so as to prevent the entry
of dust;
Screw out the collimating lens holder, and remove the pressing ring and collimation lens
by lens tool;
Replace or clean the collimating lenses.
As shown in Figure 5.5, reassemble the collimation lens assembly, pay attention to screw
the pressing ring properly, and re-screw it into the collimator;
Lock the bolts of the collimator;
Check whether the focus point is in the center of the nozzle hole before use. If not, it is
necessary to do beam centering.