15
4. Saw Unit Assembly - cont.
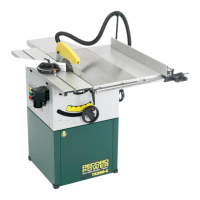
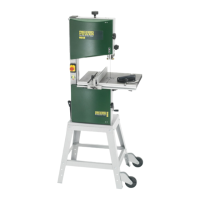
4.6 Fitting the Optional Right Table Extension
If you are fitting the optional table extension please proceed as below.
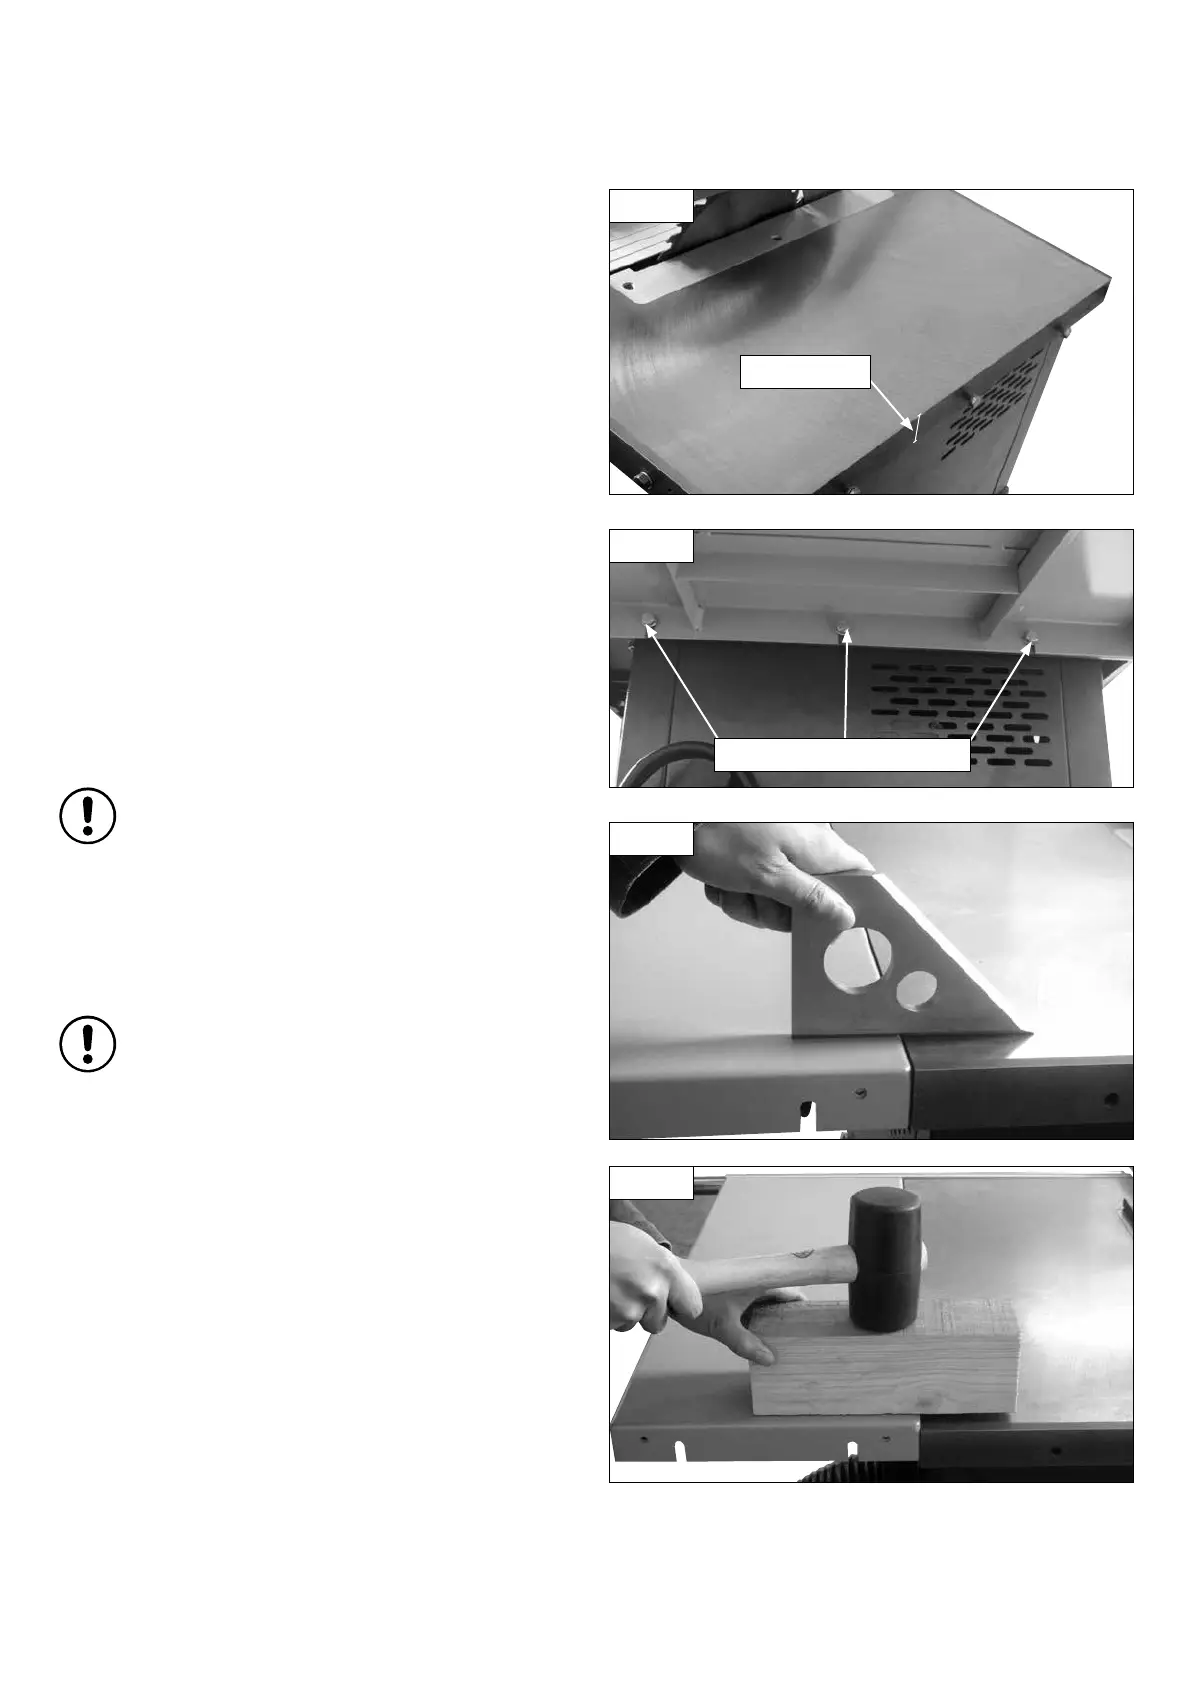
1. Take the 4 hex head bolts and washers and wind them into the location
holes on right side of the main table leaving a gap of approximately 10mm
between washer and table Fig.4.13.
2. Hook the table extension onto the bolts that have just been attached to
the main table Fig.4.14. Tighten the mounting bolts to secure the table, but
leave enough slack so the table can be adjusted.
3. Taking a suitable straight edge, check the level of the extension table to
the main table Fig.4.15. To adjust the table; first lift the table extension so it
sits slightly proud of the main table and tighten the hex head bolts the table
is hooked on to Fig.4.14.
4. To flatten the table, take a mallet and a flat wooden block and tap down
on the extension table Fig.4.16 until level with the main table Fig.4.16.
When tapping the block strike as close to the seam between the tables
as possible.
Tip: The success of the table levelling procedure largely depends
on the adjustment of the mounting bolts. The smaller the
movement required, the tighter the bolts should be. However,
the whole procedure really does depend on feel. If the table isn't
moving enough when tapped, slacken the bolts slightly. If it is
moving too much tighten them slightly.
Tip: Level one end at a time, when one end of the table is level
tighten that bolt to lock this in position before setting the
other end.
If the table has moved too low raise back up above the main table and
restart the procedure.
5. When you are satisfied that the tables are level perform one last check
along the length of the tables with the straight edge Fig.4.21 and fully
tighten the mounting bolts.
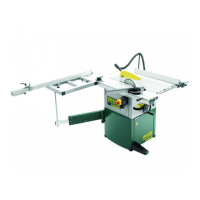
Fitting the rear table extention
The rear table extension is fitted in the same way as detailed above for the
right hand table extention. The rear extension also features socket head
screws in the end of the table that mates with the main saw table. These are
used to help ensure that the rear extension table remains level with the main
table.
Approx. 10mm
Table hooked on to the bolts
Fig. 4.13
Fig. 4.14
Fig. 4.15
Fig. 4.16