19
User Manual
12. Insert the hood pins that you removed for unpacking, attaching
both the skimmer panel and the lighting control panel to the
hood. The panels should open and close easily with the pins
securing the hinge.
Securing the hood and switching
between the 3 opening positions
13. Make sure you have the 2 upper hood support pins at the
ready and fold back the front of the hood.
14. With one hand, raise the hood approximately to a 30° angle
and hold it open in this position.
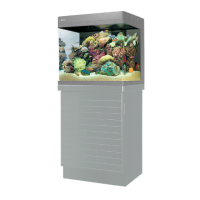
15. With your free hand, snap the upper and middle legs of the
hood supports together on both sides and position the hole
at the top of the upper leg in the recess provided in the hood.
Insert the upper support pins to connect the supports to the
hood (some force might be required) (Fig. 22). Do not use
any tools, like a pliers or hammer, to perform this operation.
If you experience difficulty, check the alignment of the pins
with the hole and try again.
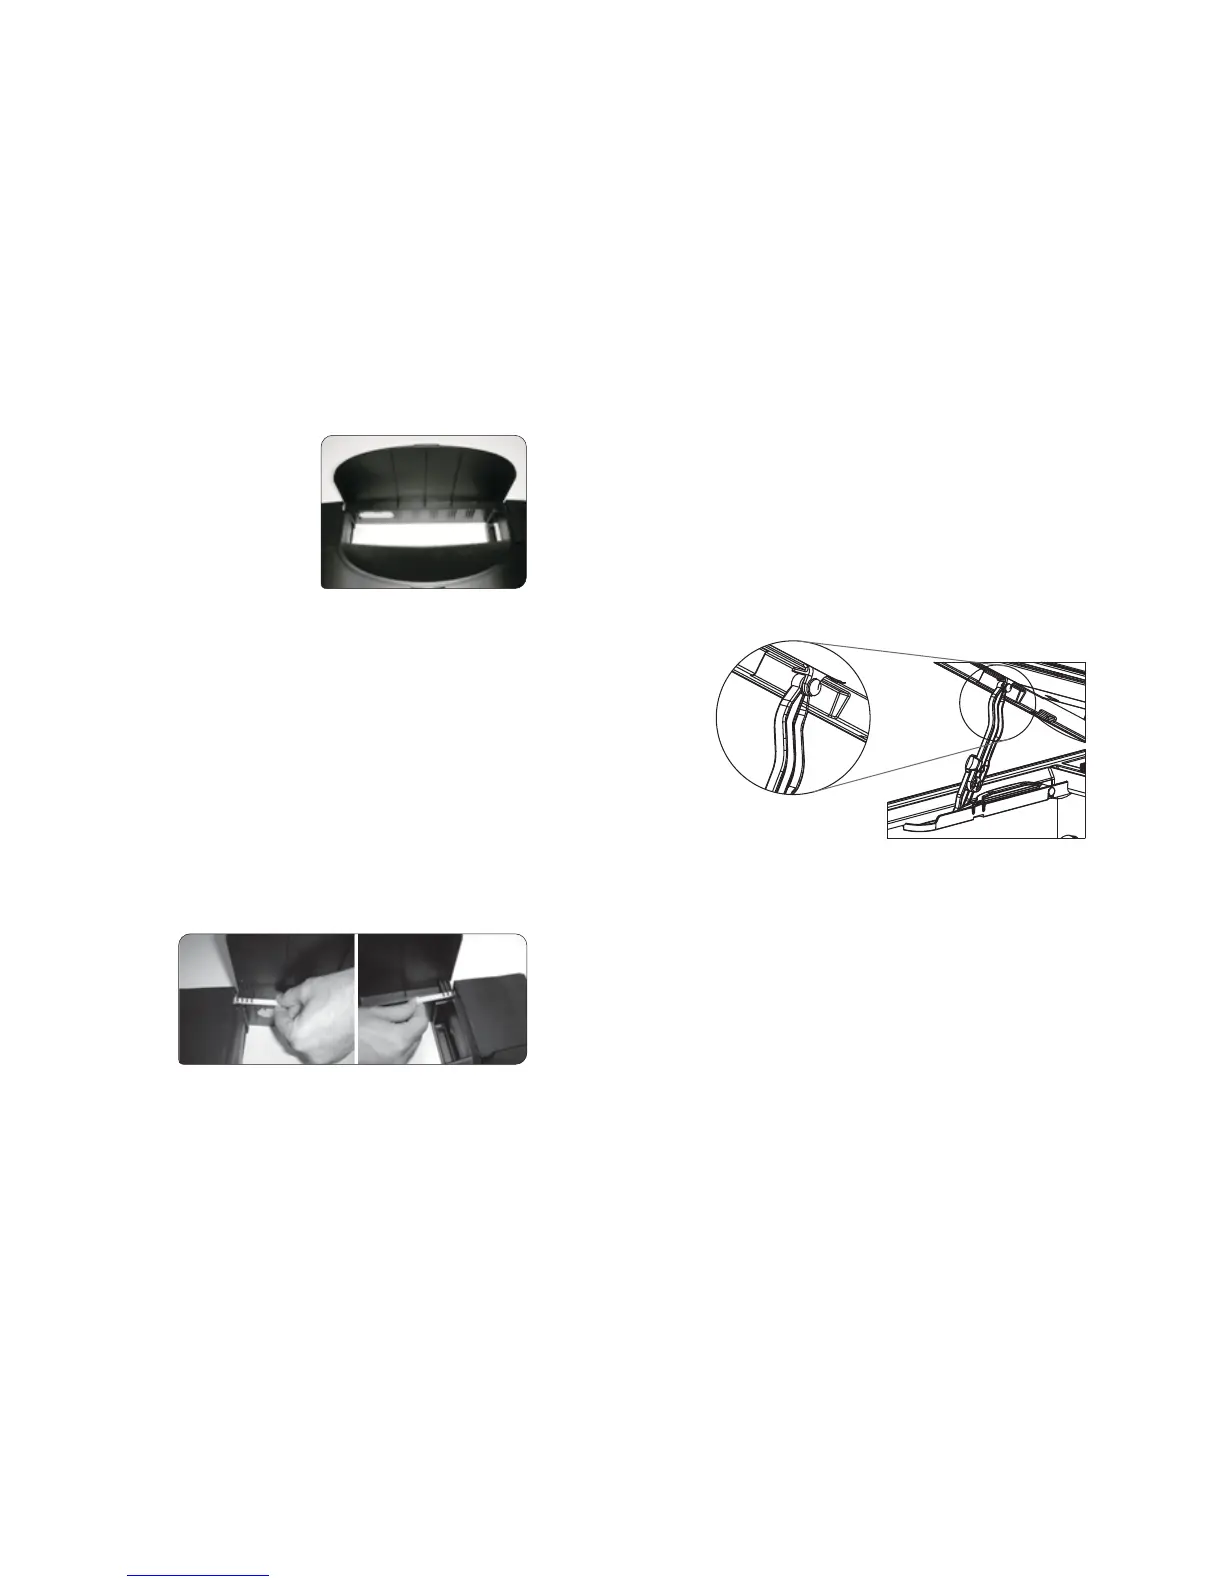
16. To enable complete access to the filter compartment the hood
can be further opened to an almost vertical position. To release
the bottom leg of the hood support, from it's normal position
in the hood support channel, apply an outword pressure on
the middle leg as shown in fig 23. While supporting the hood
with one hand perform the same operation on the other side.
Raise the hood almost to the vertical position.
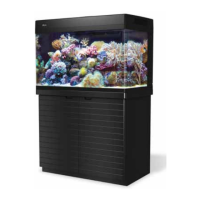
Figure 21: Attaching the skimmer panel
Figure 22: Securing the hood supports
Figure 20:
Positioning the
skimmer panel
 Loading...