2
List of figures
Figure 1: Drip Loop........................................................................7
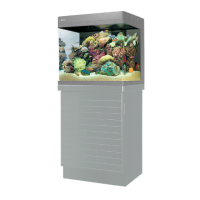
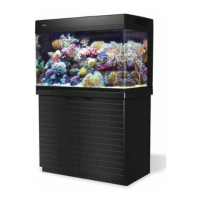
Figure 2: MAX parts - front view without hood..........................10
Figure 3: MAX parts - rear view...................................................10
Figure 4: MAX contents...............................................................10
Figure 5: Biological filter material...............................................13
Figure 6: Carbon filter..................................................................13
Figure 7: Circulation pump..................................................................13
Figure 8: Installing the circulation pumps.................................14
Figure 9: Heater...........................................................................14
Figure 10: Inserting the heater....................................................15
Figure 11: Protein skimmer parts................................................15
Figure 12: Skimmer assembled..................................................16
Figure 13: Inserting the protein skimmer.........................................16
Figure 14: Mechanical filtration...................................................16
Figure 15: Attaching the integrated over-flow box......................17
Figure 16: Attaching and positioning the filter shutter...............17
Figure 17: Light tubes..................................................................17
Figure 18: Inserting the light tubes.................................................18
Figure 19: Positioning the lighting control panel...............................18
Figure 20: Positioning the skimmer panel.................................19
Figure 21: Attaching the skimmer panel....................................19
Figure 22: Securing the hood supports.................................19
Figure 23: Releasing the snap.................................................20
Figure 24: Opening the hood to upright position..................20
Figure 25: Lowering the hood...............................................20
Figure 26: Skimmer collection cup........................................21
Figure 27: Assembling the integrated foam adjuster..........21
Figure 28: Attaching the skimmer collection cup................21
Figure 29: Removing the splash cover..................................22
Figure 30: Power center.........................................................22
Figure 31: Inserting the power center...................................23
Figure 32: Control panel........................................................23
Figure 33: Removing the splash cover..................................23
Figure 34: Water enters through over-flow box..................28
Figure 35: Water flow through the Max filtration system .....29
Figure 36: Maximum water level .........................................29
Figure 37: Optimal water level.............................................29
Figure 38: Minimum water level...........................................29
Figure 39:
Make sure not to block the foam adjuster windows
....30
Figure 40:
Maximum and Minimum height for the foam adjuster
...31
Figure 41: Curing the live rock..............................................33
 Loading...