Page 22 of 28
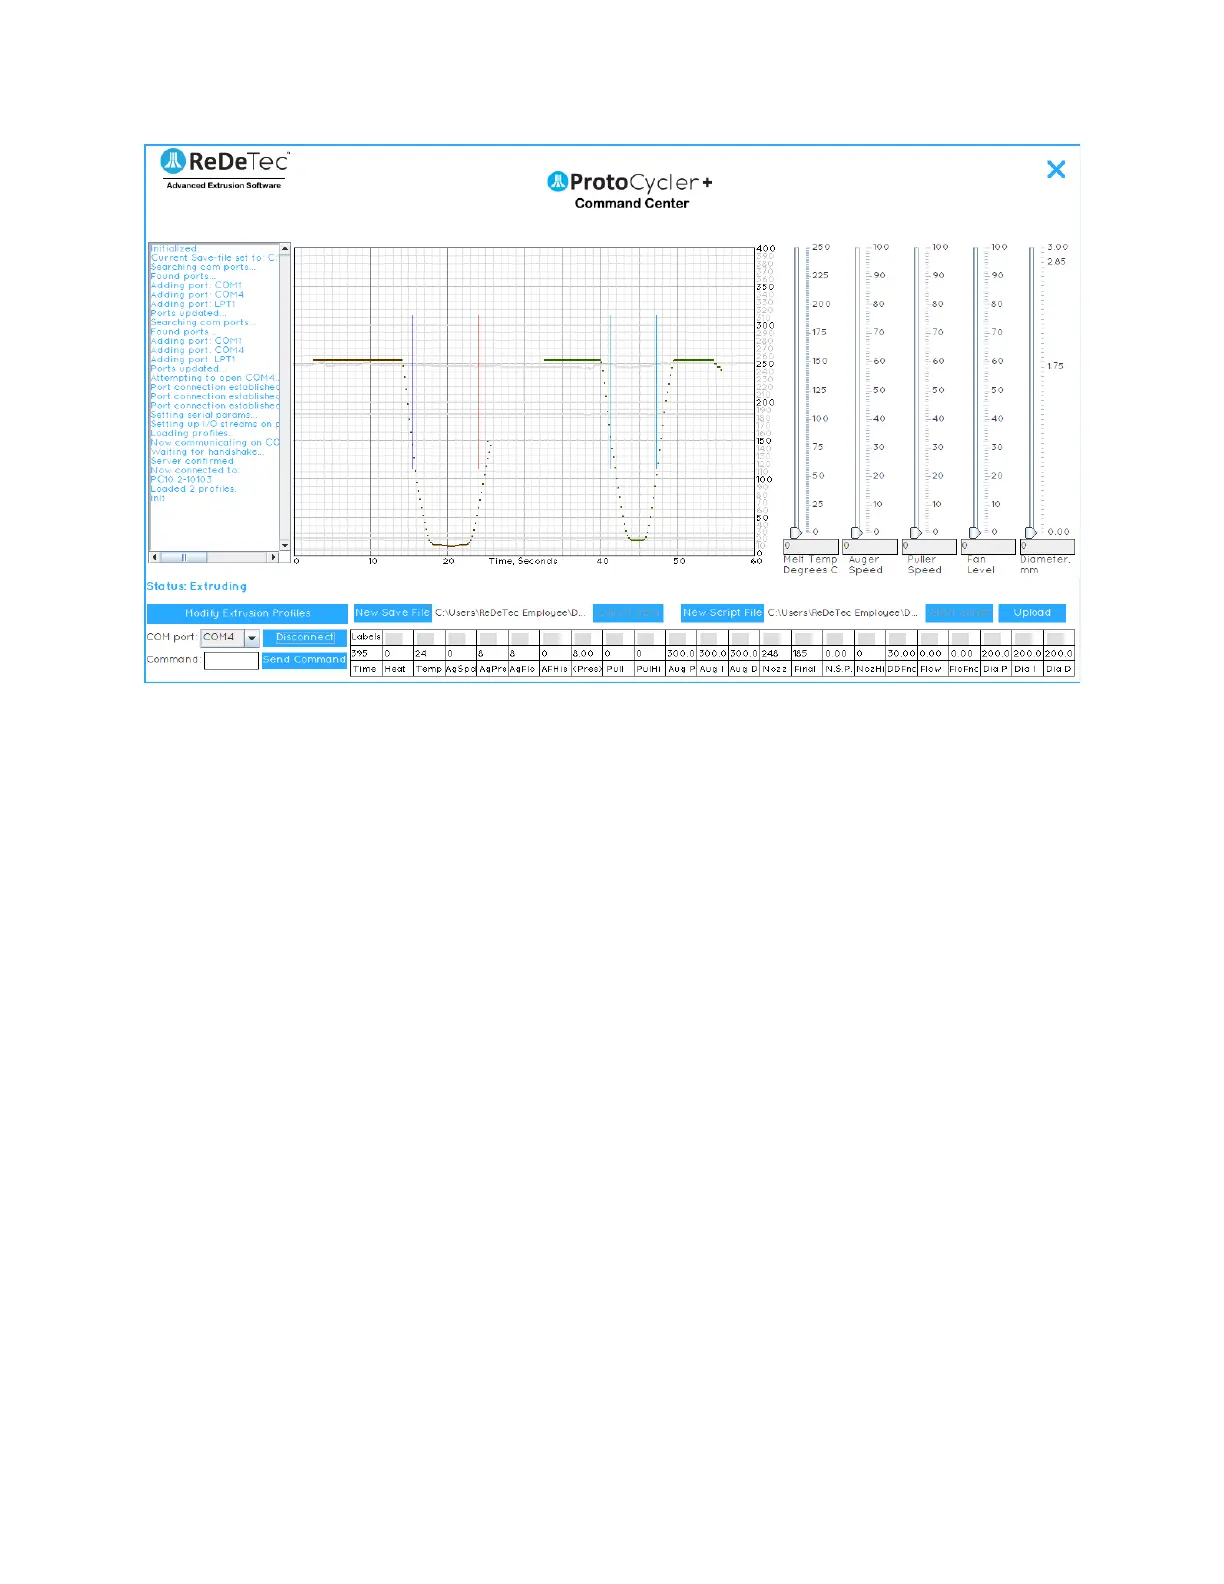
Figure 19: Nozzle Diameter Sensor raw data misaligned reading. Notice the rid vertical line indicating the shadow of
the filament has completely fallen outside the bounds of the sensor reading range.
4.4 Manual Extrusion
For greater control and the ability to experiment with extrusion settings and materials, we have enabled a manual
mode control. This is excellent for discovering new materials or adjusting existing plastics processing settings based
on your ambient conditions.
A lot of these instructions are going to be similar if not identical to the Automatic Mode instructions. We copied a
few of them here for ease of reference.
4.4.1 Manual Extrusion Steps:
1. Once you’ve clicked “Begin Extrusion” (see “Initial Extrusion Steps”, above)...nothing will happen.
ProtoCycler is now awaiting your commands to do pretty much anything. You’ll have to heat up and begin
the extrusion process, well, manually!
2. Note that there are lot of different things happening in automatic extrusion, and you have to set and control
all of them in manual mode. It is not easy! Please ensure you have fully read and understood the ProtoCycler
Command Center Overview - particularly the sections and appendices on how to extrude manually, and
what all the commands do - before attempting manual extrusion on your own. Note as well that this guide
is very brief, but should at least get you up and running.
3. Begin the thermalization process by sliding the temperature sensor to the desired setting.
a) For PLA we recommend 175C.
b) For ABS we recommend 210C.
4. Before turning on your auger feed, we need to disable the lower pressure bound by entering in the
command line: “pl000000”, no quotes, and clicking “send command”. This will prevent stalling during the
preheat and priming phase.
5. Now set your auger speed to 30 via the slider.
6. Allow the melt section to thermalize for 100 seconds once up to temperature (set in step 4).