6. Examine the needle valve lever and the needle
valve for wear and damages.
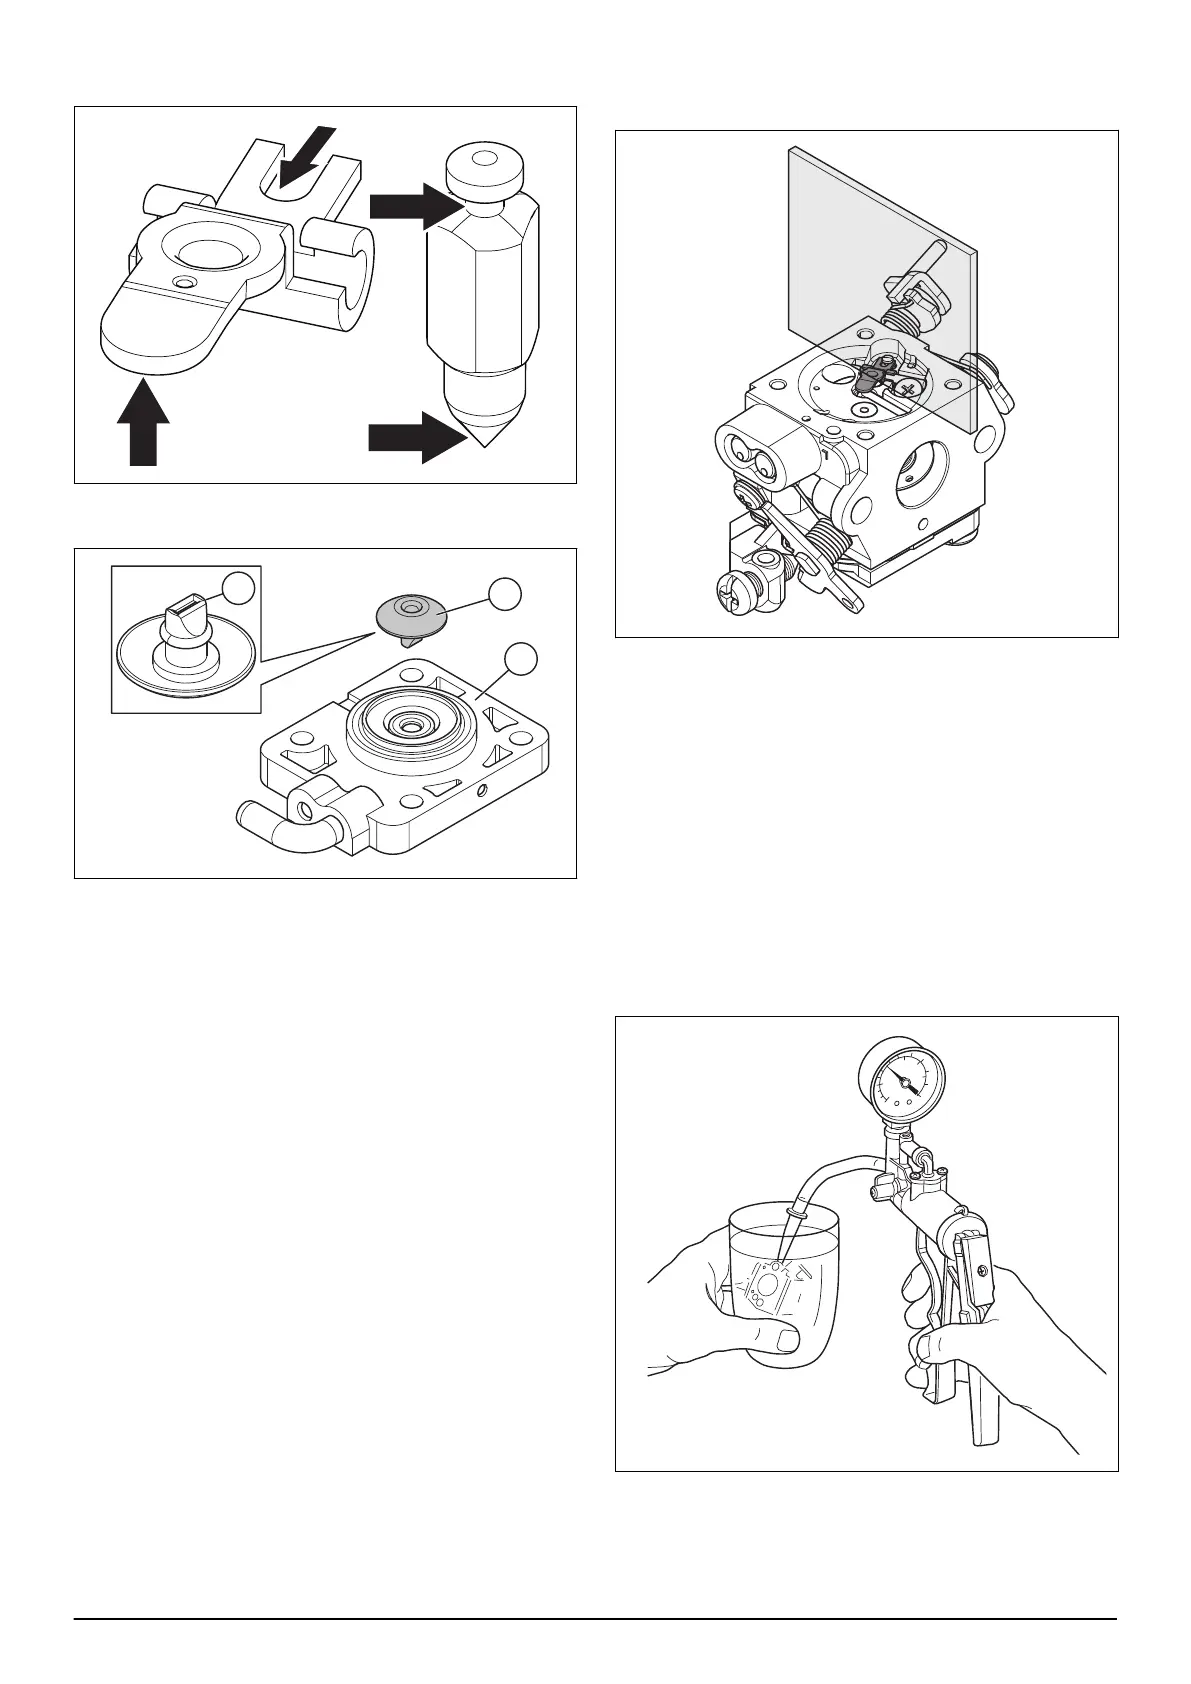
7. Carefully remove the check valve (J) from the valve
housing (K).
8. Push the sides of the check valve seal (L) to see if it
is damaged. Replace the check valve if it is
damaged.
9. Clean the valve housing and make sure that the
openings are not blocked.
10. Assemble in the opposite sequence. Make sure that
the needle valve lever is level with the surface of the
carburetor housing.
11. Do a pressure test of the carburetor. Refer to
To do
a pressure test of the carburetor on page 25
.
12. Assemble in the opposite sequence.
7.9.3 To do a pressure test of the carburetor
1. Remove the carburetor. Refer to
To remove and
install the carburetor on page 23
.
2. Make sure that the carburetor is correctly
assembled. Refer to
To disassemble and assemble
the carburetor on page 24
.
3. Connect the pressure tester to the fuel inlet on the
carburetor. Increase the pressure to 50kPa. Refer to
Servicing tools on page 10
.
4. Lower the carburetor in a container with gasoline to
find leaks.
1351 - 002 - 25.11.2020 Repair instructions - 25