• Examine the clutch and the clutch springs for
damages.
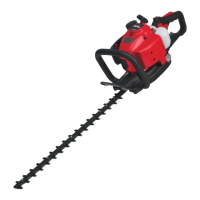
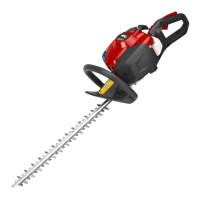
7.13 Cylinder and piston
7.13.1 To prepare to remove the cylinder and
piston
1. Remove the throttle handle. Refer to
To remove and
install the throttle handle on page 27
.
2. Remove the fuel tank. Refer to
To remove and
install the fuel tank on page 44
.
3. Remove the cutting unit. Refer to
To remove and
install the cutting unit on page 30
.
4. Remove the clutch. Refer to
To disassemble and
assemble the clutch on page 30
.
Note: Do this step only if it is necessary to also
remove the crankcase.
5. Remove the starter unit. Refer to
To remove and
install the starter unit on page 14
.
6. Remove the flywheel. Refer to
To disassemble the
flywheel on page 18
.
Note: Do this step only if it is necessary to also
remove the crankcase.
7. Remove the muffler and the exhaust pipe. Refer to
To remove and install the muffler on page 17
.
8. Remove the air filter. Refer to
To remove and install
the air filter on page 17
.
9. Remove the air filter housing and the carburetor.
Refer to
To remove and install the carburetor on
page 23
.
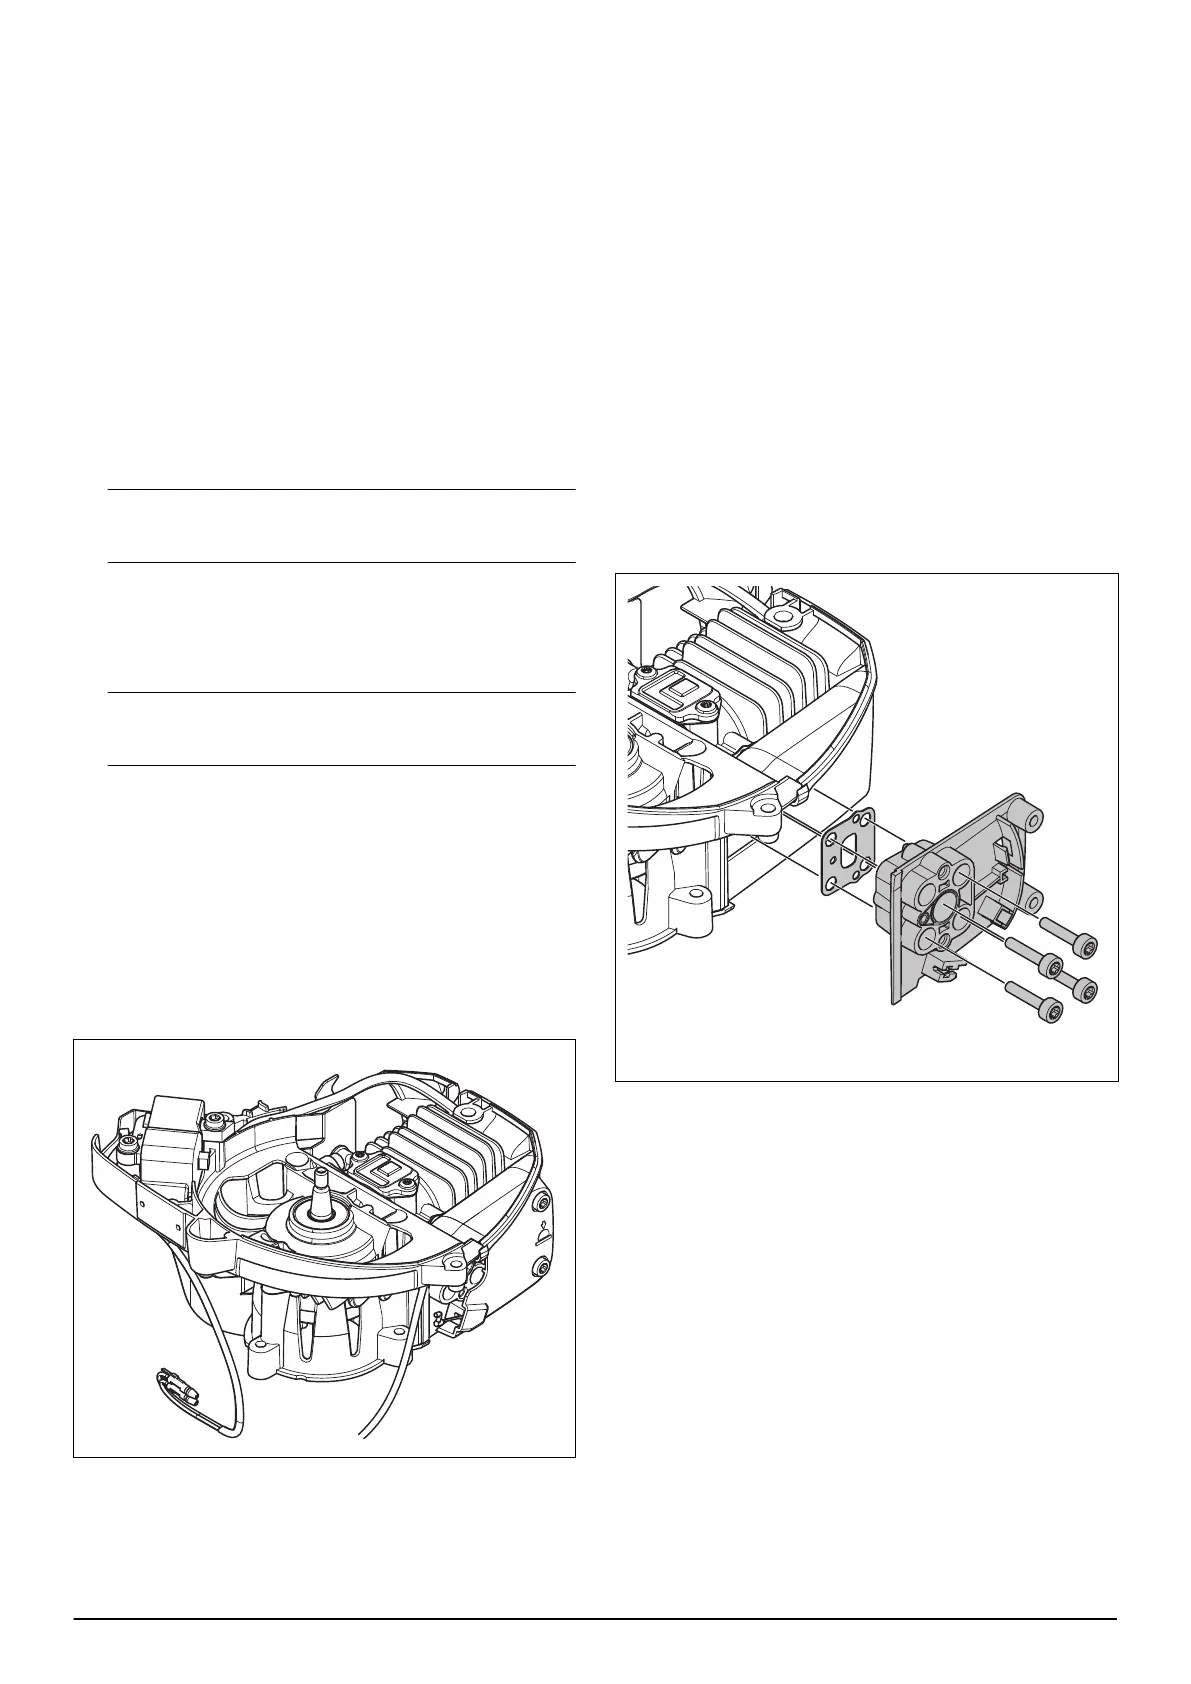
The illustration shows how the product looks before you
remove the cylinder and piston.
7.13.2 To remove the cylinder and piston
1. Remove the starter unit. Refer to
To remove and
install the starter unit on page 14
.
2. Remove the throttle handle. Refer to
To remove and
install the throttle handle on page 27
.
3. Remove the cutting unit. Refer to
To remove and
install the cutting unit on page 30
.
4. Remove the muffler. Refer to
To remove and install
the muffler on page 17
.
5. Remove the carburetor. Refer to
To remove and
install the carburetor on page 23
.
6. Remove the fuel tank. Refer to
To remove and
install the fuel tank on page 44
.
7. Remove the flywheel. Refer to
To disassemble the
flywheel on page 18
.
8. Remove the 4 screws, the intake manifold, and the
intake manifold gasket.
1351 - 002 - 25.11.2020 Repair instructions - 33