8
2007 − 2015 Reliable Controls
®
Corporation. All rights reserved.
MODELS
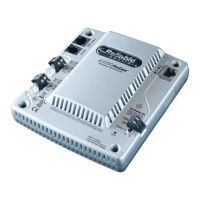
There are two models of the MACH-ProCom as outlined in Table 2.
INSTALLATION
MOUNTING
The MACH-Pro(Web)Com controller is designed to be vertically mounted in an enclosure/panel.
TIPS FOR MOUNTING THE MACH-PRO(WEB)COM:
TABLE 2: MACH-PROCOM MODELS
Model Description
MP-C MACH-ProCom base model
MPW-C MACH-ProCom with built-in Web server
• Use the drill guide template supplied with the MACH-Pro(Web)Com to assist in
marking the position of the drill holes for the mounting screws,
• Use the self-tapping #8 metal screws supplied with the MACH-Pro(Web)Com to
mount the controller in the enclosure (see Physical Dimensions in the Getting
Started section),
• The mounting holes are 2.5 cm (1”) in depth, and
• Do not use bevel-headed or wood screws.
Ground yourself before touching the controller to avoid damaging the electronics. Touch a
grounded metal surface to discharge static electricity.
The MACH-Pro(Web)Com controller is intended to be installed in accordance with the
National Electric Code or the Canadian Electric Code, Part 1, and in a manner acceptable
to the local authority having jurisdiction or in accordance with IEC 60730-1 Clause 11.6.3
Mounting of Independently Mounted Controls
.

 Loading...