- 8 -
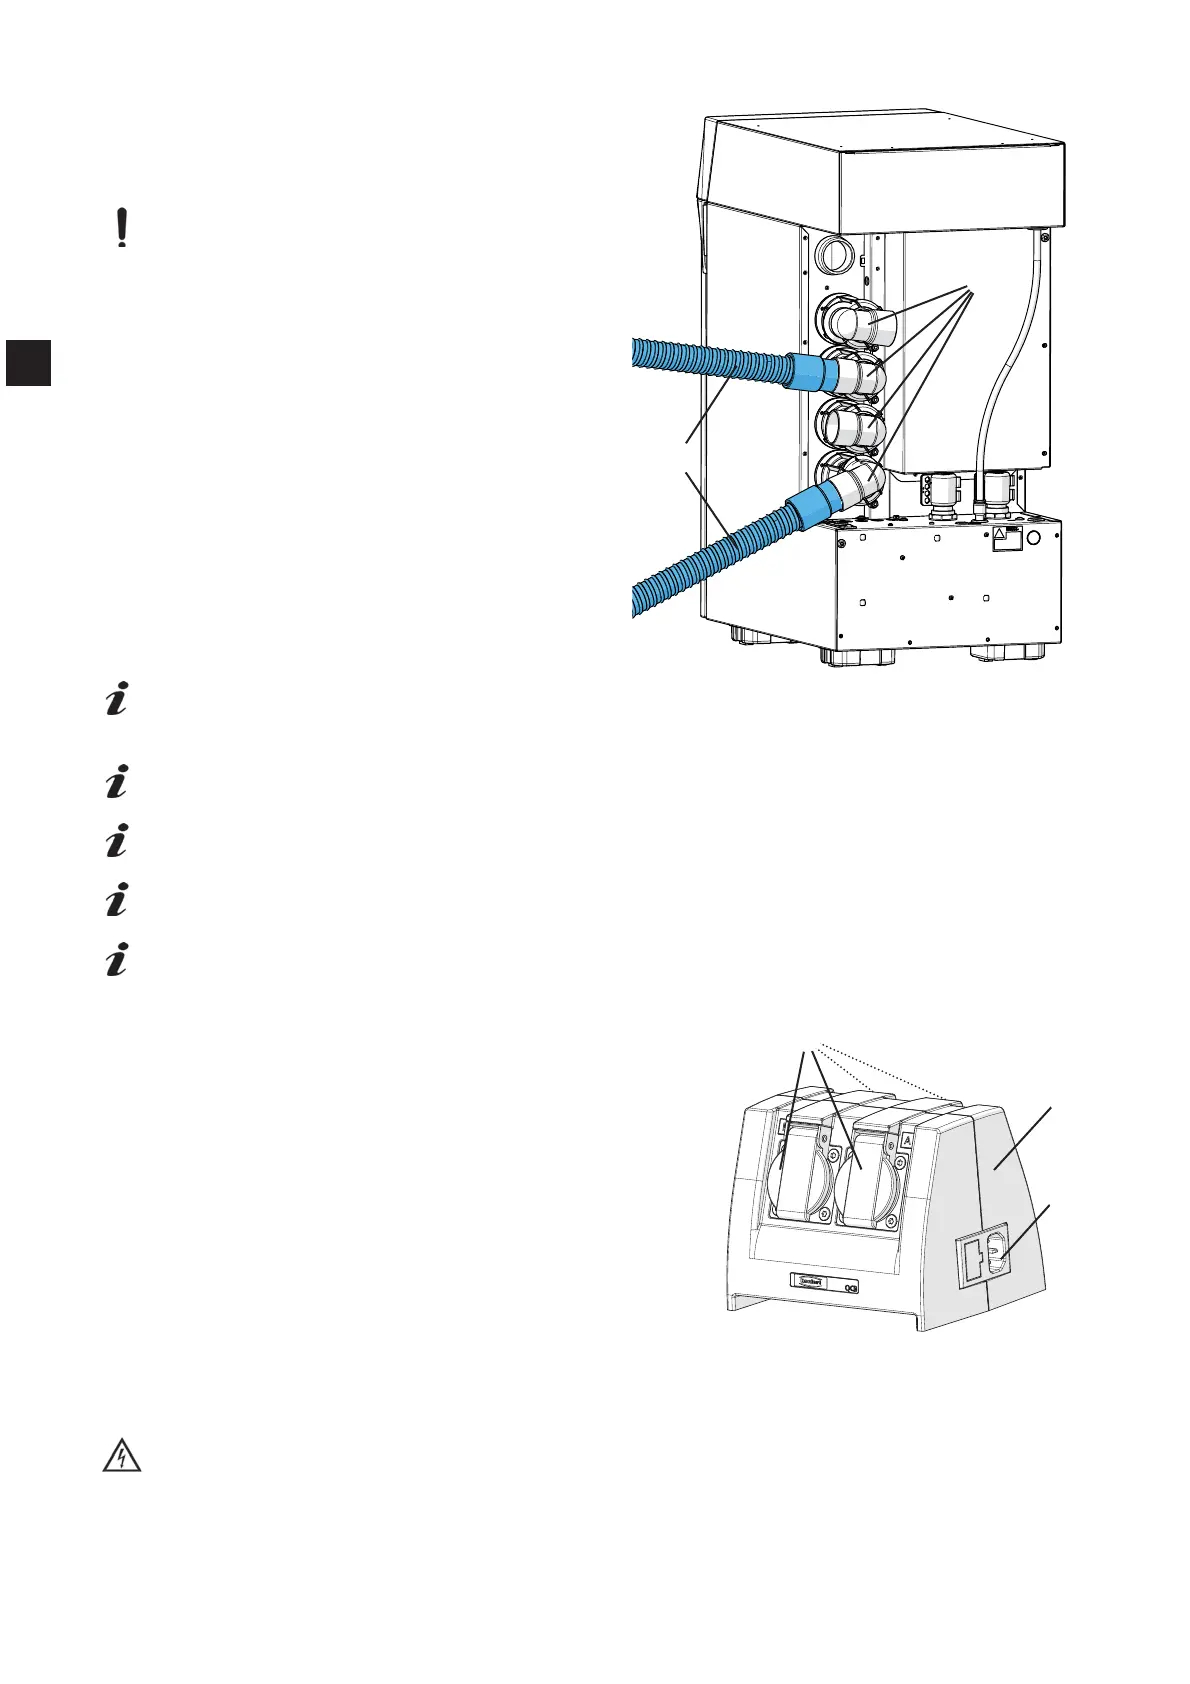
4.5 Connection to the Extraction Point
The extraction point is at the extractor connection
¿WWLQJ
The items “pinch valve and suction ports” are rotat-
able.
When you turn the pinch valve, please ensure
that there are no kinks in the compressed air
tubes and that they are not unintentionally
ripped off!
The suction ports are marked with the letters A, B,
C, D on the compressed air tubes, so that the suc-
tion channels can be easily allocated.
As required, turn the pinch valve with the suction
port (7) into the correct direction.
Insert the suction tube (8, not contained in deliv-
ery) into the suction port (7).
,IWKHGLDPHWHURIWKHWXEHGRHVQRW¿WDFFXUDWHO\
use a tube connection adapter (see accessories)
to prevent background extraction noise and loss
of suction.
Attach the suction tube to the relevant suction
point (e.g. Dustex master plus, suction hood,
etc.).
In order to achieve a good, even suction per-
formance, the suction tubes should be approxi-
mately the same length and no longer than 3 m.
Long suction hoses, tight bends and kinks will considerably reduce the extraction force at the
extraction point.
If different suction hose lengths are used, the extraction force will be lower at the extraction
point with the longer hose.
Make sure that the suction hoses are the same length and diameter. Excess hose can be cut to
size or laid in a large arch.
Avoid steep pitches or hanging points along the hose path.
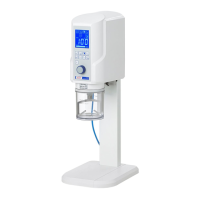
4.6 Quattro Control-Box (= QCB)
With the QCB (15) it is possible to switch the suction on
and off and to activate and deactivate relevant suction
channels depending on the requirements of the dust gen-
erating electrical appliances.
Up to four different electrical appliances can be connect-
ed to the appliance socket connections (16) at the QCB.
When the electrical appliance is activated, the relevant
suction channel opens.
The appliance socket connections (16) are marked with
the letters A, B, C, D so that the suction channels can be
easily allocated.
4.6.1 Installation of the Quattro Control-Box
Position the Quattro Control-Box so that the electrical ap-
pliances can be easily connected.
Power supply:
Before connecting the electrical appliance, please ensure that the voltage information on the
type plate is compatible with the local power supply.
Insert the supplied power cable (18, Fig. 1) into the power connection at the QCB (17, Fig. 5). In the
120 V version, the power cable is attached to the QCB.
Insert the power cable into the socket.
Fig.
7
8
17
15
16
Fig.
EN