16
Assembly of the guide carriage plate on the guide carriage
1x guide carriage plate
1x X-plate
Attach the guide carriage plate to the guide carriage with the
4 previously only pushed-in screws. Apply screws with thread
-
locker varnish. When screwing on, turn the screws alternately
so that the guide carriage plate will not cant.
The belt holders must be on the side with the previously in-
stalled belt tensioner.
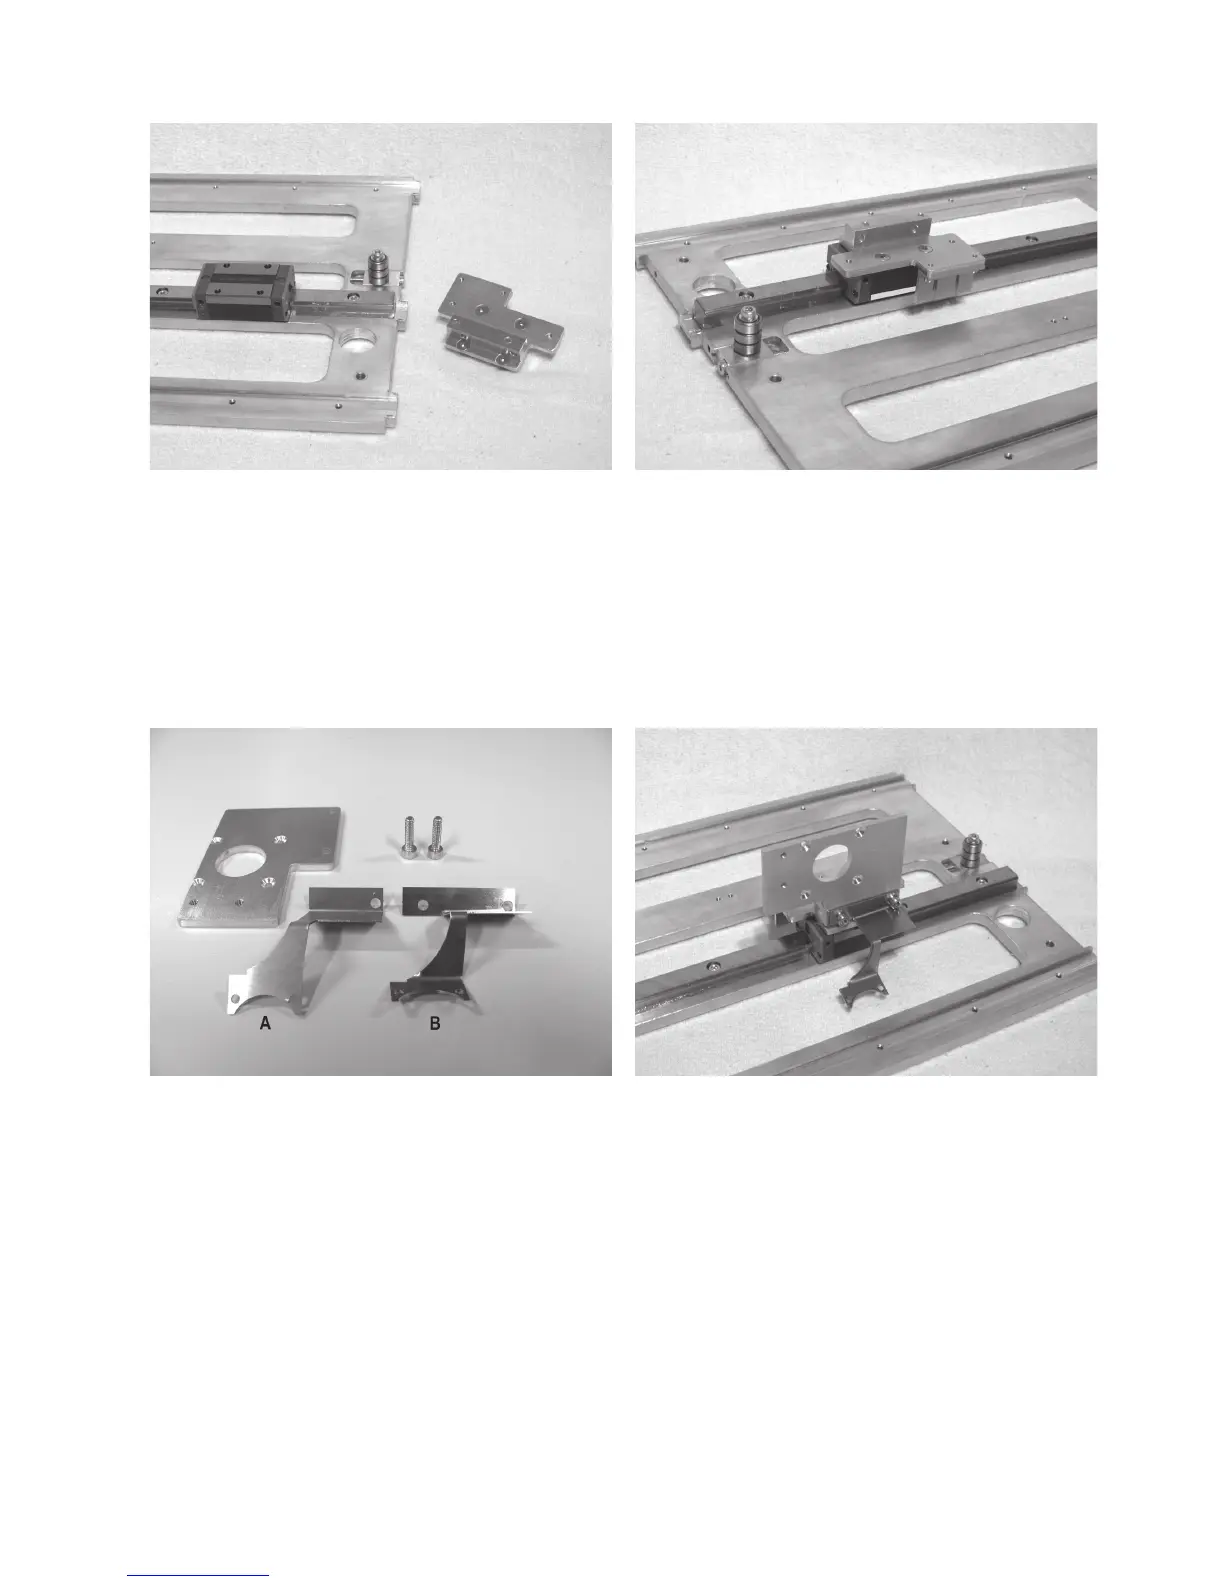
Attachment of motor holder and fan sheet
1x fan sheet
1x motor holder
2x cylinder head screw M4x16
Note:
The figure above shows the new version (A) and the old ver-
sion (B) of the fan sheet. The new version has only one bore
and is canted dierently. Assembly takes place as described
here but only with the right screw. The new fan sheet must
therefore be aligned horizontally when screwing on.
Attach the motor holder to the guide carriage as shown togeth-
er with the fan sheet.