43
Limit switch for the X-direction
Plug line 11 into the plug connector of the limit switch on the
X-plate and also route the line down through the opening tin in
the X-plate.
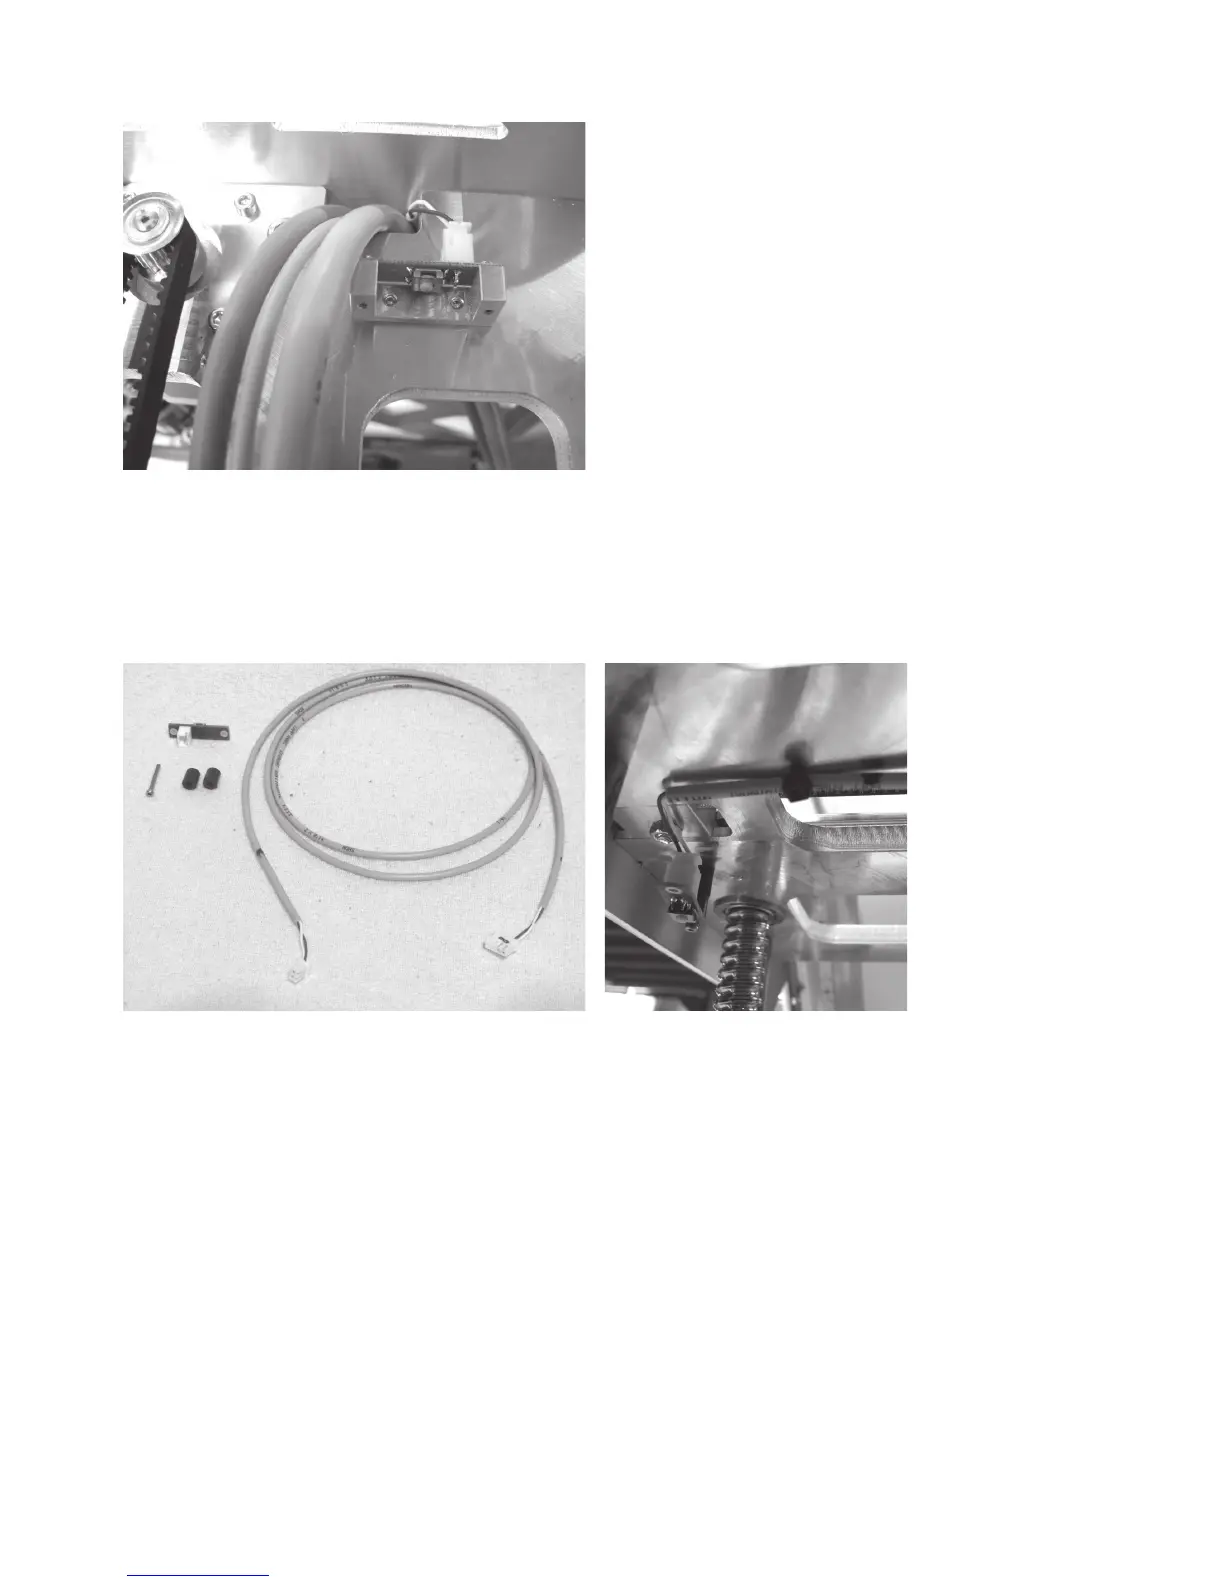
Limit switch for the Z-direction
1x limit switch PCB
Line 8
2x spacer sleeves 8 mm (or 1x spacer sleeve 16 mm)
1x cylinder head screw M2x20
Push line 8 into the plug connector of the limit switch PCB.
Install the limit switch with the spacer sleeve(s) to the X-plate
from below as illustrated.
Do not tighten the screw entirely yet.