5
Installation
WARNING: BEFORE drilling, make sure there are no electrical components or other obstacles
that may interfere with installation on the other side of the mounting surface.
CAUTION: Before installing the MT-50, apply power and make sure the meter is working properly.
Resolve any issues before installing the meter and the meter cable.
The MT-50 can be mounted in two ways: Frame Wall Mount or in a Flush Wall Mount. A plastic
mounting frame has been included for the purpose of Frame Wall Mounting. If Flush Wall
Mounting then the MT-50 faceplate sits flush with the mounting surface and the body of the meter
would be able to rest comfortably in a hole cut-out on the mounting surface.
Frame Wall Mount Installation
When frame mounting, the MT-50 Tracer will be utilizing
the provided frame and be mounted on a wall or surface.
No cut-outs are required for the surface with the
exception of the 4 x screw holes.
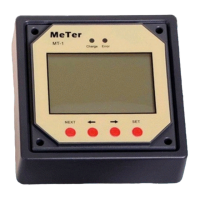
1. Locate and drill the screw holes based on the
mounting frame dimension and erect the plastic
expansion bolts on the wall.
2. Use 4 x ST4.2x32 self-tapping screws to fix the
frame.
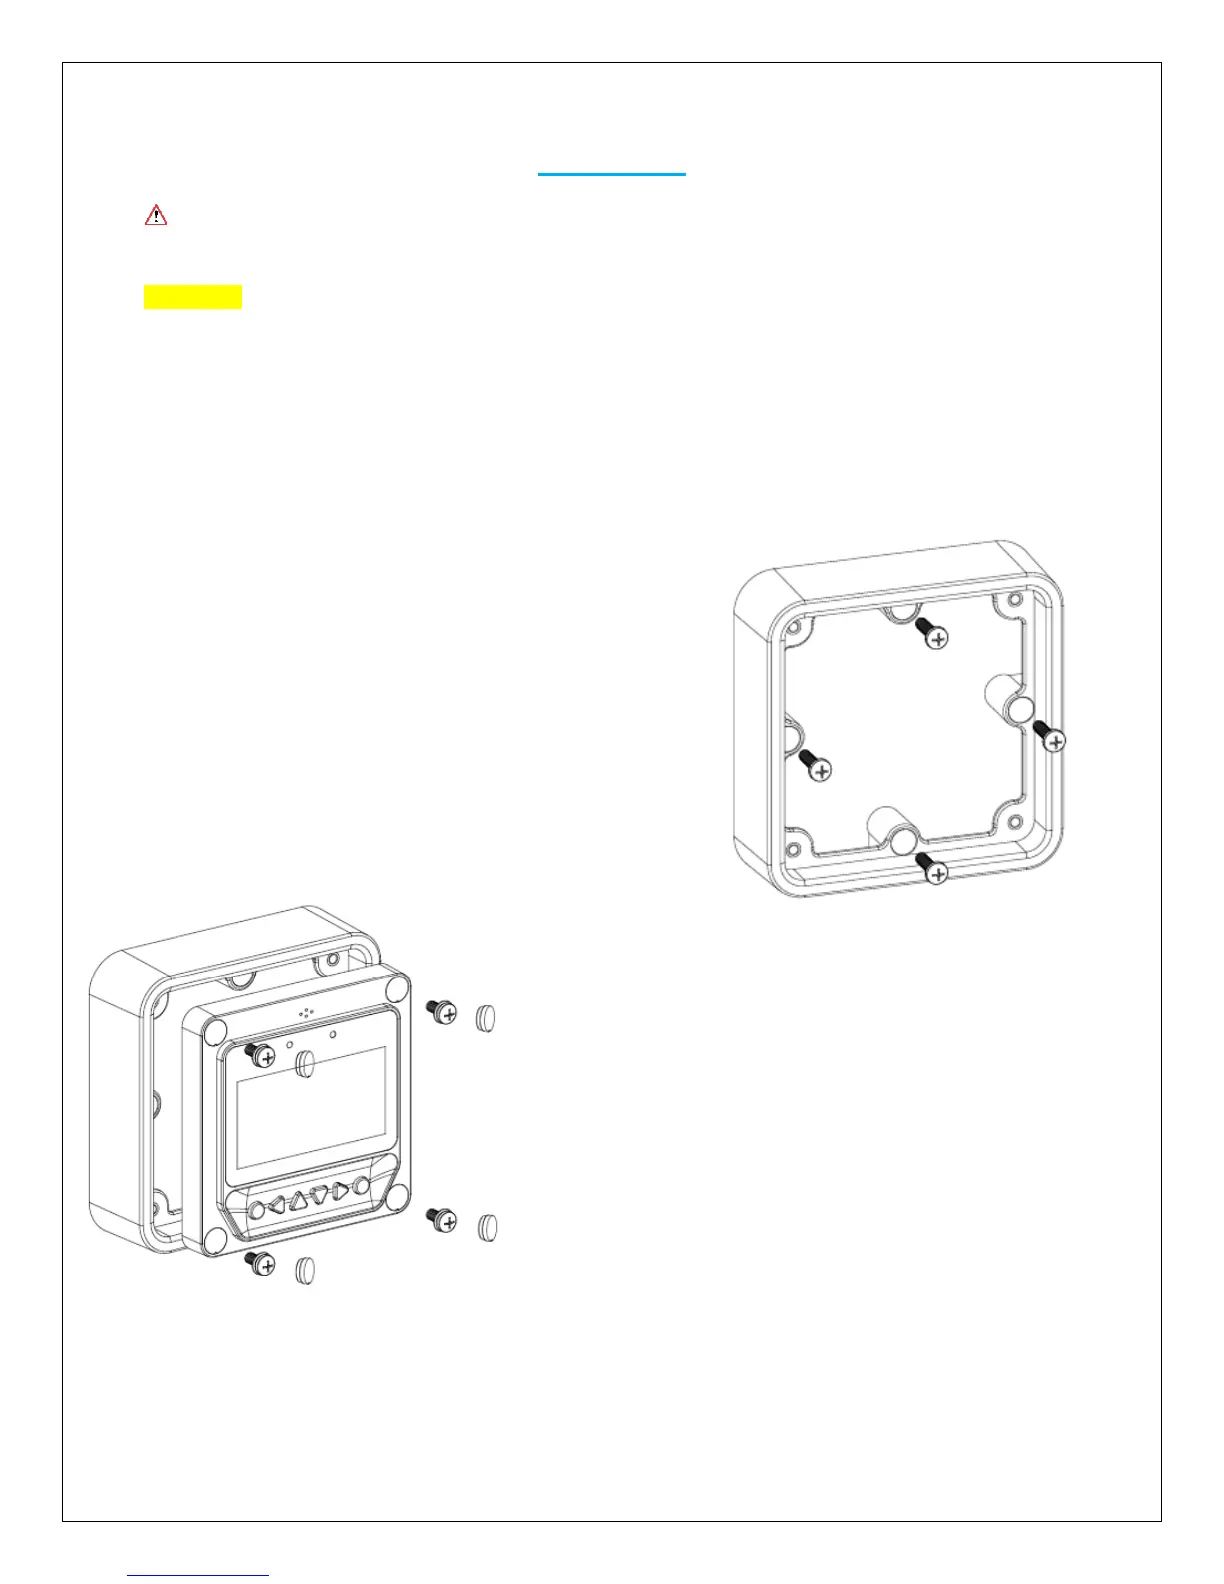
3. Use 4 x M4x8 pan head screws to mount the MT-
50 front to the frame
4. Mount the 4 associated screw plugs into the screw
holes
5. Plug the meter in and verify the meter powers up
and displays the appropriate data. Troubleshoot if
necessary.