NOTE: Use the up and down arrows to maneuver through the monitoring menus. The left and
right arrows indicate submenus and display further information regarding the system
NOTE: Press OK to change from reading mode to parameter setting mode. Once the parameter
is highlighted, use the UP and DOWN arrows to adjust the setting and press OK once again to
save the setting.
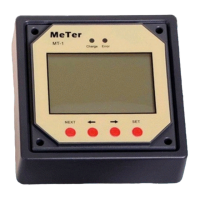
The display will be the version number of the
Charge Controller as well as display the ID. The
ID is important if there are custom settings (For
Example, the USER function), then the
parameters will be saved under that certain ID.
This serves the purpose of having the tracer work
for various charge controllers and their respective
ID’s.
NOTE: The ID of the charge controller and the tracer
must match for them to be operable together.
The backlight is also modifiable as well as the date and
time.
NOTE: In some models, you might be prompted to enter a password. Simply put “0” all the way
through and press enter.
NOTE: Press OK to change from reading mode to parameter setting mode. Once the parameter
is highlighted, use the UP and DOWN arrows to adjust the setting and press OK once again to
save the setting.
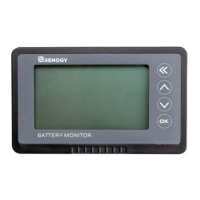
Before making any parameter changes, the user
can have the charge controller require a
password.
NOTE: Press OK to change from reading mode to parameter setting mode. Once the parameter
is highlighted, use the UP and DOWN arrows to adjust the setting and press OK once again to
save the setting.
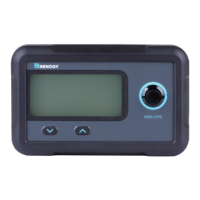
Reset the controller to factory settings. This will
erase any customized parameters the user may
have set. The default “0” password may also be
activated.
Device Parameter
Backlight 60S
Month-Date-Year
HH:MM:SS
Device Parameter
Ver: Version #
ID: 001
Device Password
OriPsw: XXXXXX
NewPsw: XXXXXX